
Pencil drawing is a fun pastime and a great way to hone your artistic skills. Learning drawing for beginners is relatively easy, as you don’t need too many supplies and the basic techniques are relatively easy to learn.
Pencil drawing is the process of using a pencil—whether that’s a charcoal, graphite or coloured pencil—to create an artwork. The process and techniques of pencil drawing can look slightly different for each of these pencil mediums, but I’ll explain more about that later.
In this guide, learn everything you need to know about pencil drawing for beginners. From choosing the right drawing tools, to the essential techniques and exercises. Plus, get some tips on how to improve at drawing and ideas for what to create.
Disclaimer: Fine Art Tutorials is a reader supported site. When you make purchases through links on this site, we may earn a small commission at no extra cost to you.
Pencils: Find the perfect pencil for your practice

The best pencil for your drawing practice will depend upon what you want to achieve. Pencils range in hardness and the materials that the core (also called lead) is made from. These two variable properties both have an effect on the artist’s drawing experience and outcome of the artwork.
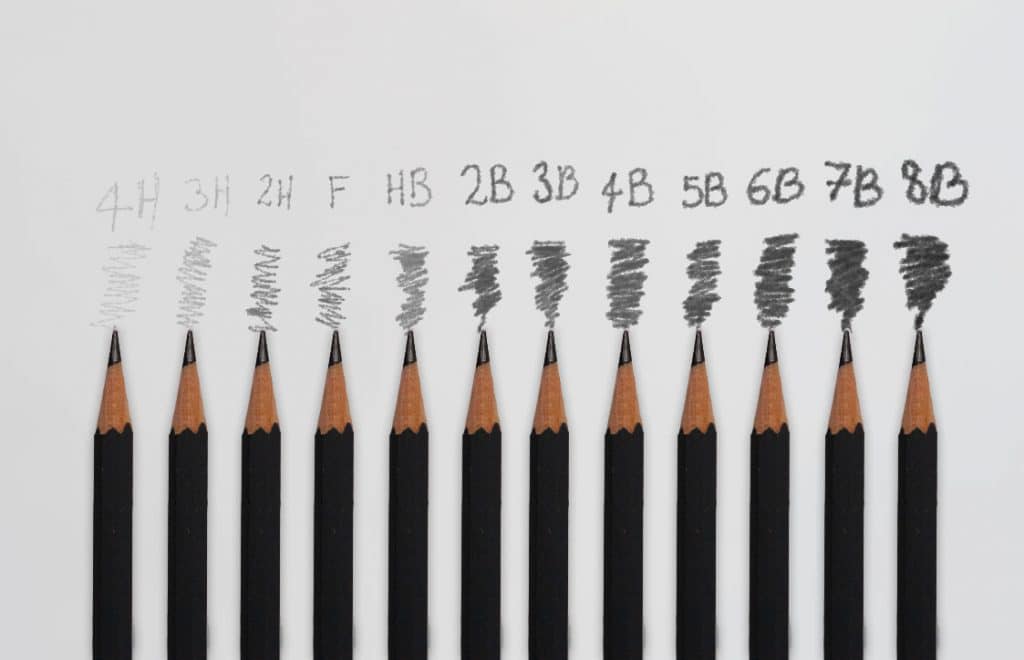
Pencils range in hardness from around 6H (hard) to 12B (soft). HB pencils have a medium hardness, as do pencils labelled as F. With softer pencils, artists can achieve a greater range in values, compared to harder pencils. If you draw with a 8B, 12B or 6B pencil, you will be able to render deep shadows, as more of the softer pencil core will impart on the paper. However, with hard (H-6H), the lines will look finer, more precise and fainter. Hard pencils are easier to erase and suitable for technical drawings, but you won’t be able to achieve the range of tones and values that you would with softer pencils.
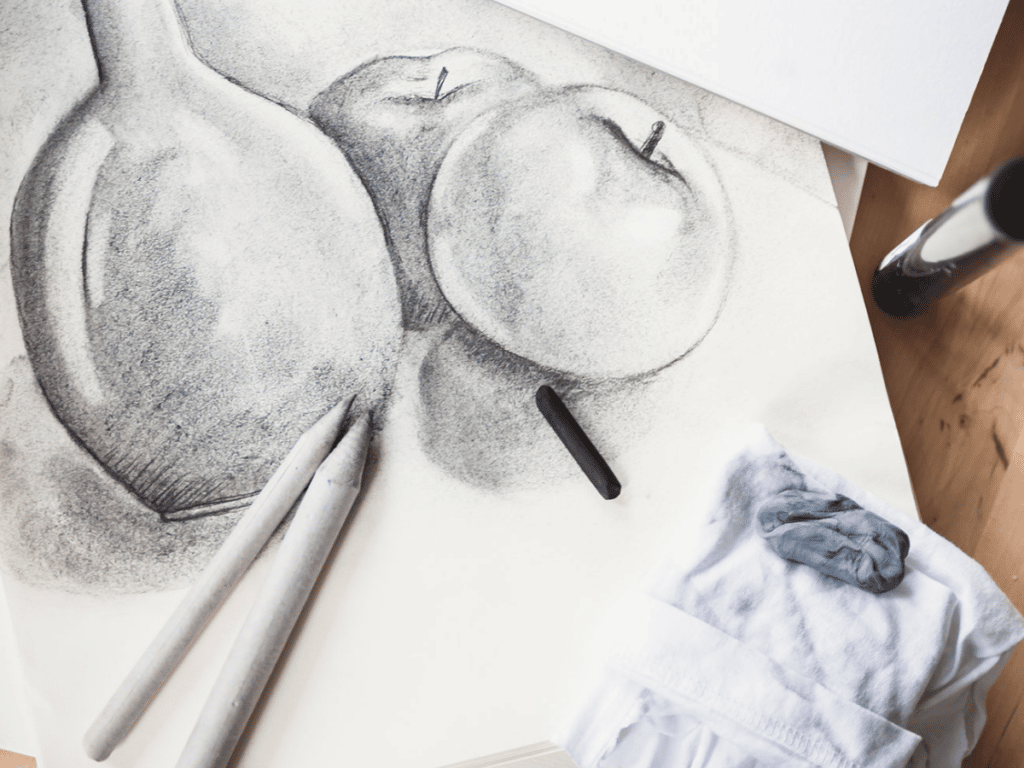
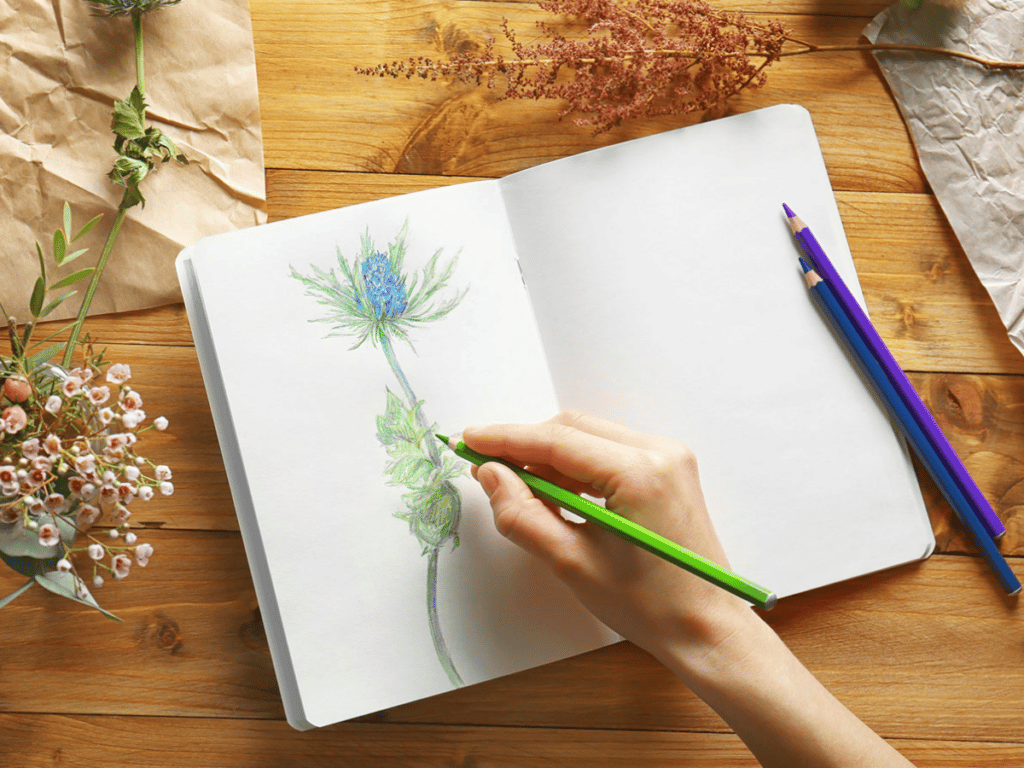
The next thing to consider when choosing your perfect pencil is the pencil medium you will draw with. Graphite pencils are made from graphite, which is a type of carbon. This results in smooth lines and stable mark-making. Charcoal pencils are made from vine or willow that has been heated to a high temperature. It is often used for sketching as it’s loose, easy to apply, can be smudged and erased easily. Coloured pencils are either made from oil or wax and artist grade coloured pencils usually use pigments that are lightfast. These pencils are soft, blendable, layerable and the best artist grade pencils are incredibly bright and pigmented.
Pencil drawing supplies
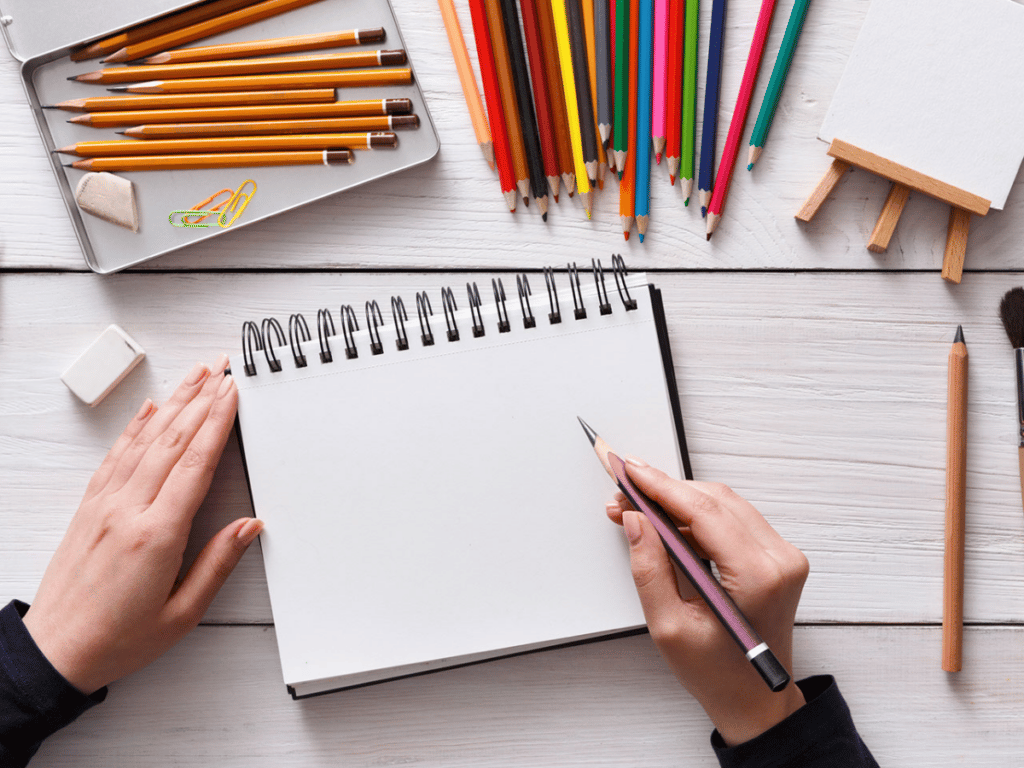
When learning to draw with pencil you really don’t need to invest in all the best drawing tools to get started. All you really need is a pencil, paper and eraser to clean up mistakes. However, if you’re looking for some new supplies and need some recommendations, if you want to try some new materials, or if you’re just a bit of an art supplies addict, here are some of our top picks.
Graphite

Get a few different graphite pencils in different hardness levels when if you’re a beginner to drawing. Some of the best brands of graphite pencil include the Faber Castell 9000 Series which feel smooth to draw with and have a grey-silver tone. Another great brand of professional graphite pencils is Caran d’Ache, they are some of the smoothest and highest quality brand of graphite on the market. However, they’re on the expensive side. If you’re looking for a cheaper pencil, Staedtler are both great choices.
Charcoal
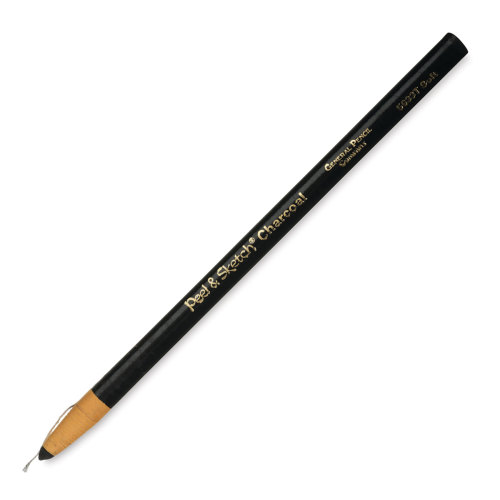
General’s Peel and Sketch charcoal, is a wrap pencil. So instead of sharpening with a blade, peel back the paper to reveal more of the charcoal beneath. It’s high quality, soft charcoal that is resistant to snapping and breaking. Create deep shadows and smooth lines with ease.
Coloured Pencils
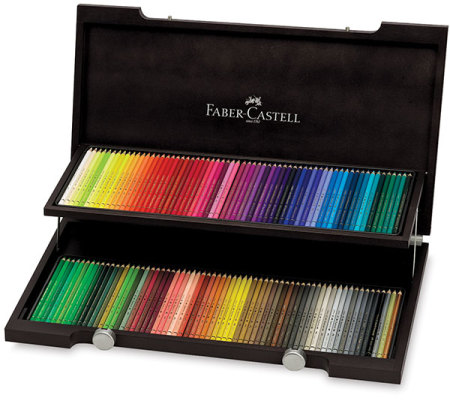
The best artist grade coloured pencils are the Faber-Castell Polychromos pencils and Prismacolor pencils. These pencils are soft and blend beautifully, making them ideal for shading and creating coloured textures in your drawings. The colours are bright and highly pigmented, meaning they won’t fade over time. These pencils are oil based and harder in texture compared to wax based pencils. This means that the pencil core will wear down less quickly and details appear fine and sharper on the surface.
Bruynzeel coloured pencils are a more affordable option for those just getting started with the medium. They are artist grade, but have a smaller colour range than some of the more expensive options.
Drawing paper
The best drawing paper for your artwork will depend on the medium you’re using. If you want to achieve ultra small details in your drawings, choose a smooth paper like Bristol Board. Bristol Board paper works best with graphite medium.

For mediums like charcoal and coloured pencils, use a paper with more tooth. This enables loose particles to adhere better and aids layering with mediums like coloured pencil. Mix layers of colours and make seamless blends with paper like Pastelmat. Pastelmat has a velvety texture that clings on to particles of pencil. It’s acid-free, thick and professional quality. Coloured pencils will appear bright and saturated on the surface, and it reduces the need for fixative and varnish.
Mixed media paper like Clairefontaine Mixed Media Pad is great for a using with a range of media. It’s great quality and cheaper than some of the more specialist papers.
Sketchbooks are a great tool for jotting ideas down when inspiration strikes, planning compositions for larger drawings and experimenting with new techniques. Stillman and Birn sketchbooks come in a range of paper weights. They’re professional quality, with acid free pages that won’t yellow or degrade over time. They’re ideal for using with graphite, charcoal and coloured pencils.
Sharpeners
To get crisp, clean lines in your drawings, a good sharpener is a must. A plastic one will get the job done and keep costs low. They’re simple to use and easy to replace if it gets lost or broken.
To sharpen the edges of charcoal, use a sanding block or a knife. Charcoal pencils are too brittle to use with regular sharpeners.
With graphite and coloured pencil, you can use a regular sharpener, but a good quality one will preserve the core, meaning that your pencils will last longer. Sharpeners like the Derwent Super Point Manual Sharpener, or the X Acto Mighty Electric Pro sharpener will both do the job excellently.
Erasers
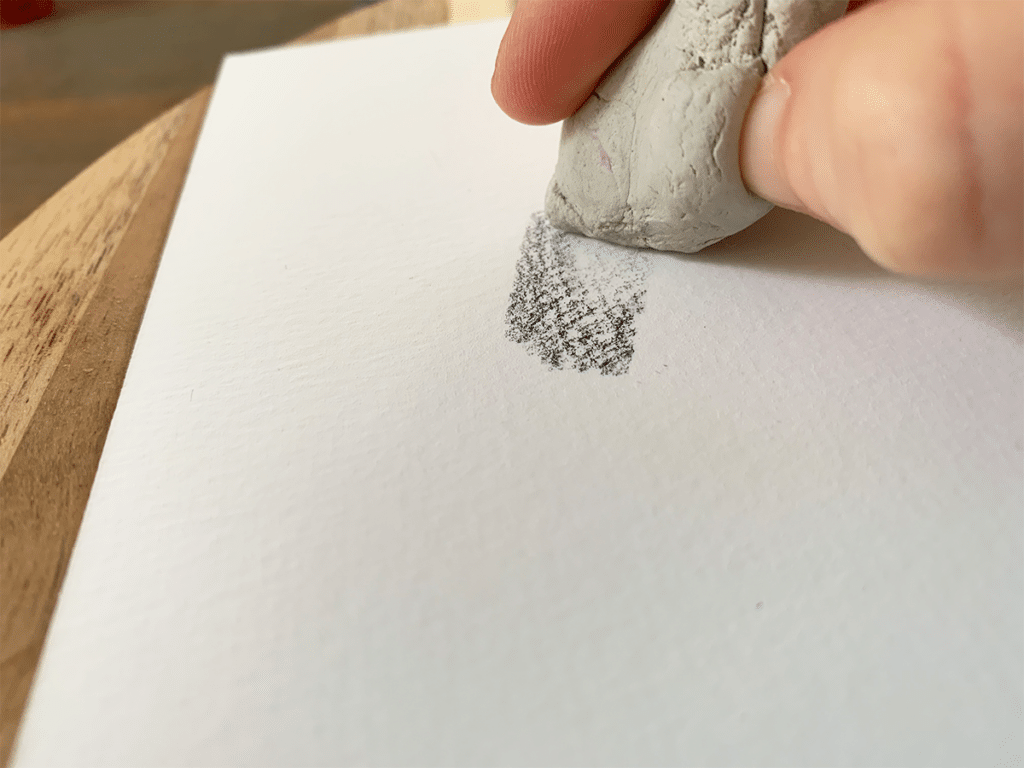
There are many different kinds of erasers, made from different materials that work in different ways. Kneadable gum erasers are gentle on paper fibres, and mouldable into any shape. It’s useful to have on of these erasers for detail work, or subtly erasing highlights in a drawing. Another eraser that’s useful to have is the Tombow Mono Zero eraser. This eraser has a small width, making it great for erasing those tiny details.
Drawing for beginners: Tips
If you’re just starting out with drawing, there are some tips and techniques that you can use to improve your skills and make your drawings more professional.
The first step is to choose the right tools for the medium you want to work in. Graphite pencils are great for creating fine lines and detailed shading, while charcoal pencils are best for bold, smudgy strokes. Coloured pencils can be used to add bright, vibrant colours and textures to your drawings.
Once you’ve got the right tools, the next step is learning some basic drawing techniques. Shading techniques like cross hatching, stippling, and hatching will add texture and depth to your drawings.
When it comes to choosing a drawing style or approach, there are many different options to consider. Some popular styles include realistic pencil drawings, line art and loose sketches. Grab a sketchbook and practice, you will begin to learn what your favourite subjects and techniques are, which is the first step in honing your own personal art style.
Choose a reference for drawing
When finding a reference for pencil drawing, there’s inspiration all around! Keep a sketchbook handy and try out different drawing ideas whenever you get the chance. You could opt to find your own references, take photos of landscapes, cityscapes, wildlife and draw your own interpretations of the photos you take.
Another option is to draw en plein air. Take a sketchbook with you when you’re hiking and jot down sketches of your surroundings. You could also do a series of drawings or paintings based on the same subject, when you’re drawing outside, such as flowers, trees, people and buildings. This is a really great way to capture the atmosphere of a scene from life.
If you’re not sure where to start when it comes to choosing a subject for pencil drawing, try looking online for examples. If you are interested in figure and portrait drawing, try using a 3D mannequin software to create poses to take inspiration from. Or you could try drawing photographs of models from databases, created specifically for artists to practice life drawing. Sites like Line of Action allow you to choose the type of life model and type of image, from animals to people, facial expressions and more.
Drawing techniques
There are a number of pencil drawing techniques artists can use to create a sense of realism and achieve their desired effects. Blending is a fantastic technique for creating soft edges in a drawing, for example, the soft shadows cast in a portrait, or the blurred edges of a mountain in the distance. Get a tortillion to create blended effects in your drawings.
Another technique that can be used to create realistic drawings is cross hatching. This involves creating a series of intersecting lines, with the edges pointing in different directions and varying in thickness. Cross hatching creates a rich texture, perfect for adding shadows and shading to your drawings.
Finally, stippling is another great way to create texture and depth in your pencil drawings. This technique involves using dots to build up shadow and contrast in a drawing. Try using different coloured pencils to add variation in your stippling patterns.
Pencil drawing process: Step by step
Plan the composition
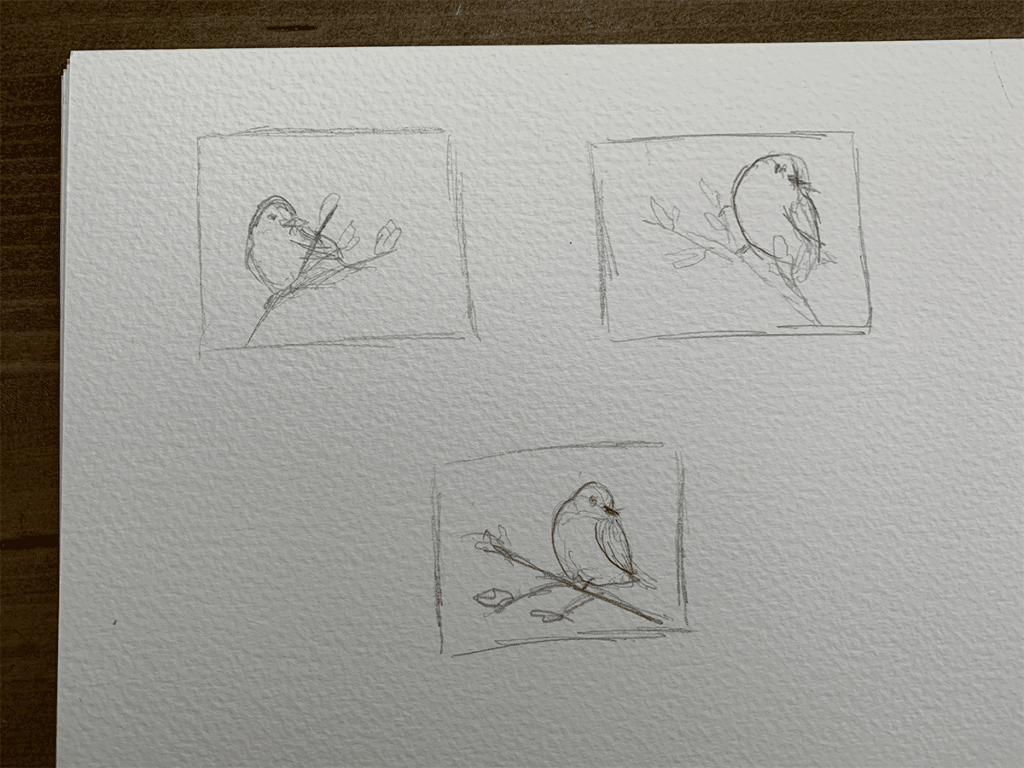
Planning the composition before you start drawing is a great way to ensure that your drawing is well balanced. Create some thumbnail sketches in a sketchbook and plan where your focal point will be and how all the different elements in your drawing will fit together. Sketch the rough shapes and make sure not to spend too long on them. I spent less than 20 seconds drawing the basic shapes of the bird, so I could gauge the best placement for the focal point. When you’re happy with the plan, it’s time to scale it up to create your final piece.
Create the outline

Start by creating an outline of the subject. If you want to be especially accurate with drawing the proportions of the piece, use the grid method to scale up an image from a smaller drawing or a photograph.
Draw with light pressure so that you can easily erase lines if you make a mistake. Work from the centre of the drawing to the outside, starting with larger shapes and gradually adding in detail. Remember to take breaks as you work so that your arm doesn’t get too tired!
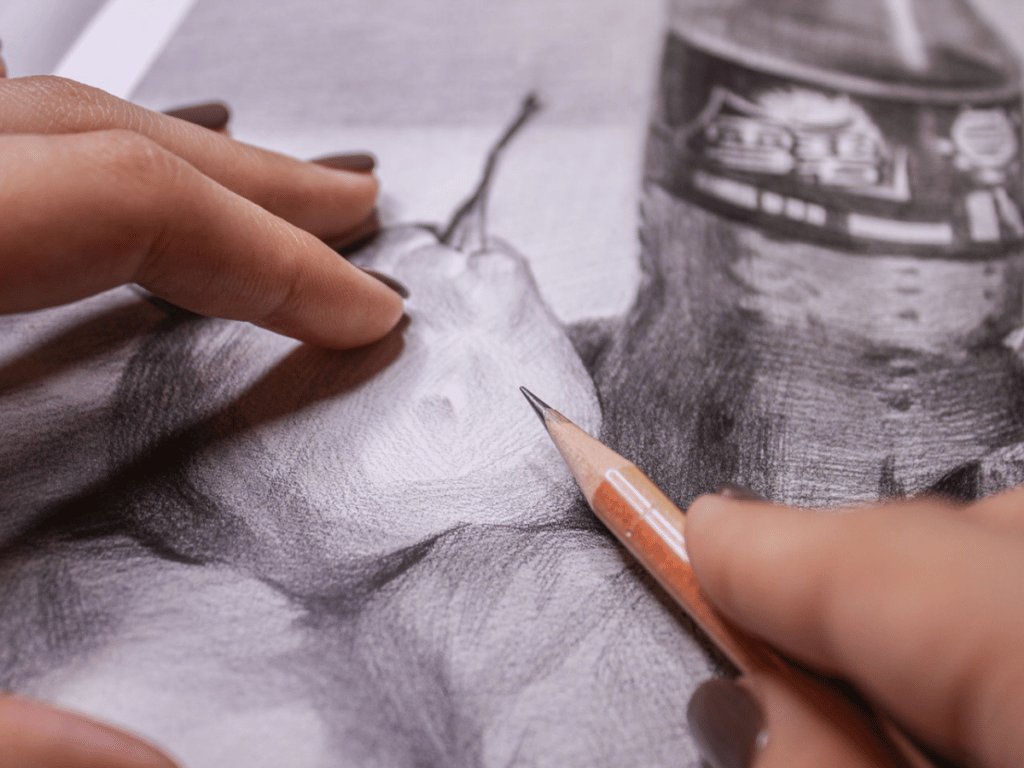
Add shading and texture
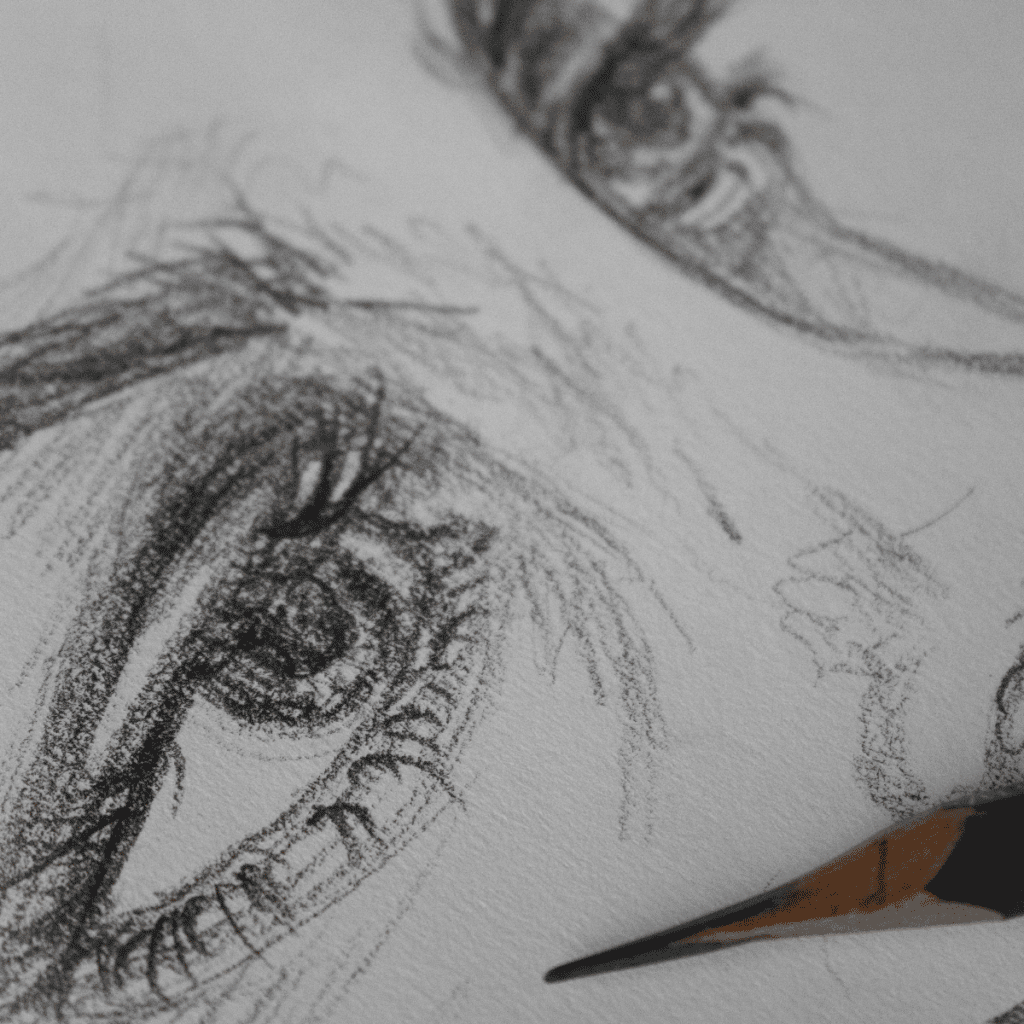
Next, it’s time to add some shading and texture to your drawing. For realistic drawings, aim for a variety of tones and textures to bring your drawing to life. In this drawing, I used the hatching technique to create the appearance of feathers on the white-eye bird. I’m using Polychromos pencils in burnt umber and white, on a Toned Tan sketchbook by Strathmore.
Use harder leads and sharpened pencils for crisp lines, and softer lead for creating smooth blends. Don’t be afraid to experiment with different shading techniques in your drawings—for example, cross hatching can create some really interesting patterns! If you want to create transitional shades and a more realistic representation of light and shadow, blend the pencil with a tortillion.
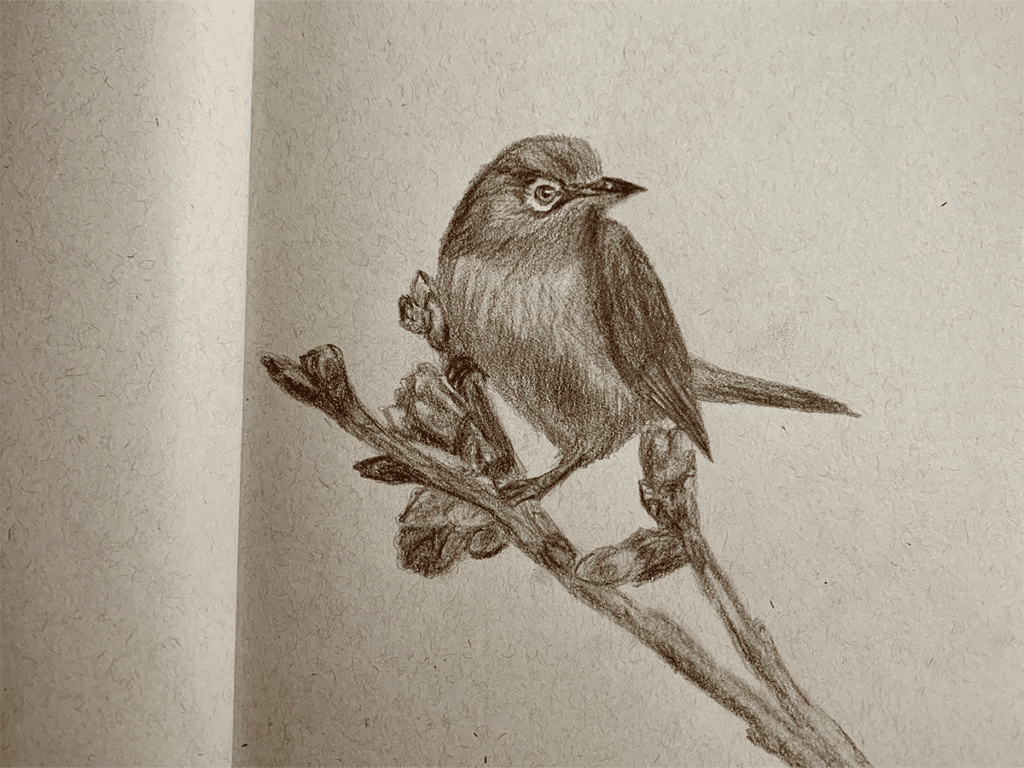
Work on the details
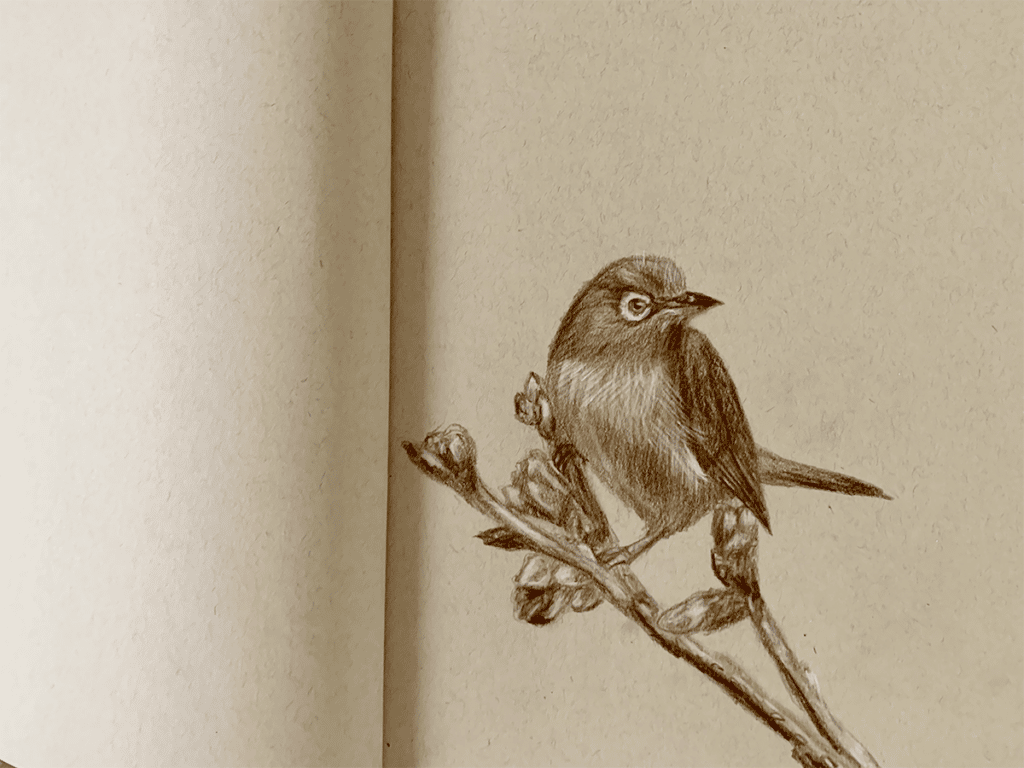
Finally, add any last touches to your drawing to bring it to life. Add in any small details that you may have missed, and focus on adding a sense of depth by increasing the contrast in areas of light and shadow. Increase the shadows by applying more pressure to the pencil. Lift highlight details from mid tone areas with a fine tipped eraser like the Tombow Mono Zero. I added the final details, like the reflection in the eye, the brightest feathers and the reflections on the branches and buds with a white pencil. If you’re working on toned paper, using a white pencil is a great way to make those details pop!
Drawing exercises for beginners
Trying a variety of drawing exercises alongside completing your drawing projects will broaden your drawing abilities and provide great warm ups for larger pieces. Get a sketchbook and don’t be afraid to fill it with practice drawings—these don’t have to be a finished product, just small sketches that you can use to experiment with different techniques and develop your skills.
Some drawing exercises for beginners that can help you improve at pencil drawing include:
• Gesture drawing: This is a great exercise for artists interested in figure drawing or portrait drawing. Instead on focussing on drawing a perfectly accurate figure, try to focus on capturing the movement and gesture of the form. Read our guide on the process of gesture drawing, so you can create more dynamic and fluid drawings.
• Line drawing: Another useful exercise for beginners is to try drawing with just lines, rather than trying to shade or create texture in the piece. Experiment with different line weights and patterns to create different effects, and focus on using your pencil as a tool for creating shape and form.
• Shading exercises: Try creating a smudge drawing. This is where you shade your drawing then blend all the lines of the form so that they appear blurry. It’s a great exercise which will force you to focus on the edges of the artwork and create a more realistic representation of light and shadow.
How to improve at pencil drawing
There are many different tips and techniques that can help you improve at pencil drawing, such as:
• Practising regularly: One of the keys to improving at any skill is practising consistently. Whether you’re trying a new technique or working on a specific project, make time in your schedule for regular pencil drawing practice. This will allow you to build your skills gradually over time and see real progress in your work. Practice your drawing exercises and give yourself time for freeform drawing and doodling.
• Focusing on fundamentals: In order to get better at pencil drawing, it’s important to focus on the foundational elements of good drawing, such as composition, line accuracy, and shading techniques. By mastering these key principles, you can create more polished and visually interesting drawings.
• Seeking feedback: Another great way to improve at pencil drawing is to get feedback on your work from other artists and art educators. Whether you’re looking for tips on improving specific techniques or advice on how to develop your ideas, seeking out feedback can help you identify areas where you need to refine your skills and focus your practice. We have a Facebook group for readers of Fine Art Tutorials—here you can meet like minded artists, post your work, ask for feedback and support others on their artistic journey!
Pencil drawing ideas
You may have lots of ideas for what to draw, but if you’re stuck for inspiration, here are some pencil drawing ideas:
• Still life drawings: Try drawing a range of still life objects, from inanimate objects like fruit and flowers to more complex subject matter like tabletop scenes. This is a great way to hone your still life observational skills and focus on different elements of composition, such as negative space or depth.
• Landscape drawings: Whether you’re drawing a realistic landscape or creating a more stylised piece, landscape drawing is one of the most popular subjects for artists. Try experimenting with different techniques and tools to achieve different effects, from loose watercolour washes to detailed pencil shading.
• Portrait drawings: An iconic subject for artists, portrait drawing can be especially challenging but also incredibly rewarding. Try drawing different people, from friends and family or even yourself. You can also experiment with different methods such as contour drawing or proportion grids to improve your skills. Try drawing with the Loomis Method—this will help you draw the head from scratch.
• Animal drawings: From wildlife subjects to pets, there are endless possibilities for pencil drawing ideas when it comes to animal subjects. Try drawing a bird, or a smaller animal first, then work your way up to more complex subjects. If you want to learn processes for how to draw various animals easily, check out our easy drawing ideas guide.
• Figure drawings: Whether you draw from imagination or use a reference photo, figure drawing is another popular subject for artists who enjoy pencil drawing. Try working on different poses and compositions, such as standing or sitting figures and groups of people. You can also experiment with different materials, such as charcoal pencils or shading pastels to achieve different effects.
Finally
The best way to improve your pencil drawing skills is to keep practicing, experimenting, and challenging yourself. Whether you’re working on a specific project or just sketching for fun, the key is to enjoy the process of learning and creating. If you’re interested in learning more about drawing, check out our complete list of drawing tutorials.