
Understanding how to shade drawings is a vital skill for artists. It can be the difference between a flat, two-dimensional image and a realistic, three-dimensional looking work of art.
This beginner’s guide will show you some simple shading techniques that you can use to add depth to your drawings. To make your shading look smooth and even, with a little practice.
We’ll go over the different types of shading, how to create gradients, and more. So whether you’re trying to add some depth to your sketches or make your artworks pop, read on for our tips on how to shade drawings!
Disclaimer: Fine Art Tutorials is a reader supported site. When you make purchases through links on this site, we may earn a small commission at no extra cost to you.
Shade drawings: Tips for success
Before we get into the details, here’s a quick summary:
- Use soft pencils to shade deep shadows: get yourself a 8B or 6B pencil for this.
- Leave the white of the paper to show through for the brightest highlights.
- Pick which shading technique you want to use: tonal shading, cross hatching or stippling.
- Spend time observing your reference, describing the value range and where the light source will be.
- Build up shadow tones gradually.
- Use a blending tool like a tortillion to smooth shaded areas.

The best pencils to shade drawings

Get some soft pencils that allow you to create ultra dark tones, for those contrasted shadow areas. If you’re using graphite pencils, the softness ratings range from around 5H (hard) to HB (medium) to 12B (ultra soft).
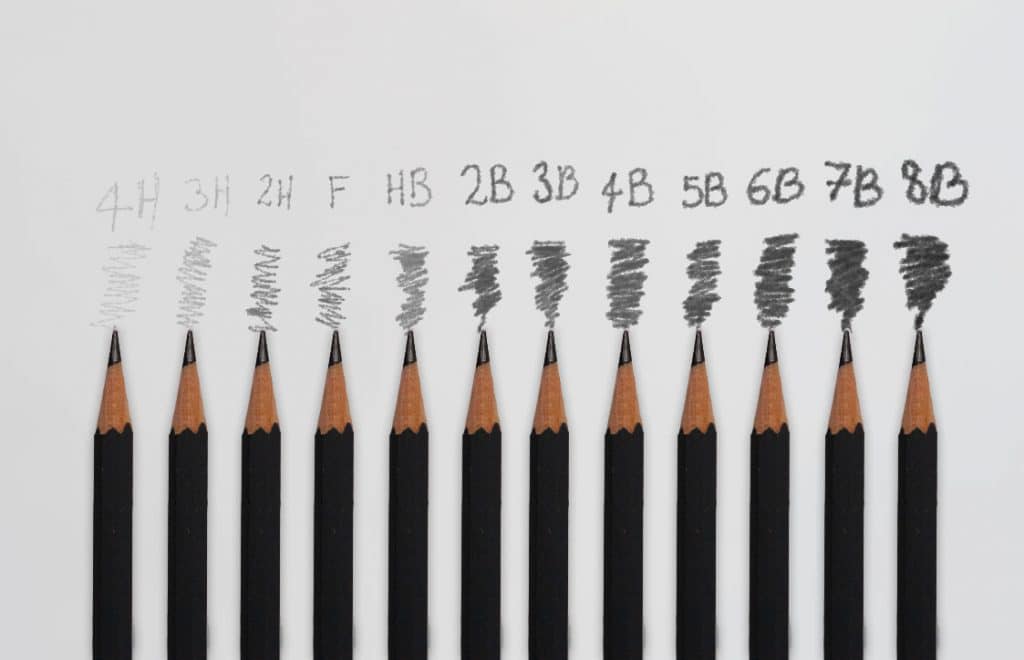
Look at the base of your pencil for the number rating and a letter. B stands for black and shows that the pencil will be soft, the higher the number, the softer the pencil. H stands for hard, which means the graphite will be harder, again, the higher the number, the harder the graphite.
If you’re looking for a new set of graphite pencils that have quality cores that create smooth shaded areas, the Faber Castell 9000 pencils or Caran d’Ache graphite pencils are both great options.

Other shading tools
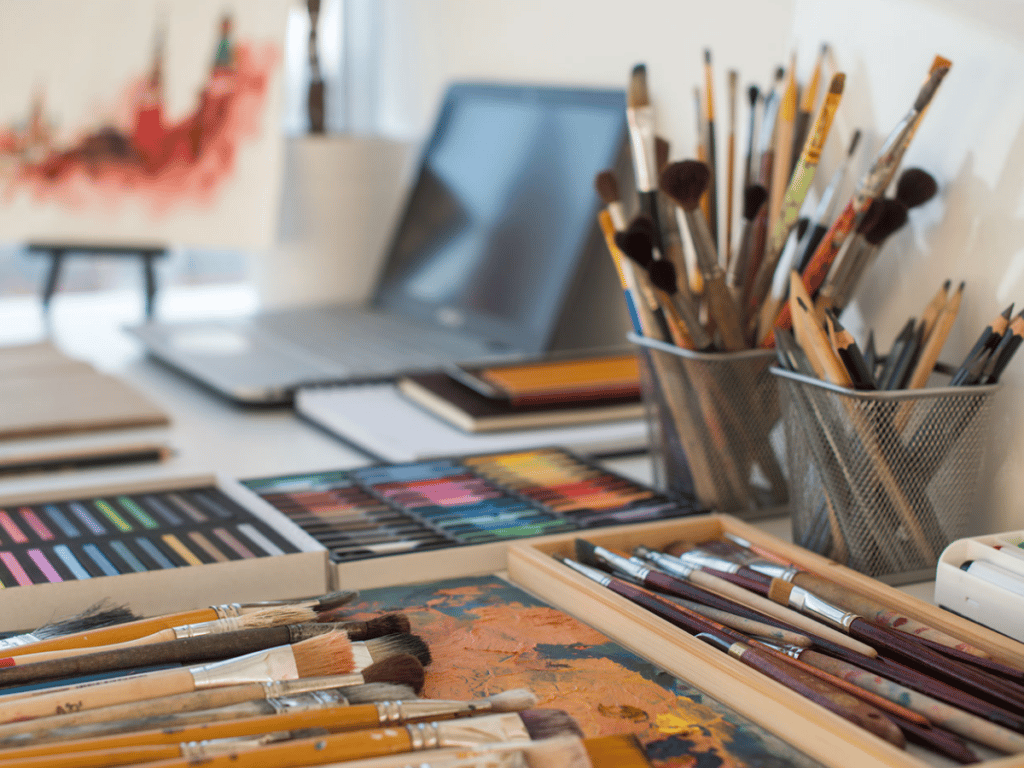
Other drawing tools you might find useful include a tortillion, which is a pointed stick made from paper that allows you to blend and smudge shaded areas with ease. You can also use a soft kneaded eraser to pick up subtle highlights and remove pencil marks without damaging the paper. Kneaded erasers are the perfect tool for lifting highlights in a drawing, because you can mould them into small shapes and create softer edges between highlights and shadows.
Another useful tool is a good pencil sharpener. This sharpener by Prismacolor will sharpen the pencil to a fine point and reduce breakage. However, if you can practice sharpening your pencil with a knife, so that the core is longer, this is preferable as it will optimise your shading ability.
Aside from pencils, sharpeners, erasers and blending tools, the only other tool you need for drawing is paper. Bristol board smooth is an excellent choice for graphite artists who want to achieve ultra fine detail. The paper has a smooth texture, which makes details stand out. If you’re using coloured pencils or charcoal to shade drawings, pastel paper works better than regular drawing paper. This is because the tooth of the paper allows charcoal and coloured pencil layers to adhere better. Pastelmat is an excellent choice, it has a subtle texture that grips to charcoal and pencil, and reduces the need for fixative.
The ultimate tool for smooth shading
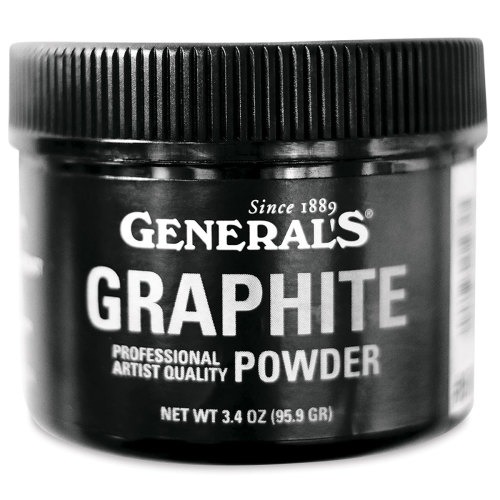
If you want to achieve seamless smooth shaded results and fill in large areas of background without seeing pencil marks, charcoal or graphite powder is the answer!
To use it, simply pick up the powder from the tub with a soft brush and work it into the paper. You can also dip a tortillion into the powder, to achieve finer blurry lines.
Shading techniques
Making the decision of what type of shading to use for your drawing is an important part of the creative process. Types of shading techniques include tonal shading, hatching, cross-hatching, stippling and scumbling.
The most common type of shading is tonal shading. This involves varying the pressure applied to the pencil to create light and dark values in a drawing. Apply more pressure to create deep shadows and use a light touch for the mid tones and transitional shades.
Hatching involves drawing parallel lines while cross-hatching consists of hatch marks drawn at a perpendicular angle, to create further depth and dimension.

To use the stippling shading technique, use a dotting action to shade the drawing. Use more dots in closer proximity to signify darker areas and dots spaced further apart for lighter areas of the drawing.
Ultimately, the choice will depend on the drawing style and your own preferences; each technique offers unique advantages. Experimentation is key to finding a combination of techniques that work best for you.
How to shade drawings smoothly
Have you ever experienced shading an area of your drawing, maybe you complete it too quickly, and the pencil marks look patchy. This is a common problem, with a few easy solutions.
Use an overhand pencil grip
This may sound too simple, but often self taught intermediate artists skip over this essential technique to focus on more difficult drawing skills. How you hold the pencil has a huge impact on the outcome of the drawing. For large sweeping strokes, hold the pencil with your hand over the barrel, away from the tip and slightly on its side.

This is called an overhand grip. To control and tilt the pencil, use your middle finger. This grip will enable you to use the side of the pencil core, to create wider shaded lines.
Move your shoulder instead of your wrist, when moving the pencil back and forth, to control the strokes better.

To create fine details, use a regular writing grip. This gives precision when creating small sharp lines, as you use your fingers to control the pencil.
Pencil sharpness
An ultra sharp pencil is great for creating details, line work and hard edges, but not so great for smooth shading. If your pencil is sharp, make sure to hold it at an angle on the paper, so the tip doesn’t create hard edges. If your pencil has softened a bit, this is perfect for shading.
How you sharpen your pencil also impacts the smoothness of shading.
The best way to sharpen a pencil is with an x-acto knife, carving the barrel of the pencil to create a longer core and finer point. To sharpen the tip, use sanding paper. This sharpening technique will give you more of the pencil core to work with, enabling you to create larger shaded areas with an overhand grip.
A pencil that I really enjoy using to shade drawings, that doesn’t need sharpening with a knife is the General Pencil Wrap Charcoal. Simply peel the paper away to reveal more of the charcoal core.
Practice shading
Practice your ability to control the pressure of the pencil, if you do not feel confident with tonal shading. Draw a square and practice creating a seamless gradient from dark to light from one end of the square to the other. Repeat this exercise until you have created a smooth shaded square.
Another exercise you can practice is shading a large square one tone. Maintain the same pressure throughout the drawing, so the shading appears smooth.
Analyse the reference

When you come to shade drawings, spending time observing your reference is key. By seeing and understanding the value composition in a scene, you will be able to accurately convey the relative values in a drawing.
One way to do this, if you’re working from a photo reference, is to use Photoshop, or another free photo editing program to put your reference photo into greyscale. This way, you can see the value range of the image, without colours obscuring the tones.
Use the colour picking tool to sample the values from the reference, or alternatively, screenshot values from the image if you don’t have a colour picker tool. Pick out the darkest and lightest values in the reference image. Because these are the darkest and lightest tones, you will now know that all the other values of the image fall on a scale in between these two values. This tells you the level of contrast in your reference image. You might be surprised at how values are closer in town than you might think!
This is just one method for analysing values in your reference, but with a trained eye, you don’t need to rely on art software programs to aid you. Attune your observation skills, or get a value scale to help you accurately describe the values in your reference. This will help you create more elegant and realistic looking drawings that don’t appear over contrasted.
Look at where the lightsource comes from and how the planes facing and opposing the source reflect the light waves. Notice how in the shadows of objects or subjects next to a surface, there will be a certain amount of reflected light bouncing off the other surface.
Find the light source in your drawing

When choosing a light source for your drawing, it’s important to consider how the degree of directness and brightness of the light affects the outcome. Natural sources such as sunlight and moonlight often require less artificial manipulation; however, indoor lighting can be ideal if there are ample ways to adjust both it or the space around it for dramatic effect. Also, warmer or cooler temperatures cast varying degrees of shadows that can add depth and space to a drawing. Understanding how different types of lighting behave is often key when you’re looking for that special atmosphere in your artwork.
If you’re not drawing from imagination, or setting up a still life drawing, you will instead have to describe where the light source is coming from in your reference or scene.
Focus on edges

Another key component to shading a drawing successfully, is paying attention to edges. Edges in a drawing are the transition between one element to the next. Edges can be hard, soft or lost.
When we talk about elements in a drawing, we mean the subjects or objects in a drawing. Hard edges are where two elements in a drawing are sharply defined, with no blending or softening between them.
In contrast, when two elements in a drawing blend smoothly into each other, this is known as a soft edge. Lost edges are where the transition from one element to another appears seamless.
It’s common to see lost and soft edges in the shadow tones in portraits, or in the distance in a landscape painting. Lost and soft edges can be used to show sections of a drawing that are out of focus, the quality of light in an image, or to show atmospheric perspective in a landscape drawing.
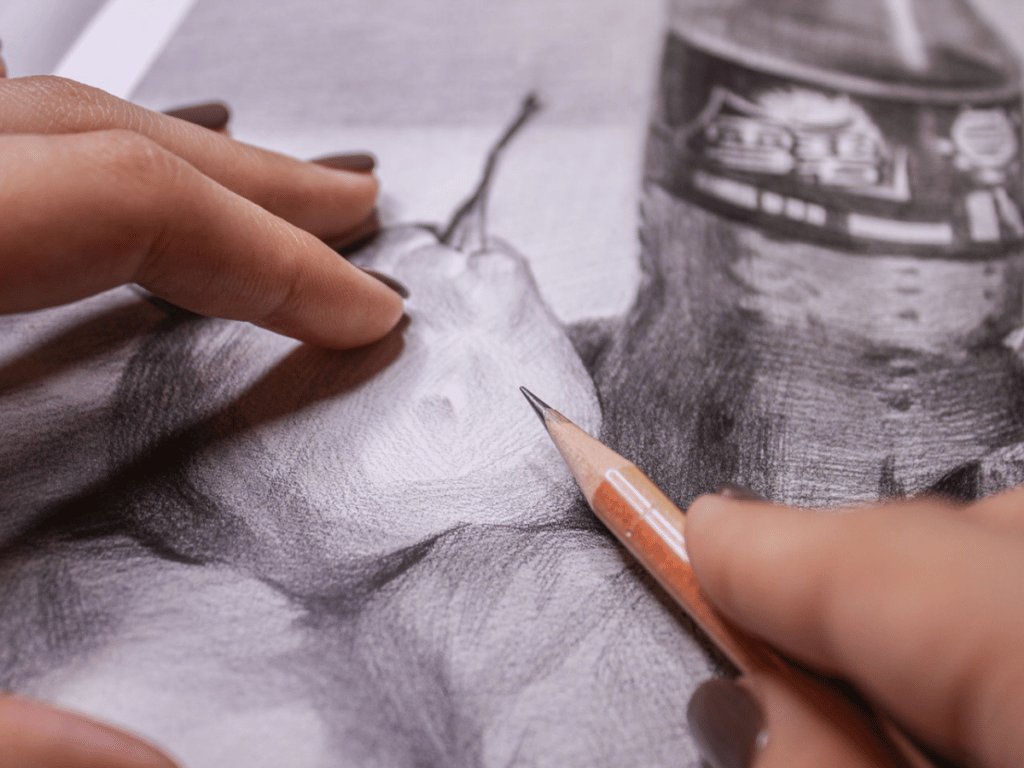
How to shade drawings: The process
Here’s a step by step shading process, to help you shade drawings more smoothly and accurately.
Sketch your drawing lightly in pencil first

Grab a HB pencil and sketch out the basic shapes of your drawing. To ensure accuracy in your drawing, you could use the grid method, or sighting techniques to draw your figure or scene with the correct proportions. If you’re drawing a cityscape or architecture piece, consider using linear perspective to achieve realistic proportions.
Map out where the darkest values will be

To shade the drawing, the first step is to map out where the darkest shadows will be. You can start by outlining the areas of dark shadow, or lightly filling in where these shadows will go. Start light and gradually build up the dark values.

Once you are confident that you have placed the darkest values in the right areas, deepen the tones by shading over the areas you mapped out.
Shading the halftones

Halftones, sometimes also called midtones, are the values between the lightest and darkest values. To shade halftones, apply less pressure than you did to shade the darker tones. You will see half tones and midtones on the planes that are not directly reflecting the light from the lightsource, but are also not being blocked by another object or subject.
Using strong contrasts between dark and light values can add drama to a drawing. For example, in a portrait, dramatic lighting can be used to create an intense expression.
Stroke your pencil lightly over the halftone areas and blend them with a blending stump until they appear as seamless tones and gradients.
Start shading transitions between shadows and halftones
In this step, pay attention to the edges between different elements. For lost and soft edges, blend with a tortillion and leave hard edges, where two elements are sharply defined, unblended. Increase the contrast between dark and light values, then blend again.
Deepen darkest shadows

Add more definition to the shadow areas where the values appear darkest. You can use these darkest tones sparingly and only in areas that really need it. This will help you achieve a more realistic and dynamic look in your drawing, without making it too dark or over contrasted.
Lift highlights with eraser

You may want to lift any areas of the drawing that appear too dark, for example, midtones that should be lighter. Look for areas of shadows where there should be some reflected light and lift these with a kneaded eraser. Of course, you’ll want to clean the drawing up by erasing any outlines that you made to plan the drawing.
Refine details
Finally, polish your drawing by refining any details. You can go back and finish areas of the drawing where you left some white space in earlier steps. This will help to create a professional-looking piece with a clean finish. This last touch can make all the difference in unifying your artwork and taking it from being ‘good’ to ‘great’.
Finally
Learning to shade smoothly, evenly and accurately is a learning curve, but you will see improvements if you practice regularly. If you’re new to drawing and want to improve your skills, read our guide on how to improve drawing skills or check out our list of drawing tutorials.