Graphite drawing is perhaps the most popular and common drawing tool. If you’ve ever done a drawing or sketch with a pencil, the likelihood is that it was a graphite pencil. Graphite pencils are cheap and are the pencils often found in schools.
So, what makes graphite drawing special and what makes it the medium of choice for professional artists? In this guide, learn all about graphite drawing, from the absolute basics to more advanced techniques that will help you improve your drawing skills. The first step to mastering your chosen drawing medium is in understanding its working properties. So let’s get into it.
Disclaimer: Fine Art Tutorials is a reader supported site. When you make purchases through links on this site, we may earn a small commission at no extra cost to you.
What is graphite drawing?
A graphite drawing is an artwork made from graphite pencils. Graphite is a mineral found in rocks, it is the element carbon in a crystalline form. It’s made up of stacks of graphene, that impart on paper when pressure is applied. This is what gives you smooth consistent lines when you hold a pencil and drag it across paper. Because graphite is soft and brittle, a casing is required to hold the material.
Artists use graphite, not just in pencil form, but in powder form too. In powder form, graphite can be applied to paper using a brush, sponge or tortillion.
It has been used as a drawing tool since the 16th century. It came into common use due to its ability to create a darker mark than lead.
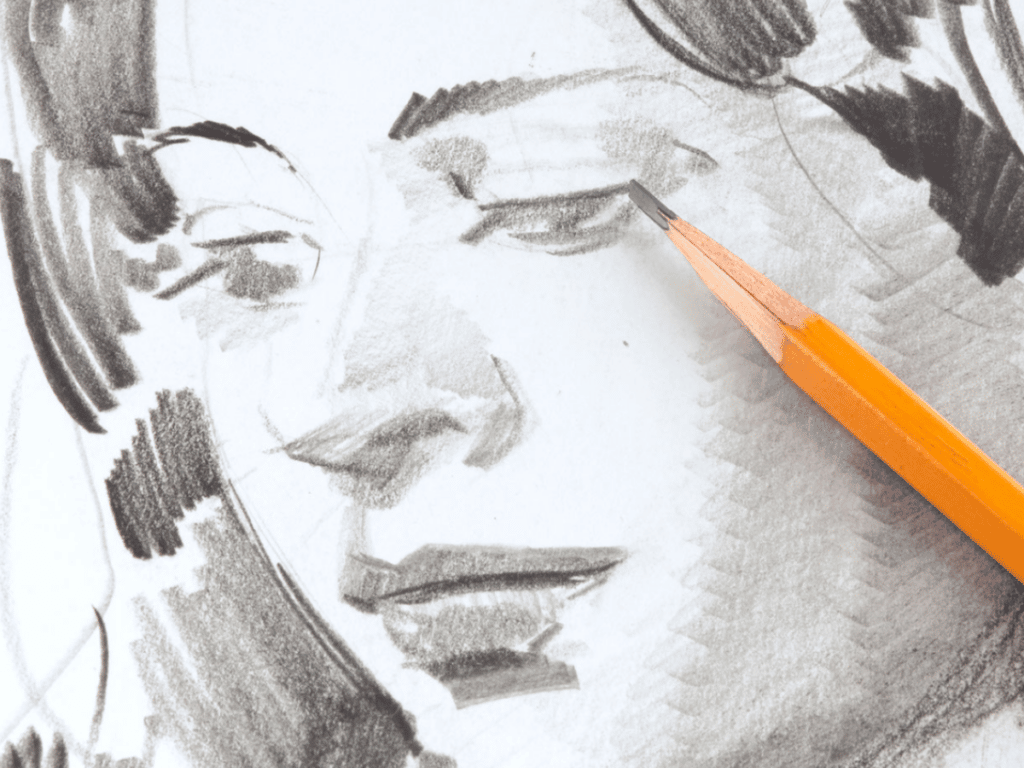
Depending on the pressure applied, artists can vary the appearance of light and dark values on the paper. Plus, due to its stable nature, artists can sharpen the graphite to a point and create fine details, without the graphite snapping or crumbling too easily.
How are graphite pencils different from charcoal pencils?

While both graphite and charcoal are made from carbon, they differ in their texture, hardness and working properties.
How are the materials different?
Graphite is a soft mineral found in rocks, while charcoal is created by slow-burning wood or other organic materials. This burning process removes water and other chemicals from the wood, leaving behind pure carbon.
Charcoal is softer, more crumbly, more dusty but also has a dark black colour. Whereas graphite is more stable, less dusty and crumbly, with a grey metallic finish. Compressed charcoal is harder to erase than graphite, but willow and vine charcoal is easier to erase.
What are the different approaches to drawing with graphite vs charcoal
Charcoal comes in different formats compared to graphite. You can buy charcoal in stick format, which is essentially just a burned grape vine or willow stick without a casing. Compressed charcoal has been treated to be more durable, less soft, less brittle and darker. With these different formats of charcoal, artists often take different approaches to drawing. For example, artists using willow charcoal will often draw standing with their paper propped upright on a drawing board at an easel. Artists will hold the willow charcoal nearer the base of the stick and use sweeping, expressive marks to create a drawing.
Because willow charcoal is easy to erase, artists can take a subtractive approach to drawing, by starting with a mid tone and lifting highlights with an eraser.
This contrasts to most artists who draw with graphite, sitting, with their paper flat on a table. Using less expressive gestures to create more detailed marks. Graphite artists will often take the approach of drawing an accurate outline, then shading the lightest values and building the darker areas.
What are the benefits of graphite pencils?

There are many reasons why artist choose graphite as a drawing medium. It’s versatile, as pencils range in softness. This means that depending on the pressure applied to the pencil, artists can create a large tonal range in their artworks. From deep shadows to light highlights.
Another advantage of graphite pencils is their erasability. Marks made with graphite pencils are not indelible, so you can use an eraser, like a kneaded eraser to lift marks. Make sure to use a light touch to draw lines in the first stage of your drawing, so that you can erase the lines easily if you make a mistake. This contrasts to mediums like coloured pencil and compressed charcoal which can be more difficult to erase.
Graphite pencil is also more convenient to use, in the sense that you don’t need lots of extra supplies to make a successful drawing. If you were drawing with coloured pencil or charcoal, you would need to use a thick, sanded paper so that the mediums adhere to the surface. However, with graphite, you can use regular drawing paper and create an incredible artwork. Plus, because graphite adheres to smooth paper surfaces well, it reduces the need for a fixative to prevent smudging. Whereas other mediums require fixatives to prevent particles of that medium from moving around or falling off the page after the drawing is complete. In summary, all you really need for graphite drawing is a pencil, a piece of paper, an eraser and a sharpener.
Finally, graphite pencils are cheap, easy to transport and they do not make a mess. This is why almost everyone has tried graphite drawing and why it’s the first art medium that people experiment with. It’s incredibly accessible and can yield beautiful monochromatic results.
What are the disadvantages of graphite
While artists can achieve a large value range in their drawings and create contrast between light and dark, graphite only comes in grey shades. This means that you cannot create a drawing with a large chromatic range. For artists who want to create coloured pencil drawings, they will have to use oil or wax based pencils, like Faber-Castell Polychromos.
The other limitation of graphite, is that the marks made with the medium are not as dark as with charcoal. Even when using the softest graphite pencil (i.e an 8B or 12B), that should provide the darkest marks possible, it does not compare to the jet black, matte marks made by charcoal. The other point is that charcoal will provide you you with a matte finish, whereas the finish of graphite tends to have more of a silvery, satin-like quality.
When you press hard with graphite to create dark marks, you may notice that the marks look slightly reflective. This is called burnishing and it’s generally considered an unwanted side effect of drawing with graphite. For artists who digitise their drawings for print, they may find that graphite reflects light and obscures the artwork when photographing. If you want to achieve dark, black, matte marks in your shadows, consider using charcoal.
What is graphite used for
Graphite can be used to create a preliminary drawing or sketch beneath a painting, or it can be used to create final pieces.

It’s also one of the best mediums of choice for sketchbook and practice work, due to its minimal dust and mess. So artists will often use graphite to create studies or composition sketches for larger final pieces in their sketchbooks. Sketchbooking is an awesome way to practice drawing, if you want some sketchbook ideas, check out our guide.
Graphite can be used on canvas for underdrawings. Some artists may use a graphite pencil to create a grid for measuring the proportions of their final piece, before creating an accurate drawing.
Because graphite has an excellent value range, with its ability to create dark shadows, it’s also used by many professional artists to create final pieces. Graphite can be sprayed with fixative to prevent smudging and protect it from UV, for drawings that you want to sell or keep for years to come. Drawings can also be framed behind UV resistant glass, to further protect it from fading. If you want to create professional quality graphite pieces, make sure to get quality, acid free paper and quality graphite pencils. Look into getting graphite fixative too to seal your artworks.
Graphite drawing tools and supplies
You don’t need many supplies for graphite drawing, but the supplies you choose can affect your drawing experience.
The best graphite pencils
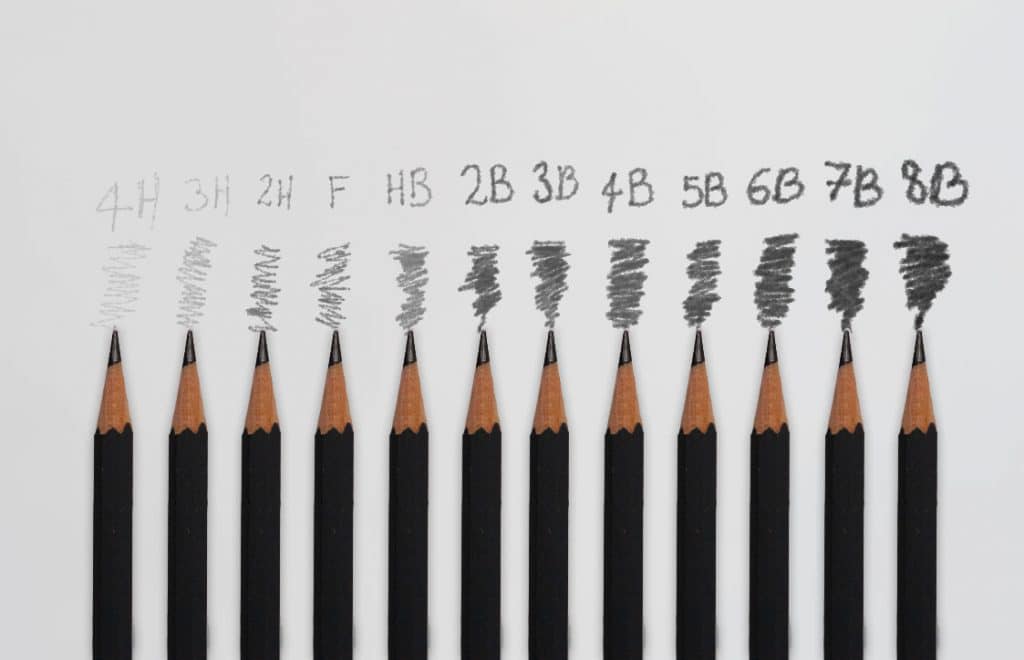
Graphite pencils range in quality and hardness. The pencil hardness ranges from hard to soft with 8H being the hardest and 8B being the softest. You might be able to find softer pencils that are 12B, however. An 8B pencil will give to the darkest marks and are best for shading, while the harder pencils are better for technical drawings and making ultra light, easy to erase thin lines.

The best quality graphite pencils will have a core that is resistant to breakage and feels smooth to draw with. Some great options are the Faber-Castell 9000 Graphite pencils, or the Caran d’Ache Grafwood pencils. These are both professional artist quality graphite pencils.
Other graphite drawing supplies
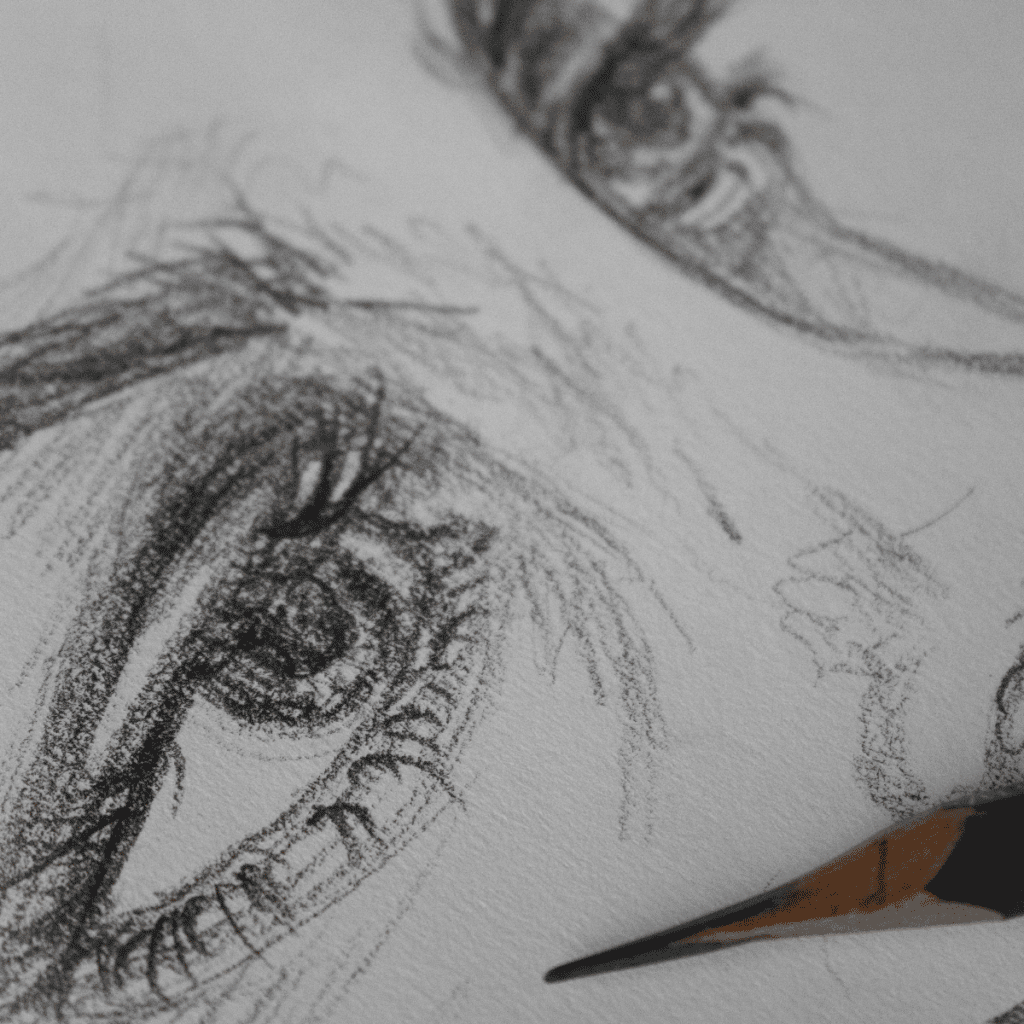
There are a number of other supplies artists use for graphite drawing. One of the, being powdered graphite. Use this to create smooth blends and gradients in your drawings. This is especially useful for drawing portraits and figures, where the edges and shadows of the facial features softly blend into the midtones and highlights. Apply the powder graphite with a brush, use a large brush for backgrounds or large areas you want to fill.
You might also want to have an eraser on hand for graphite drawings. A kneaded eraser is excellent for picking up pencil marks without damaging the paper. To erase fine details, get a fine tipped eraser, like the Tombow Mono Zero.
The paper you draw on can make a huge difference to the final effect of your piece and your drawing experience. Smooth papers like Bristol Board are great for drawing detailed pieces. Many brands of Bristol Board come in two varieties, Smooth or Vellum. Vellum has a slight texture and will take more layers of pencil, whereas smooth paper will showcase the tiniest details.
If you want to experiment with different surfaces, try a textured paper, like a cold pressed watercolour paper, or a pastel paper. This can give your drawing more depth and make it look more interesting. Just be aware that the texture will show through in your final piece and some of the finer details may get lost. Pastel paper would be a great option for using with looser graphite powder, so that the powder adheres to the surface better.
Graphite drawing techniques
There are a number of different graphite drawing techniques you can use to create different effects in your drawings.
Hatching

Hatching is a great way to add shading and depth to your drawings. To hatch, simply draw a series of close parallel lines. These can be in any direction, but usually follow the contours of whatever you’re drawing. Cross hatching is where you draw a second set of lines at right angles to the first.
You can also vary the width of your hatching lines to create different effects. For example, using thicker lines for shadows and midtones, and thinner lines for highlights.
Blending
Blending is another way to create smooth gradients of shading in your drawings. To blend, use a tortillion or your finger to lightly smudge the pencil lines you’ve drawn. This will create a softer edge and transition between different tones.
Graphite drawing examples and ideas
Now that you know the basics of graphite drawing, let’s take a look at some examples to get inspired.
These five landscape drawings are perfect for beginners to try. Get a sketchbook and complete one drawing on each page, if you want a clean border around your drawings, you could try using masking tape. This video will help you in rendering landscape scenes at speed, using pencil techniques to achieve the appearance of texture in drawing the leaves on trees and water. The five sketches show how quick and easy it can be to draw with graphite, with minimal setting up and cleaning up time. You can get your sketchbook and pencils out whenever inspiration strikes.
Have you ever been interested in the realism drawing style? This video by Proko demonstrates how you can create realistic value ranges in images to create a striking portrait piece. Proko uses hatching to shade and create texture. If you’re looking for more drawing ideas, check out our guide of 70+ tutorials and prompts. If you want to learn how to draw a head from scratch read our tutorial, or read up on how to draw a side profile portrait.
Graphite drawing styles

You can create art in any style you can imagine with graphite! From simple and modern looking line art, to academic drawing studies. Sketching and doodling are great ways to practice drawing and are good for warming up before creating a larger piece, but they are also drawing styles themselves. Read our guide on drawing styles, to find out more about the history, backgrounds and techniques behind popular styles, including hyperrealism, manga, comic art and more!
How to draw with graphite
There are no rights and wrongs when it comes to art and different artists will have different processes and approaches to drawing. However, if you’re a beginner and not sure how to approach drawing, there are steps you can take to minimise mistake making and build up the tones in your drawing in a more efficient way.
Steps to create a successful drawing
- Sketch your composition with light pencil strokes on paper.
- Decide on the values you want to use in your drawing. Will your drawing be mostly light or dark?
- Draw a more precise outline of your drawing around your sketch. Then draw around where the shadow and highlight areas will be with a 2B or HB pencil.
- Work in the light midtones and midtones with a 4B or 6B pencil.
- Add the deepest shadows with a 8B or 9B pencil.
- Use a kneaded eraser to lighten areas and create highlights.
- Use a tortillion to blend areas of graphite. Focus on the edges between light and dark to create realistic effects. For example, some edges of elements will appear soft, whereas others will appear more defined, depending on the distance, perspective, lighting and atmosphere of the scene. For example, shadows on a face will usually appear soft.
- Optionally, finish your drawing by spraying it with a fixative. This will keep your pencil work from smudging or being erased.
Finally
Now you know the basics of graphite drawing, including some essential supplies, pencils types and techniques. You’ve also seen examples of different styles you can try. So grab a sketchbook and some pencils and start practising! When starting out, practice drawing and shading basic shapes, work your way up to easy drawings, then you’ll feel equipped to try drawing more complex subjects and scenes. Remember to keep learning new techniques and experimenting to find what works. If you want to learn how you could improve at drawing faster, check out our guide! If you want our complete list of drawing tutorials, read the guide.