In this guide, find 19 digital art tips to improve your skills. If you’re new to the world of digital art, or if you’re just looking for some tips to help you improve, here are a few things to keep in mind…
Disclaimer: Fine Art Tutorials is a reader supported site. When you make purchases through links on this site, we may earn a small commission at no extra cost to you.
Choose the right software program
There are a number of choices of digital art software programs out there, each with their own benefits. Some common software programs used for digital art include Photoshop, Illustrator, GIMP, Procreate, Clip studio paint and Corel Painter. There are also a number of free digital art software programs. These often don’t have as many features as the paid for versions, but could be worth trying for beginners on a budget.
Before you choose a program, it’s important to decide what type of art you want to create. If you’re planning on doing digital painting, photo manipulations or retouching, Photoshop is the industry standard. Photoshop is efficient and easy to use. Create subtle details, gradients and transitions in line, shape and colour that appear painterly. Simply set up your computer with a graphics tablet, or download the Photoshop app onto an iPad and start drawing!
For vector art or cartooning, Illustrator might be a better choice. If you’re looking for a free program, GIMP is a good option.
Clip Studio Paint is another digital art software program favoured by comic artists. It’s great for line art, animation and it has a greater range of brushes than Photoshop.
Corel Painter is another popular choice for digital painters. Both Corel Painter and Procreate are wonderfully intuitive programs that have both been designed to imitate the feel and results of traditional painting mediums. Check out our guide on the best Procreate brushes to find brushes that emulate the effects of traditional mediums like markers, ink and oil paints.
The software program you choose will likely come down to personal preference and what you’re most comfortable using. But it’s important to do your research and try out a few different programs before settling on one.
Customise your brushes
One way to make your artwork feel unique and to fulfil your creative vision is to customise and create your own brushes. Each software program has different options for customising brushes. In Photoshop, you can create custom brushes by manipulating the brush tip, shape, dynamics and texture.
In Corel Painter, you can use the Brush Creator to design your own digital painting brushes.
Download new brushes

Artists also have the option to download a number of free or affordable brush packs online that have been created by other digital artists.
There are a variety of different types of brushes available, from traditional media to more stylised brushes.
Get a brush pack from Creative Market, find brushes that look and behave like oil paints, watercolour paints, ink, clouds and more. You can even download composition guides to improve the look and appearance of your artworks, bringing harmony to your work.
Try digital art plugins

Another way to make your digital art software program more versatile, so that you can create custom artwork more efficiently is by downloading a plugin.
On Creative Market, you can find plugins to increase the power and working ability of Photoshop. For example, get the texture blender plugin to mix and blend multiple different textures. Or download the shadow plugin to create more realistic look shadows of different layers.
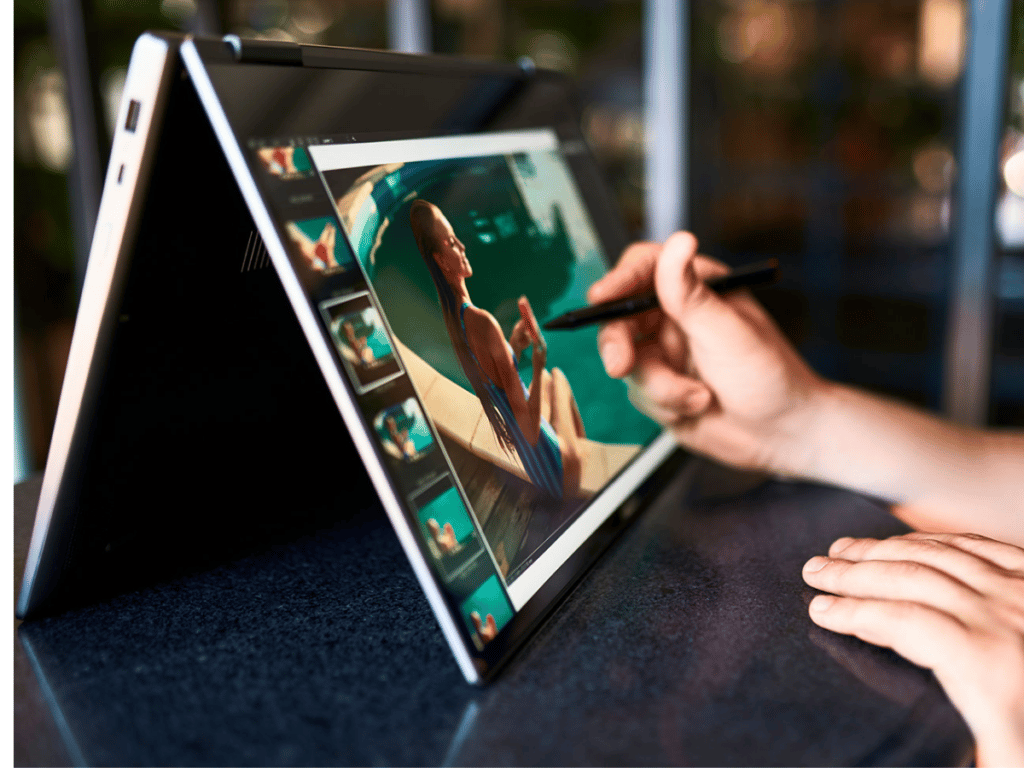
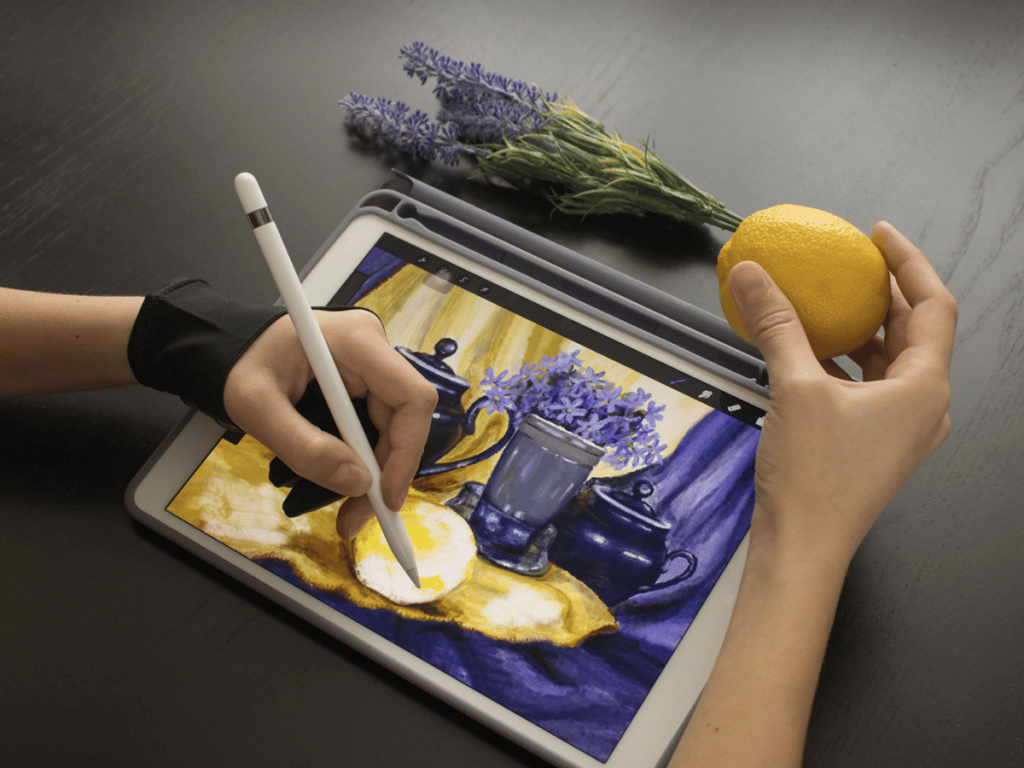
Get a graphics tablet
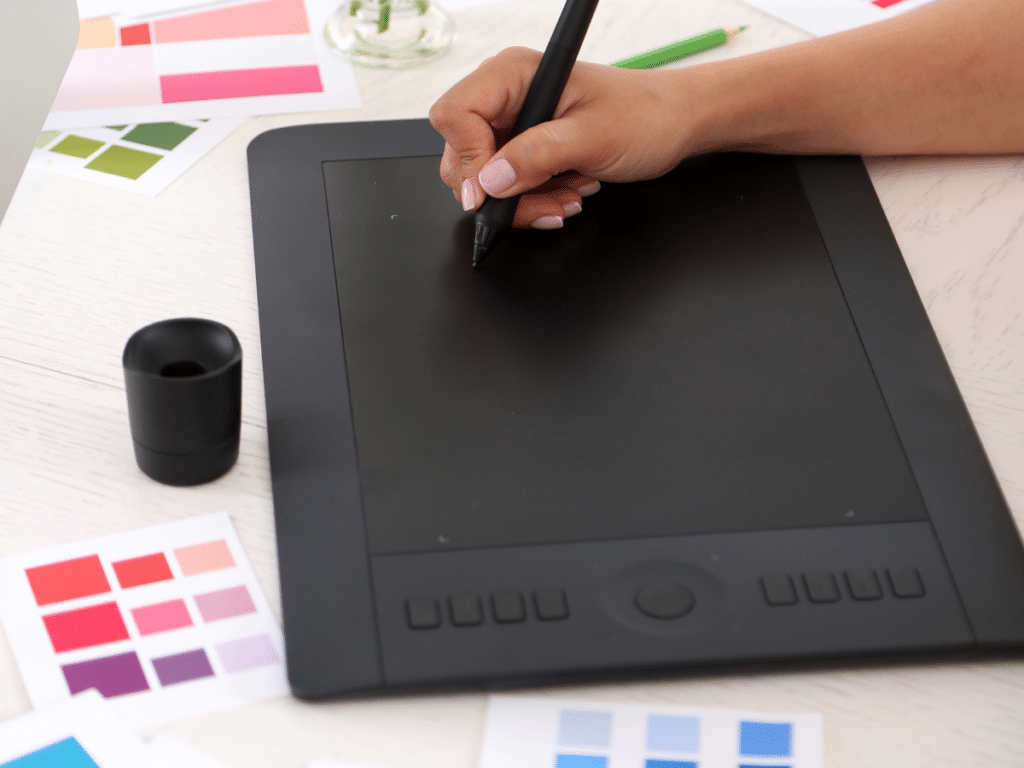
If you’re planning on doing any type of digital painting, a graphics tablet is an essential piece of equipment. A graphics tablet is a device that connects to your computer and allows you to draw directly onto the screen.
Wacom is a popular brand of graphics tablet, but there are a number of different types and brands available on the market.
When choosing a graphics tablet, it’s important to consider the size, pressure sensitivity and type of stylus (pen) you need. If you’re planning on doing a lot of detailed work, you might want to opt for a larger size tablet.
If you’re on a budget, there are a number of affordable options available. The Huion Inspiroy comes with 6 customisable hotkeys and 8192 pressure sensitivity levels.
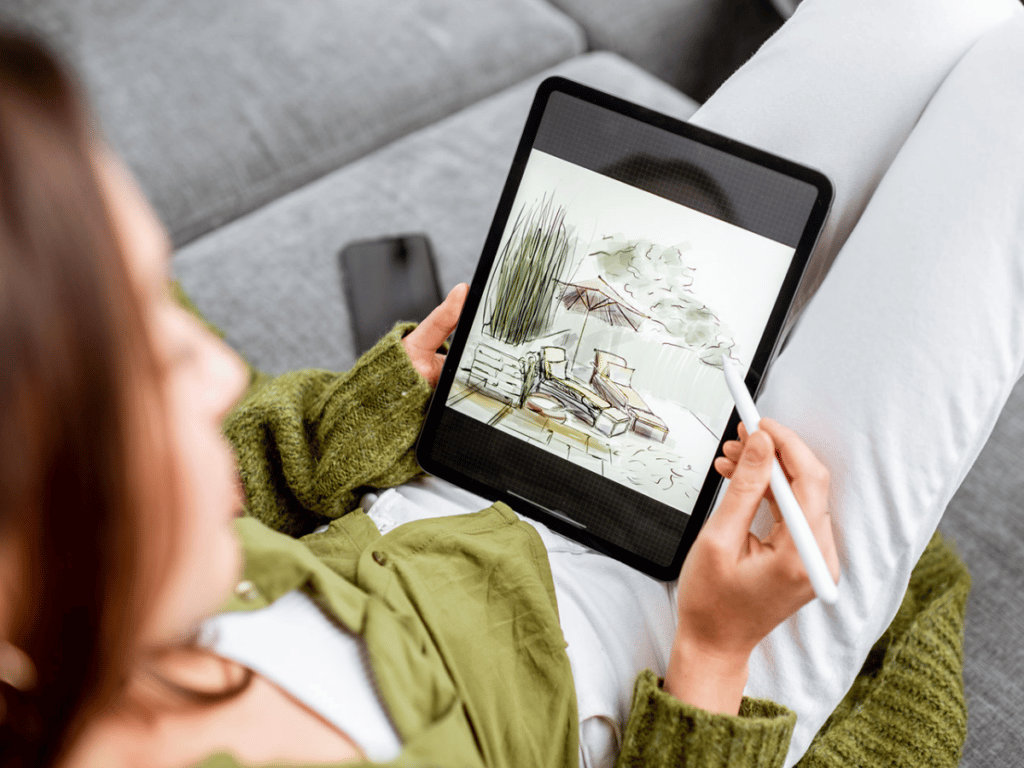
Alternatively, the iPad is a great tool for digital art, with an Apple Pencil and your favourite digital art app, it can be transformed into a mini canvas. There are also a number of 2 in 1 tablet laptops on the market, check out our review of the best laptops for artists to find out more.
For more supplies and gift ideas for digital artists, check out our guide.
Learn how to use layers
Organisation is key when digital painting. This means organising your layers panel in a way that makes sense for you and your project.
Layers sit on top of each other, with the bottommost layer being the first one you see, and the topmost layer being the last one you see. So a layer created on top of the first layer can cover, or partially cover artwork on previous layers.
Artists are also able to hide layers. For example, in the first layer you could use the brush tool to sketch out an outline for your digital drawing. Then create a new layer for the next section of your drawing that you want to work on. Once the outline is covered, you can hide the outline sketch, or remove it completely.
By working with sections spread across multiple layers, if you need to erase one specific section, it means that you can keep the work that you completed in other sections and it will be unaffected by this erasing action.
Make sure to label layers so you know which brushstrokes sit in which layer. If you want to be extra organised, you can create layer groups for different sections of the artwork.
Use the correct document settings
When creating the artboard, you will be able to first configure the colour settings, size and resolution.
If you are making art for print, make sure to set the colour profile to CMYK and the resolution to 300ppi. When making art for web, configure the settings to the RGB colour and a resolution of at least 72ppi.
Practice some drawing exercises
If you’re new to digital art, or if you’re just looking for ways to improve your skills, practicing some basic drawing exercises can be helpful. One helpful exercise is to try to draw a variety of subjects, both from memory and from life. Another is to experiment with different brushes in your software program to find the ones that you’re most comfortable with.
Artists that are used to drawing with traditional media like pencil and pen may be familiar with drawing exercises like contour drawing, or continuous line drawing. You can use these drawing exercises in digital art software programs too,
These exercises will help you to get a feel for the software program you’re using, and they’ll also help you to develop your own style.
Study anatomy
Another tip for improving your digital art skills is to study anatomy. This can be helpful whether you’re drawing humans, animals, or creatures from fantasy worlds. Understanding how the different parts of the body fit together can help you to create more realistic drawings.

One way to learn about anatomy is to look at reference photos or illustrations, and to try to draw what you see. Another way is to take a life drawing class, or to find an anatomy book or tutorial that covers the topic in depth.
Learn colour theory
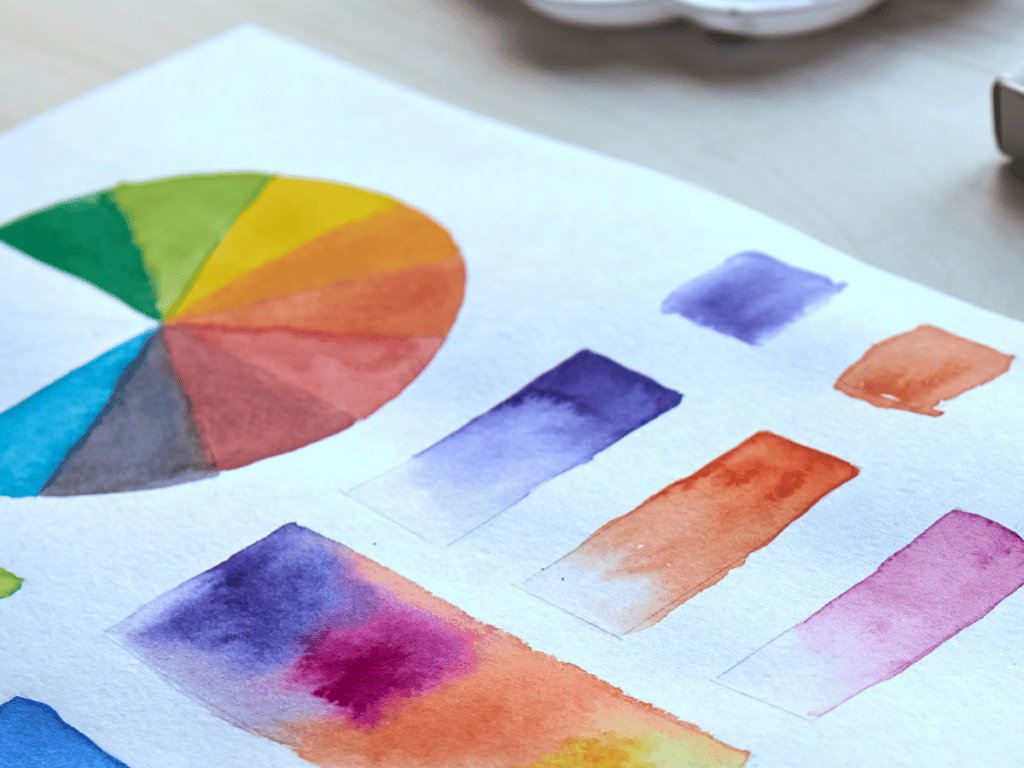
Learning colour theory can greatly improve your art practice, in both traditional and digital applications. A good understanding of colour can help you to create harmonious and eye-catching compositions.
There are a few basic concepts that you should familiarise yourself with, such as the colour wheel, primary colours, secondary colours, and tertiary colours. You should also learn about complementary colours, and how they can be used to create contrast in your artwork. Once you know how to plan a effective colour scheme
Having a good grasp of colour theory can help you perceive relationships between colours better, which can help you with isolating colours in a reference and choosing colour combinations for your artwork to achieve your desired effect. Whether that is choosing realistic colours, or choosing a more surreal colour palette. Our tutorial on colour theory covers everything you need to know!
Use a photo reference
Having a reference photo or several reference photos for an art piece is a great way to improve accuracy in a piece. For example, you could take some portrait photos to refer to for the lighting, angles and proportions of a face if you are a portrait artist. Equally, if you create more surreal or fantasy style art, you could take multiple reference photos and mesh them together, picking details from particular elements you want to include.
Focus on the composition of the artwork
Most professional artists will plan the composition of an artwork before they start. This might involve drawing multiple composition sketches. Pick up a sketchbook and a pencil and create some quick thumbnail sketches to plan where the main elements will go.
There are a number of compositional techniques you can employ to improve the appearance of an artwork. The most famous composition technique is the rule of thirds, whereby the canvas or artboard is divided into three sections, both vertically and horizontally. Then, the main elements are placed within one of these three intersections. The purpose of this technique is to lead the viewer’s eye in, by placing elements where the eye is naturally drawn to. You don’t have to use this technique, it’s just one example of how you can plan how you will arrange elements in the artwork.
Think about where you will place the focal point, how you will grab and hold the viewer’s attention by leading the eye in and how you will create a sense of balance, harmony or dynamism.
Plan the artwork before you begin
There are more ways of planning an artwork, other than just focussing on the composition. Plan the colour scheme of the artwork. Try editing a photo reference and altering the colour profiles so that they better represent the effect you want to achieve in your finished piece. For example, you could increase the saturation in some areas, increase the contrast or make the image more muted. You could also colour grade the reference image, to change the hues and intensities of particular colours. These are creative ways to change the ambience and message of your digital painting. Then once you have decided on a colour scheme that achieves your desired effect, you can use the same palette to create your drawing in your art software.
Learn some more advanced digital art techniques
As you use your digital art software more, you will become more familiar with the tools and functions. You may be interested in improving your skills with using the program. Learn how to use layer masks, how to colour grade, how to customise your own brushes and more.
Layer masks are used to isolate areas of an artwork, so that you can make changes to just that area. For example, you could use a layer mask to darken the shadows on one element without affecting the rest of the image.
Colour grading is a way of changing the overall colours in an image. This could be done by increasing the saturation, or by changing the hues of the colours.
Customising brushes is a great way to make your digital paintings more personal. You could create custom brushes that better represent traditional media, such as watercolour or oil paints. Or you could design your own set of brushes to give your artwork a unique textural quality.
Take a digital art class
Go to YouTube or Skillshare and start learning from experienced artists. Skillshare is an excellent resource for artists and anyone who wants to learn new skills in depth.
In this class by Kurt Michael Russell, learn to colour drawings with Clip Studio Paint and add colour to line art drawings like a pro. Learn tricks and shortcuts to speed up the art creation process. Plus discover how to use highlights and shadows to make atmospheric pieces.
Composition for Illustration is a class made by Iva Mikles, that teaches students how to make beautiful compositions and unique artworks in Procreate. Learn what makes for an aesthetically pleasing composition and how to engage viewers with art.
Character Design for Beginners is a class taught by The Artmother. In it, learn from start to finish how to create your own character designs and illustrations. The class includes core design skills like creating interesting features, striking silhouettes and how to tell a story with your designs.
These are just three examples of some of the awesome classes you can take, find more digital art classes on Skillshare to improve your skills. Or, check out our review of the best digital art books if you prefer learning from books!
Experiment with different brushes and tools
One of the great things about digital art is that you can experiment with different brushes and tools without having to buy any new supplies. Simply open up the brush menu in your software program and try out some of the different options. You can also download brushes that other artists have created, or even create your own.
Explore different brushes and filters. Try out different colour schemes. The best way to find what works for you is to experiment.
Learn some types of digital art
As a digital artist, you have a lot of freedom to experiment with different mediums and styles. You could try your hand at:
-Digital painting
-Vector Drawing
-3D modelling
-Digital collage
-Animation
The possibilities are endless. So explore and find what type of digital art speaks to you.
Develop your own style
One of the best ways to stand out as a digital artist is to develop your own unique art style. This can be tricky, and it may take some time, but it’s worth it.
Think about the kind of art that you want to create, and consider what makes your work unique. Are there certain subjects that you’re particularly drawn to? Certain colours or textures that you like to use? Once you’ve identified some of the things that make your work unique, try to incorporate them into all of your art.
As you become more comfortable with the software program you’re using, it’s important to start developing your own style. This will make your artwork stand out and feel more authentic.
Remember to save!
This may seem like an obvious one, but it’s important to remember to save your work often, especially if you’re working on a large or complex project.
There are a few different ways to save your work:
-Save as a .psd file: This is the native file format for Adobe Photoshop. When you save your work as a .psd file, all of the layers and changes you’ve made will be preserved, and you can always go back and edit them later.
-Save as a .jpg file: This is a compressed file format that is best for exporting finished artwork or sharing files online. When you save your work as a .jpg, some of the information in the file will be lost, but it will be smaller and easier to share.
-Save as a .png file: This is a lossless file format, which means that none of the information in the file will be lost when you save it. However, .png files are typically larger than other file formats, so they’re not ideal for sharing online.
Finally
Digital art is a fantastic way to create beautiful pieces of art. With these digital art tips, you will be well on your way to creating stunning artwork of your own.
So, what are you waiting for? Get creative and start experimenting!
Which of these digital art tips have you tried? Let us know in the comments.
If you’ve found anything on this site especially useful, you can make a donation to me through PayPal. I take a lot of time to research and write each topic, making sure each tutorial is as detailed as possible and I make all my content freely available. Any small donation (even the price of a cup of coffee!) can help me to cover the running costs of the site. Any help from my readers is much appreciated :).
Follow the link in the button below to support this site.