
Acrylic painting for beginners: learn the essential techniques and how to use acrylic painting supplies to get the best results.
The acrylic painting medium is a great choice for beginners. You don’t need to many different materials to get started, the paint dries quickly and is easy to clean. Plus, artists can create a wide variety of effects, depending on the mediums that are added and techniques used.
Disclaimer: Fine Art Tutorials is a reader supported site. When you make purchases through links on this site, we may earn a small commission at no extra cost to you.
Acrylic painting for beginners: the basics

Before learning about some of the more advanced acrylic techniques, we’ll run through the basics. You’ll need to know some of the properties of acrylic paint, how it handles and the ways in which it can be applied to the canvas.
Acrylic paint is a water soluble, fast drying medium. It’s made up of binder (which is usually a polymer resin) and pigment. Most brands of acrylic paint will dry in around 30 minutes to an hour. Although this depends on how thickly paint has been applied. The fast drying time suits artists that like to work quickly and also work on dry layers to create hard edges and defined lines.
If the fast drying nature poses an obstacle for the effects you want to achieve (such as blending), you can change its drying time by adding a slow drying medium or by using Open Acrylic paint.
The versatility of acrylic paint, paired with its lightfastness makes it appealing to professional artists. Professional painters can achieve gallery quality artworks. Dry acrylic paint has a strong, flexible film. In professional grade brands, colour is permanent. Expect paintings to stand the test of time.
Do you wet your brush before using acrylic paint?
Acrylic paint is water soluble when wet. This makes acrylic relatively easy to clean and paint with compared to oil. Add water to the paint mix to make it runnier and more transparent.
However, if you add too much water, the paint film can become brittle. For this reason, artists add additives and acrylic paint mediums to extend the body of the paint, without compromising the paint film.
Artists don’t have to add water to acrylic paint. You can paint straight from the tube. Use water to clean brushes, however.
Although acrylic paint is water soluble when wet, it’s not soluble once dry. In this way, it differs from watercolour and gouache. This means you can create multiple separate layers of wet on dry paint without colours mixing into one another.
Acrylic painting for beginners: how to start painting
Acrylic paint is versatile and with the addition of a medium, artists can change the working properties. Make the paint runny and translucent so it behaves like an oil glaze with a glazing medium. Or thicken the paint with gel or paste to create thick impasto paintings like Van Gogh. As you can see, there are many different ways to approach acrylic painting and a multitude of effects you can achieve.
Decide what style of art you are attracted to and what you would enjoy creating. If you like the look of thick texture, get some palette knives and modelling paste. Pile paint onto the canvas to create sculptural looking works.
To create realism, you’ll need soft fine detail brushes and a glazing medium. Let previous layers dry before applying your next coat of paint to create hard edges and distinct details. Glazing medium increases the open working time of acrylic, so you can use it to blend colours into one another. Larger soft brushes are great for blending. By using a variety of blending techniques, glazes and layers, you can create the illusion of detail.
There are plenty of mark making techniques to learn with acrylic. Get a splatter brush by Liquitex and flick paint onto the canvas to make snowy scenes, or starry skies. Read our techniques tutorial to learn more about mark making.
Do you need to learn to draw before learning acrylic painting?

The answer to this question really depends upon the style you like. If you enjoy abstract painting, there’s no need to be able to draw. Try your hand at pour painting and watch colour swirl into intricate patterns.
To create realistic structure, composition or details in an artwork, it’s beneficial to start a drawing practice, as this can take your painting skills to the next level. The grid method can aid artists in achieving accurate compositions, perspectives and placements of different elements in an artwork. Many artists use this technique—professionals and beginners alike. This method involves creating a grid on a reference photo (or smaller drawing) and a grid with the same proportions on your surface, then transferring the image onto the larger surface, using the grid lines as reference points.
How to clean acrylic paint
Acrylic paint is easy to clean compared to oil paint. As acrylic is a water soluble medium, you only need a cup of water to remove paint from the bristles.
Acrylic paint dries fast, so make sure you clean materials straight away. Even if you put a brush to one side for 20 minutes, paint will start to harden. However, if your brushes become stiff with dried paint, it’s possible to remove the paint from the bristles. Read this guide to find out how to remove dried acrylic paint from brushes.
To clean the brush, swirl around in a jar of water. Then wipe on a paper towel, the friction will remove the pigment and acrylic from the bristles.
At the end of the painting session, wash the brushes again with this brush soap and conditioner. By conditioning the bristles, it preserves them. Brushes retain their shape for much longer.
The best acrylic painting supplies for beginners
Acrylic paint can be used with a range of supplies. The supplies you choose will affect the outcome of your painting and how it feels to use different acrylic painting techniques.
The best acrylic paint
There are broadly three types of acrylic paint. Heavy body is thick and paint retains brush strokes on the canvas. This type of paint is great for if you want to achieve thick, painterly styles such as the impasto technique.
Soft body paint is runny, which makes it suitable for rendering fine details and working in glazes.
The third type of paint is thick in texture but has a long open working time. Golden Open Acrylics dry at around the same rate as oil paints. It may take around a day or longer for Open Acrylics to dry. Artists who want to use techniques like blending for hours at a time favour this type of paint. You can also use the wet on wet painting technique with Open acrylics.
Student grade vs artist grade paint

You may have seen ‘student grade’ and ‘artist’ or ‘professional’ quality paint being advertised. There are notable differences between the two types. Student grade paint is cheaper, often because it is bulked out with additives that extend the body of the paint. Professional quality paint uses premium binder, has fewer additives and the pigment content is higher.
By using artist grade paint, you’ll achieve cleaner mixes and colours will appear brighter on the canvas.
Golden Acrylic paints are excellent quality and artist grade. They are more expensive compared to other brands. Cut costs by choosing fewer acrylic colours (you don’t need many to make a complete palette!).
If you’re a total beginner and want to experiment with the medium before committing to getting quality colours, Winsor & Newton Galeria range is good value.
Read our acrylic paint review for a more thorough look at different brands of acrylic paint.
Which colours do you need for acrylic painting?

The colours you will need for acrylic painting will depend upon the subjects you paint. If you enjoy painting green landscapes, having a few different green colours can help speed up the mixing process. For portrait painting, it helps to have low chroma (muted) colours in your palette. For example, Anders Zorn used a limited, muted palette of Yellow Ochre, Vermilion, Ivory Black and Titanium White which he used to create his portraits. From this, he was able to create a large tonal range and realistic skin colours. Read more about the Anders Zorn palette here.
Broadly, to create a chromatic and tonal range of colours, you’ll need a palette of the primaries, white and a colour to create shade. By starting with a palette of primaries, it will encourage you to create colour mixes from scratch, rather than relying on having extra secondary and tertiary pigments that you could mix yourself. A wonderful palette that enables painters to create the largest chromatic and tonal range from just six colours, contains warm and cool versions of primaries (plus Titanium White and Burnt Umber).
Blue: Ultramarine (cool) & Phthalo blue (warm)
Red: Cadmium Red or Pyrrole Red (warm) & Magenta (cool)
Yellow: Lemon Yellow (cool) & Cadmium Yellow Deep or Hansa Yellow (warm)
The Golden Modern Theory Heavy Body Set contains a range of colours that make a great foundation palette. Add colours as you wish, I would recommend also adding Burnt Umber.
Surfaces: canvases, panels and paper for acrylic paint
There is a lot of flexibility when it comes to choosing a surface for acrylic painting. Paper, canvas, wooden panel and Gessobord all make fantastic supports for the medium.
If you want to paint in fine detail and glazes, wooden panels or Gessobord could be good options, as they offer the smoothest and hardest surfaces.
For artists who enjoy painting on a larger scale, canvases are lightweight. Linen is more sturdy and less likely to warp than cotton, but cotton is more budget friendly.
Paper is a good choice for beginners as it is the cheapest. Frame an artwork if you like it! Check out our acrylic paper review if you want to learn about all the different paper brands.
Check out other recommendations in our acrylic painting surface guide.
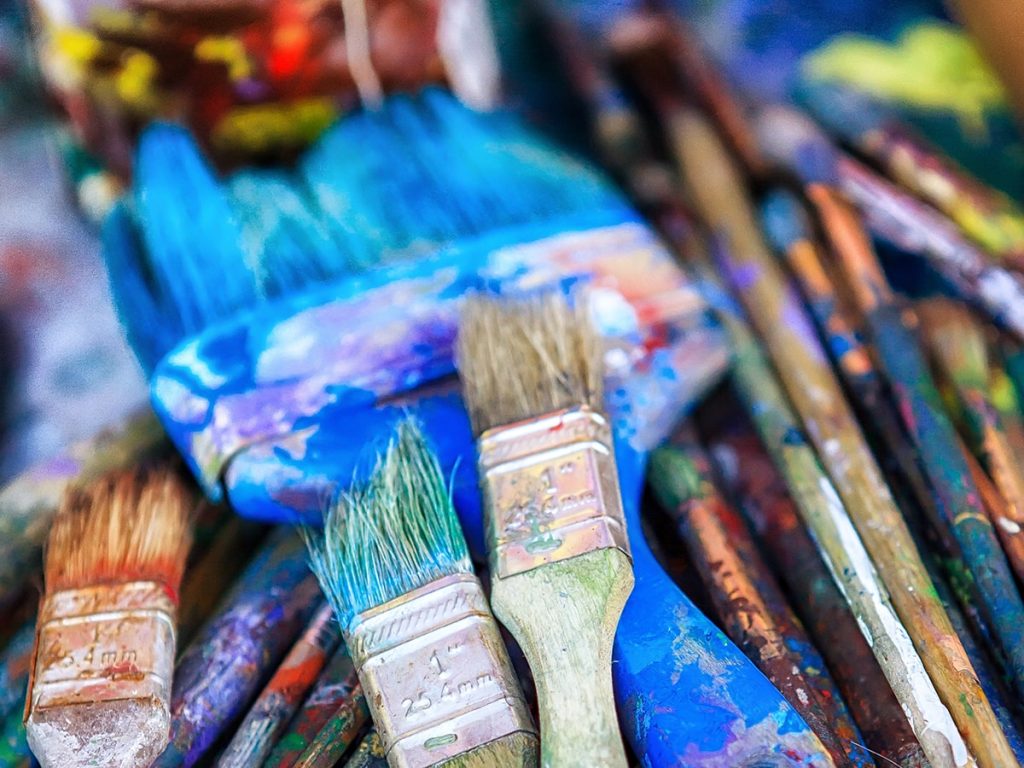
Brushes for acrylic painting

Synthetic brushes work best with acrylic paint. This is because they are springy enough to move thicker liquid. Plus, the bristles are more resistant than natural hair brushes to the chemicals in the acrylic formula.
The Catalyst Polytip brushes by Princeton are stiff like hog hair, making them especially suitable for moving heavy body acrylic.
Isabey Isacryl brushes have softer synthetic fibres which work better with soft body acrylic paint and techniques like blending and glazing.
You don’t need too many brushes to start, a wide flat brush is great for covering large areas of the canvas. Round brushes work best for detail.
Read our guide to find out more about the best acrylic paint brushes.
Mediums
Change the working properties of acrylic paint with a medium.
To extend the open working time of regular acrylic paint by several hours, incorporate the Golden Open Medium into the paint mix. It makes paint workable for 1-3 hours.
Use a glazing medium to increase the fluidity and transparency of the paint. Use this medium to create subtle shifts in colour and render fine details.
To increase the thickness of the paint, mix it with some modelling paste. Use a stiff brush, palette knife or wedge tool to apply texture acrylic to the canvas. Build up textures that look three dimensional in appearance.
Palettes

Glass palettes are easiest to clean and provide the smoothest and largest space for mixing. This palette by New Wave comes in three colours, grey, white and clear. The grey palette provides a neutral background, which helps artists gauge values better when mixing. It fits inside the Masterson Palette Seal which can be used to stop paint drying quickly. To clean a glass palette, get a flat razor and simply scrape paint off.
A stay wet palette is another brilliant option for acrylic painters. When combined with Golden Open Acrylics, colours can stay wet on the palette for up to days at a time.
Easels
Easels aren’t necessary for acrylic painting. If you’re creating small works on paper and thinning paint to a runny consistency, it could feel more natural to work at a desk or table with the paper flat.
When you decide you want to work on a canvas or panel, it makes much more sense to prop it upright on an easel.
Studio H frame easels are the most stable and accommodating for large surfaces. Get some long handle brushes that balance in your hand that make working at this angle feel easier.
A frame easels are usually cheaper and some of them can be folded away. They will support medium to large canvases. However, they’re not as stable as the H frame varieties.
If you anticipate you’ll be working on small to medium sized canvases and you want to work sitting at a desk, a table easel could be the perfect choice. They’re often the cheapest and great for beginners.
Tips on how to set up your workspace for acrylic painting
First make sure that your painting surface (canvas, panel, paper etc) is ready to paint onto. Raw canvas and wood will need a few coats of sealant and gesso applied before painting. Follow this guide to find out how to prepare a surface for painting. The surface preparation guide is written with oil painters in mind, but the same process applies to acrylic painters, as long as you choose an acrylic primer (not an oil based one).
Most canvases you buy from art stores will be primed already. Some panels like these by Ampersand will have had a few coats of gesso applied to them. If your panels are labelled as primed, you will not have to worry about doing any further surface preparation. I buy primed surfaces to save the time it would take to prepare them.
Test colour mixes in a sketchbook
Different artists plan paintings in different ways. It takes time to master the skill of colour mixing. It helps to practice and plan colour mix studies in a sketchbook. Some artists will also sketch out thumbnail compositions of their painting before starting their piece. For a comprehensive tutorial on how to mix colour, check out our colour mixing guide.
Create a drawing
Once you have your surface primed and ready, an optional step is to create a drawing on the canvas so you can plan the layout of the piece and how different elements will fit together. Many artists find it helpful to plan their composition first. If you’re not confident with drawing accurately, or you want your piece to be as accurate as possible, follow the grid method of drawing. It helps to have a device like a laptop, iPad, or even a print out of your reference to refer to while you’re working.
Mix colours first
With your canvas and drawing ready, it also helps to have your colours mixed beforehand, for the particular section you’re working on. To keep colours wet on the palette, use a stay wet palette and open working medium.
Keep your materials clean throughout the session
Have two jars of water and paper towels to hand. The first jar can be used to remove the bulk of the paint. Then wipe the brush on a paper towel. Swirl it around the clean water jar to remove any excess. Remember not to leave brushes with their bristles pointed downwards in water, as this causes them to splay. Instead, lie them out flat to dry. If you want to spruce up your space, get some handmade pottery to wash brushes. These brush washers from Etsy come with paint brush holders so you can lie them flat.
Protect your workspace, especially if you’re doing pour painting or using gestural painting techniques. Put down tablecloths and surface covers, wear an apron and gloves.
If you’re interested in learning more about the best supplies to deck out your studio with, check out our art studio supplies guide. Get some organisation and storage tips in this guide.
Acrylic painting techniques for beginners
There are numerous acrylic painting techniques that are easy to acquire and fun to experiment with for beginners.
Start a painting by blocking in. Block out all the basic colours you see in your reference, omitting details. Wait for this to dry, then layer details and highlights on top. Blocking in might be the easiest way to start acrylic painting and allows you to create realistic effects with separate colour layers.
The impasto technique involves layering thick paint onto the canvas. Use a medium like modelling paste and a stiff brush—brush strokes will be retained on the surface. Read more about this technique in our impasto tutorial.
Blending with acrylic is fairly simple. Get a medium to extend the open working time and a soft brush to blend seamless gradients.
Due to its fast drying time, layering wet on dry acrylic is relatively easy. Create hard edges and fine details that are separate from the dry layers beneath. By creating distinct colour layers, you can create rich depth in your painting.
Get creative with how you use acrylic paint. Use acrylics to create pour paintings, or airbrush. If you want to know the best paints for acrylic pour painting, check out our guide.
Read our run down of 19 popular techniques and mark making methods with acrylic in our acrylic painting techniques tutorial.
Acrylic painting colour mixing tips for beginners
There are lots of common mistakes people make when learning acrylic painting for beginners. I’ve highlighted some of the most essential acrylic painting colour mixing tips, so you know where to focus your attention to improve quickly.
Tip 1: Spend time practising colour mixing
Colour mixing is one of the most important skills you will learn as a painter. Many artists paint with loose brush strokes and lack of detail, but when colours are combined in harmonious and realistic ways, appealing compositions and effects can be achieved. Mastering colour mixing will give you ultimate control over your painting and achieving your desired results. By reading about colour mixing and practising the method outlined in this tutorial, you’ll see rapid improvements in your painting skills. The tutorial outlines how different pigments interact and a method on how to match a colour from a reference.
Tip 2: Don’t overuse white or black paint
A mistake beginners often make when painting, is using pure titanium white in highlights. It’s rare to see pure white highlights in real life settings. If you look closely at the colours around you, bright highlights will actually be light greys or other subtle colours. For example, white clouds will be light blue/ grey in their lightest area, sometimes with a slight tint of yellow. It’s a good idea to leave painting the very lightest highlights last. Look at your painting as a whole and think about how highlights will harmonise with other colours in the painting.
Similarly, it’s rare to see pure black shadows in real life settings. An earth pigment like Burnt Umber, which is transparent and warm in tone, is more likely to create clean dark shaded areas in colour mixes. If you combine a colour mix with Ivory Black, it’s more likely to look muddy. Ivory Black will darken colour mixes but also sap warm mixes of colour. This is because Ivory Black is low chroma blue. To create an ultra deep black, mix Ultramarine and Burnt Umber together.
Tip 3: Use colour to create perspective
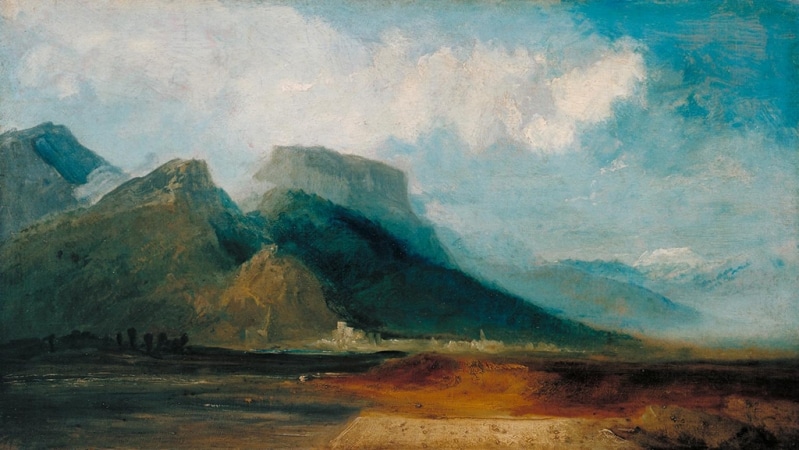
Create the illusion of distance and perspective with colour. Bring an element forwards in a painting by increasing colour contrast and emphasising details. Elements further away will appear hazier and closer to the colour of the sky. For example, mountains in the distance appear blue-grey. Read more about how to mix colour to create distance and perspective in this tutorial.
Acrylic painting for beginners: ideas
Now you know what supplies you need to get started and how to put the supplies to use. You also have an idea of the techniques you can use to achieve different effects. You just need to put your knowledge to practice. If you’re stuck for ideas of what to paint, here are some beginner friendly tutorials you can follow along with.
Paint an ocean sunset and learn how to mix colours. For this tutorial you need very few different colours and supplies, but the effect of the sunset if wonderfully vibrant.
Learn to paint cherry blossoms—use heavy body paint and techniques like stippling to create the leaf details.
Do you need to varnish an acrylic painting?

Varnishing isn’t a necessary step, but it can yield many benefits. Varnish enhances the appearance of the artwork, protects it from damage and dust, prevents colours from fading and increases the archivability of the piece. By varnishing, you are essentially increasing the value of the artwork by protecting it. This is important if you plan to eventually sell your painting, or if you just want to keep it for yourself for any length of time.
Another thing to note is that varnish can be removed. So if over many years, the painting accumulates a lot of dust and dirt, or gets scratched, simply remove the layer of varnish and reapply.
Varnishing is an incredibly easy process that only requires a few supplies. However, it takes a few days for the coat to dry fully, so make sure you plan in advance if you want to ship the painting or sell it.
Refer to this tutorial on how to varnish an acrylic painting—it’s a quick and easy guide that walks you through step-by-step, everything you need to varnish and how to apply it for best results.
Acrylic painting kits
For complete beginners who don’t have much experience applying paint to canvas, using a kit put together by another artist can be a great way to get a feel for the medium. Painting kits also make great gifts! These kits contain essential supplies such as paint, canvas and even drawings so you can get started in creating a beautiful artwork.
Acrylic pour painting kit

Get an introduction to the world of acrylic pour painting with this kit. It includes acrylic paint in four colours, canvas, silicone (to create awesome effects) and all the extra tools you need. It also comes with an instructional video. Pour painting is incredibly easy and the results are always beautiful!
Mountain paint by number kit

Create a beautiful snowy mountain masterpiece with this easy to follow paint by number kit. Paint by numbers kits are excellent for building skills and practising applying paint to the canvas. Use the printed design to guide you in applying colours. This paint by numbers kit includes canvas with a printed design, brushes and acrylic colours.
Seascape painting kit

This kit includes everything you need to complete this gorgeous ocean wave painting. It comes with acrylic paint, brushes, an outlined canvas and a set of instructions. Discover how relaxing painting the ocean can be.
Acrylic painting: best books to further your skills
Painting Portraits in Acrylics: A practical guide to contemporary portraiture
Author Hashim Akib shows the reader how to produce brilliantly striking portraits in a contemporary style. The book includes six step-by-step portraits to follow along with. Learn about colour palettes, how to mix skin tones, how to render light and convey atmosphere in artwork.
Compendium of Acrylic Painting Techniques
Find a comprehensive guide of 300 techniques and tutorials to take your skills beyond beginner level. This book covers colour mixing, mark making, techniques and much more.
How to acrylic paint: Further reading
This blog by Step-by-Step Painting gives 16 tips on how to get started with the acrylic paint medium. Including how to start a regular painting practice and how to overcome artists’ block.
These 25 acrylic painting tips by Trembling Art provides a wonderful introduction to the medium.
For a rundown of the best acrylic painting tutorials, that will help you learn the medium from scratch, check out our guide!
Acrylic painting for beginners: Pin it!
If you’ve found anything on this site especially useful, you can make a donation to me through PayPal. I take a lot of time to research and write each topic, making sure each tutorial is as detailed as possible and I make all my content freely available. Any small donation (even the price of a cup of coffee!) can help me to cover the running costs of the site. Any help from my readers is much appreciated :).
Follow the link in the button below to support this site.