
Have you ever seen an oil painting with thick, visible brush strokes and paint that looks so textured it’s almost three dimensional?
The method of applying paint in this way is called impasto. It’s an incredibly fun technique that can give some interesting results.
Disclaimer: Fine Art Tutorials is a reader supported site. When you make purchases through links on this site, we may earn a small commission at no extra cost to you.
What is the impasto technique?
This technique can be used with oil or acrylic painting. The painter will use either a stiff brush, or a knife, with paint straight from the tube (or thickened with a medium). This is so that the paint holds its shape in the way that it’s applied to the surface.
The effect that impasto can give, is one of movement and energy. The texture allows certain areas of the painting to become salient—an artist can harness texture in this way to make areas of their painting stand out to the viewer.
Painters using this technique will sometimes mix their colours straight on the canvas. This serves the purpose of adding vividness and intensity to the painting. Colours are mixed optically by the viewer instead of on the palette by the artist.
Another feature is, that a dried impasto painting can appear three dimensional, having an almost sculptural effect.

Impasto was famously used by impressionist painters in the 19th century. Artists such as Monet would take their canvases out to paint plein air, working quickly to capture the essence of a scene before the light changed. The brush strokes were spontaneous and contrasting colours were used to create the illusion of light.
Impasto paintings exude confidence, dynamism and expression.
If you feel like you want to give it a go, first learn about how to thicken your paint, then learn how to get started and improve your technique.
What supplies do you need for impasto painting?
Thicken your paint for impasto with a medium
Oil paint naturally has a thick and stiff consistency, so the addition of a medium isn’t absolutely necessary.
However, due to the long drying times of oil paint, especially in thick applications, impasto painters will add a fast drying medium.
A medium will also increase the volume of the paint and help you to retain brushstrokes. Plus, brands of oil paint can differ in their working properties, some ranges being more viscous than others. Schmincke Mussini oil paint has a fairly low viscosity and has self levelling properties, so it comes out of the tube runnier, for example.
If you are using acrylic paint, consider buying a heavy body range. Acrylic is fast drying, so you won’t have to worry about speeding up the drying time. If you want to thicken your paint more, consider getting an acrylic medium for the job.
Below, I’ll outline the oil paint mediums suitable for impasto painting.
Liquin Alkyd Impasto medium
For silky, thick and fast drying properties, add Liquin Impasto medium to your oil paint.
When using this medium it’s advised to use it in each layer to maximise surface adhesion of the paint.
Cold wax medium
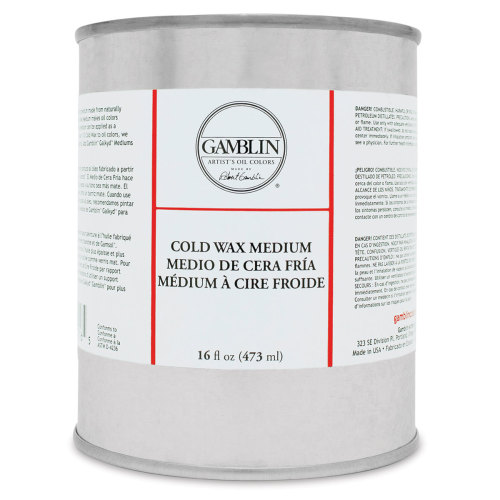
The addition of wax to a medium can give a thick matte appearance. This is not to be confused with encaustic (hot wax painting), as an oil medium.
Cold beeswax dries fast and is very thick. When mixed with paint, it will stay in the position you place it on the surface. The medium doesn’t have self levelling properties. You can create ‘short’ paint with wax, where it snaps from the canvas in a peak, rather than stretching or trailing. To learn more about cold wax painting and how to get the best results, check out our guide!
Choose the right applicator
I say ‘applicator’ instead of brush, because there are a number of tools you can use to apply paint to the canvas. Some of them are pretty fun to use!
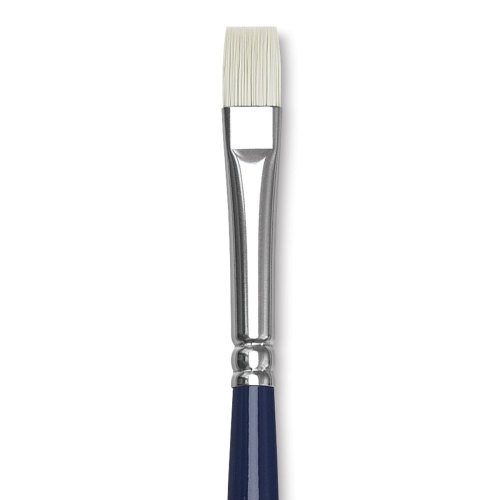
You could opt for a brush, but make sure the bristles are stiff. I’d recommend using hog hair, or synthetic hog.
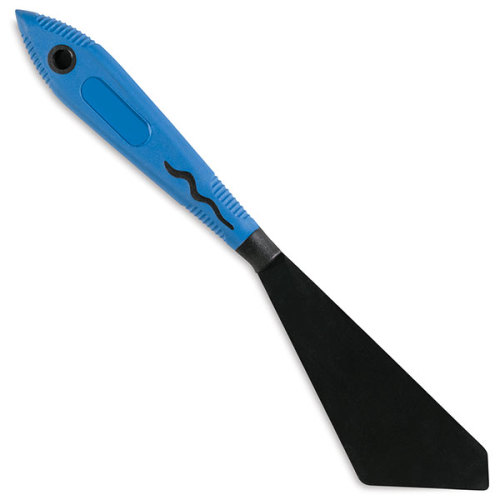
You could apply paint with a palette knife, this is a great way to build thick textures fast. You can get palette knives in a range of different shapes and sizes, so no matter the effect you’re trying to create, there will be something you can use.
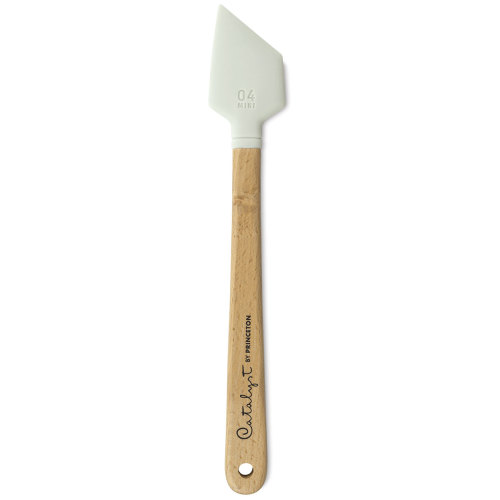
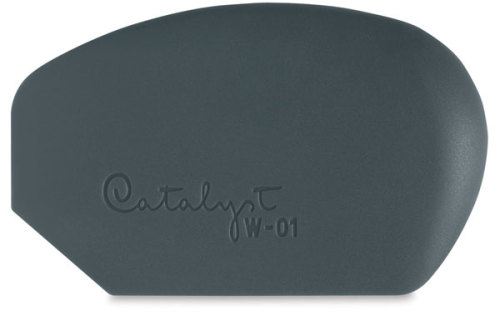
The other option is to use catalyst blades, wedges and Polytip brushes. These are somewhere in between a brush and a palette knife and they were designed for use with the impasto technique. They are made from flexible silicone and come in some interesting shapes. They are stiff, but flexible and responsive and easy to clean. The blades are attached to brush handles making paint application easier than with a palette knife.
For tiny details, you can get these silicone modelling tools. They make applying small amounts of paint in a controlled way easier.
How to create an impasto painting
1. Choose your subject
If you’re stuck thinking of a subject to paint, consider choosing something evocative of a particular feeling or atmosphere that you feel is unique to a particular moment. Whether that’s due to the light at that time of day, the way the weather is affecting a scene, or an expression someone gives you. Focus on the way the light plays on certain objects in your scene and try and focus in on how this affects the way you perceive the colours.
This feeling or atmosphere could come from a person, an object or a landscape. Try to effectively portray the personality or feel through the colour and texture you use with your impasto painting, your viewers will feel it from the finished piece too. A key feature of many famous impasto works is the atmosphere they created from a scene, with their vibrant colours and texture.
2. Think of the composition
If you are painting from life, from a scene or from a photo reference, you don’t have to paint exactly what you see. For example, you could bring certain elements forwards to focus on, toggle the colours or the value scale.
Arrange the visual elements to create interest for the viewer. Think of how you will combine shapes, colours, tones, values and texture to create light, depth and perspective in your landscape or portrait.
Think of your composition in terms of the gradation, balance, variety and harmony of different elements.
You could use a common compositional technique such as the rule of thirds. This is probably the most well known technique. It functions to create a natural appearance and make the piece more visually appealing. To use the rule of thirds, imagine your painting is divided into thirds, both horizontally and vertically. Place the focal point of the piece at approximately one of the intersections. The human eye is naturally drawn to the top left third intersection, so it makes sense to put the element you want to appear most salient in that place.
This is just an example of one of many compositional techniques you could employ in your painting. It’s up to you to decide if you want to use any at all. It would also work perfectly to paint naturally and spontaneously without extensively planning the composition first. However, if you are concerned about composition, it can help to keep a sketchbook where you roughly draw out a plan for your painting, arranging different elements in a way that looks visually pleasing before you start painting. It could be the difference between a good painting and a great painting.
3. Start painting
Now it’s time to start applying the paint. You choose how you approach the painting—you could layer the paint, waiting for it to dry between each application. Regardless of which layering technique you choose for impasto, always remember to layer paint thick over thin.
With oil paint, some colours dry faster than others. Earth colours are fast drying and are also transparent. It makes sense to layer these darker, transparent colours first.
By building wonderful texture in your work, you can create the illusion of detail with depth and add another dimension to your painting. Experiment with changing between brushes and palette knives to find the perfect application, as they will all give different effects.
Getting used to palette knife painting can take some practice. It may help to use tools you are more familiar with when you first start using this technique, such as a stiffer brush.
When applying thick paint layers on top of one another, it helps to hold your brush at an angle, close to 45°. Be gentle with the paint application. If you hold the brush perpendicular to the surface and apply pressure, you run the risk of removing layers of paint. Paint application on the top layers of a wet impasto piece can feel delicate at times.
There are other techniques you can use alongside impasto, such as alla prima (wet-on-wet) and blocking in. The most important thing is to find techniques and processes that you enjoy, as this will always translate to your viewer.
Feature image: Van Gogh: Wheat Field With Cypresses.
Impasto painting technique: Pin it!
If you’ve found anything on this site especially useful, you can make a donation to me through PayPal. I take a lot of time to research and write each topic, making sure each tutorial is as detailed as possible and I make all my content freely available. Any small donation (even the price of a cup of coffee!) can help me to cover the running costs of the site. Any help from my readers is much appreciated :).
Follow the link in the button below to support this site.