Drawing on black paper is a totally different experience to drawing on white, coloured or toned paper. The finished results can look unique with striking contrast.
Artists utilise the darkness of the paper to substitute for the darkest shadow tones. In the same way, when drawing on white paper, artists use the white of the paper for the lightest highlight tones.
The pull of drawing on black paper is that it can have a dramatic final appearance. There are some supplies that work better on black paper than others. Plus, there are a range of techniques you can employ to make your black paper drawings appear more vibrant.
Disclaimer: Fine Art Tutorials is a reader supported site. When you make purchases through links on this site, we may earn a small commission at no extra cost to you.
Tips for drawing on black paper
Here are some tips to guide you through the drawing process. Sometimes it takes trial and error to achieve the best results, however there are particular guidelines you can follow when drawing on black paper that will make your drawings more successful.
Plan the composition first
Mapping out where the shadows and highlights will go on dark paper can save you from overworking the piece. Sometimes less is more when creating a drawing. You could consider creating the drawing in a low key (dark tones) or plan where the shadows will go so that you can use the black of the paper to substitute pencil work. This is an efficient way of drawing and is as much of a time saving exercise as it is done to create a particular effect.
If you’re drawing from a reference, try putting it into Photoshop, the converting the image into black and white and finding the average tonal values in the drawing. To create a blur effect in Photoshop, go to filters, noise, then select median. Toggle the clarity of the image to simplify it to discern where the darkest values are, so you can leave these out of the drawing.
You could even get a sketchbook and do a couple of composition studies to plan how the final drawing will look and how all the different elements will fit together. Scale this drawing up onto the paper you will use for the final piece using the transfer method.
Create a sketch
Create a light sketch once you’re happy with the composition of the drawing. Use a light pencil, or a white pencil and draw with a light pressure so that it’s easy to erase if you make a mistake. Focus on drawing an outline first, that you can fill in as your drawing progresses.
Start with light layers
Instead of drawing the shadows, as you would on white paper, you will be solely drawing the light areas.
Start the drawing with the lightest pressure you can manage and slowly increase the pressure you apply with consecutive layers. This is so that you don’t fill in the tooth of the paper too quickly and so that you can gradually build layers that are easier to erase. By starting with lighter pressure, you will be able to make smoother transitions and blends as the drawing progresses and cautiously build up tones and values. If you go in with heavy pressure early on, it can be hard to gauge the colours and values from the contrasted elements in this early stage.
Black paper is less forgiving than white paper, go slowly at first, to avoid having to erase white pencil from the paper.
Start with a hard pencil
This tip would be helpful to you in coloured pencils are your medium of choice. Harder pencils and pastels won’t fill up the tooth of the paper as quickly as soft pencils or pastels, giving you more room to make blends and transitions. Of course, if you only have one type of pencil, it’s fine to use those all the way through the drawing. This only applies if you have a few different types of pencil or pastel. For example, if you’re working in soft pastel, Terry Ludwigs will maintain their shape better and fill up the tooth less quickly in the first layers compared to some of the ultra soft pastels like Sennelier.
Draw light tones first
Different artists choose to work in different ways, some will work dark to light, others will work light to dark and some will establish mid tones, then build up shadows and highlights. When working on black paper, there is an advantage to working light to dark. You don’t have to draw dark values on black paper, so just focus on the lighter ones.
Where you plan for the highlights to be, apply a little pressure with your lightest pencil. You can map out the placement of the lightsource. Build upon these lighter tones as the layers progress.
Draw mid tones and colours next
Start the drawing by establishing the lightsource and where the brightest highlights will be, gradually increasing the lightness with each layer. After the first layer of light tones have been drawn in, you can start drawing your mid tones and colours.
Be restrictive when applying mid tones and try not to smudge or overblend pastel too early on in the drawing.
Use the glazing technique to achieve bright colours with pencil
To achieve the brightest, most saturated colours possible on black paper, layer white pencil beneath. Black backlights different colours, so more transparent pigments may be affected by the toned paper. For example, certain yellows may appear green. Some colours will appear darker which can skew the tones and hues in a drawing.
Layer your white pencil first, planning where highlights will go. But make sure to render the form of your shapes, similar to how you would with a grey graphite pencil on white paper. Then layer colours on top. The white from beneath will backlight the colours, making them appear brighter. This technique works best with coloured pencil rather than pastel, as pastel is softer and generally opaque enough to hold its own on top of black paper. Make sure to layer the white with light pressure beneath your colour layers, as a thick white layer could tint the colour.
Leave the black paper to show through
Black paper can represent shadows in your drawing. You don’t have to cover the darkness of the paper completely, you can use the black paper to represent the darkest values in the drawing.
Test colours first
If you’re not sure of the transparency of your pastel or pencil colour, get a scrap piece of black paper and test the colours first. Some transparent yellows could appear green against the black background, so it would be essential to layer a transparent yellow over a white pencil layer to make them appear brighter.
Work upright with pastel to avoid dust
Using pastels on black paper is a little different to coloured pencils. Soft pastels can create unwanted light dust that can create splatter effects across the page. Avoid this by mounting your black paper, or taping it to a board, then working upright at an easel. That way dust will collect beneath the easel instead of smudged across the drawing.
Use fixative before the final layers
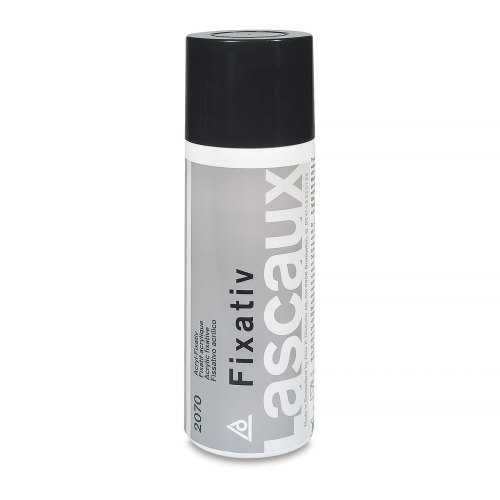
Although you may have established broadly where the lightest highlights will go in the drawing early on, once you start layering in mid tones, these highlights can get lost. If you find that the paper has lost some of its tooth by the end of the drawing, spray with a little workable fixative to renew the paper’s tooth. Then draw the final highlights and finishing touches. This tactic will really make those brightest highlights pop.
The pastel or pencil layered on top of the fixative will sit separately from the rest of the drawing, so it’s useful to use for final highlights that you don’t want to blend or smudge into previous mid tone layers.
This highlighting technique may not be necessary if you’re working on a paper like black Pastelmat, as Pastelmat will reduce the need for fixative almost completely.
The best black drawing paper: Product picks
There are lots of different options when it comes to black drawing paper and card. However, if you’re drawing with coloured pencils or pastels, a toothy paper will make the appearance of the white pencil look more intense and saturated.
Black Pastelmat
Pastelmat is a unique, coated paper with a sanded texture. The sanded texture clings on to colour layers, allowing for better pencil and pastel adhesion and reducing the need for fixative. It’s the ultimate paper for coloured pencil work, as although the paper is toothy, it feels soft and velvety to the touch, which makes it perfect for blending techniques.
Draw in multiple layers, without the pencil becoming muddy in appearance or losing tooth. Draw fine details and crisp lines with your coloured pencils or pastels.
Strathmore Artagain
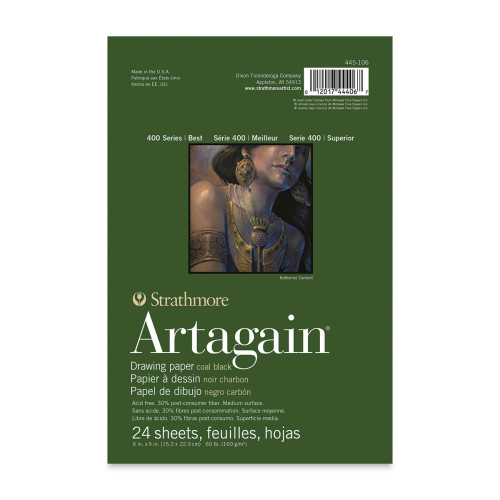
This drawing paper is coal black in colour with a slight texture to it. It’s perfect for use with soft pastel, colouring pencils or gel roller pens. It’s not as toothy as Pastelmat, but it is cheaper and if you anticipate that you will complete your drawing with fewer layers, then this would be a great option.
What supplies can you use for drawing on black paper?
Aside from Pastelmat paper, we have a few other recommendations for supplies that work great on black paper.
Coloured pencils
Coloured pencils made from oil or wax are perfect for drawing on black paper. This is because they are both soft, vibrant and highly pigmented. Oil and wax pencils will give you excellent coverage and layering ability.
Faber-Castell Polychromos pencils are oil and wax based and come in a range of 120 brilliantly vibrant colours. The pencils are lightfast and so are an great option for professional work. They provide excellent coverage and retain their sharp points for longer than other oil and wax pencils.
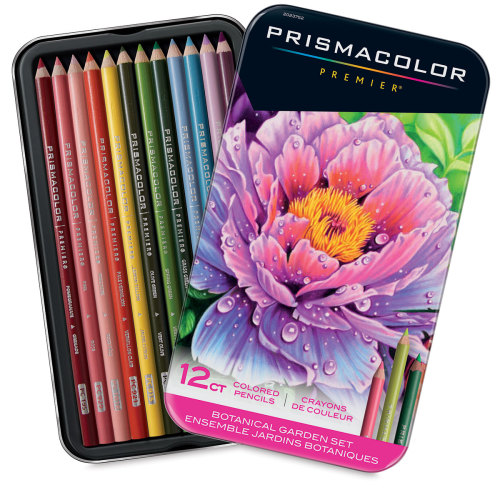
Prismacolor pencils are wax based and a little softer than Polychromos pencils. They’re also slightly cheaper and more buttery in texture. These pencils will give more coverage more quickly, but also fill up the tooth of the paper more quickly than Polychromos. Prismacolor pencils are great for making blends and smooth transitions. Check out our review of the best coloured pencils for drawing to find more coloured pencil brands.
Pastels
Another great medium for drawing on black paper is soft pastels, or even oil pastels. The best soft pastel brands are highly pigmented and soft. Drawing with soft pastel almost feels like drawing with pure pigment. Use soft pastels for more expressive and broad marks compared to coloured pencils. They will cover more of the paper and provide more opacity.
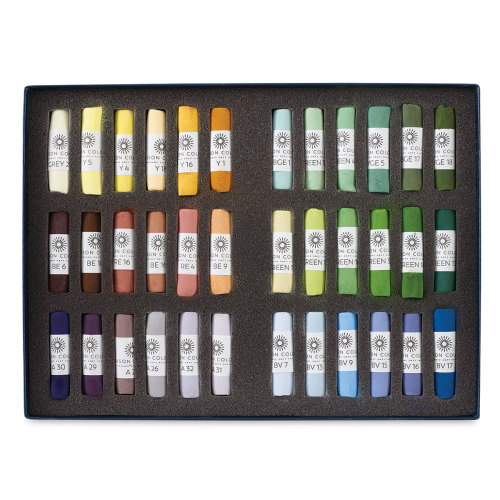
The best brands of soft pastel depends on your budget and preferences. Unison pastels are well loved by professional artists, as they are the highest quality and hand rolled in the UK, although they are available from suppliers like Blick. They come in wonderfully curated ranges of colours, for portrait work, seascapes, landscapes and more. These pastels are understandably on the more expensive end of the spectrum. The pure pigments are lightfast and the pastels themselves feel wonderful to use.
A great brand of soft pastel, that are a little cheaper than Unison and also slightly harder in texture is Art Spectrum. They are rectangular in shape and are beginner friendly due to the price point and texture.
Pens
If you’re drawing with pencils on black paper and you want some super bright highlights, consider getting a white gel roller pen, or even a white marker pen. This can be useful for small dots of white, depending on what your subject is.
Erasers
Kneaded erasers have a mouldable, putty texture and come in dark colours. They won’t damage paper fibres and they don’t leave any residue. Mould the eraser to a fine point to lift details and highlights, or roll the eraser across the drawing to remove larger sections. Because the eraser is so soft on paper fibres, it works to lift the pencil rather than erasing completely the first time. So make sure to start in light layers with the pencil, so that it can be easily lifted from the paper. If you’re working with coloured pencil, the Tombow Sand eraser will cleanly erase colour. Check out our guide of the best erasers for artists for more recommendations.
Which supplies should you avoid when drawing on black paper?
It goes without saying, but charcoal and graphite won’t show up on black paper. You can use a black coloured pencil on the paper to substitute an eraser or clean up edges if you wish.
Using regular white coloured erasers can inadvertently smudge coloured pencil across the paper, making greyish marks. You can easily avoid this by using a kneadable eraser instead of a regular eraser.
What are the benefits of drawing on black paper?
Artists draw on black paper for the atmospheric effects and brilliant contrast that can be achieved. A drawing on black paper can be completed faster than a drawing on white paper, as artists can choose to be more restrictive with their pencil application and leave more shadow areas out. This results in a more contrasted effect, with highlights appearing lighter than they are.
Ideas for drawing on black paper
One idea for drawing on black paper is to simply use a white pencil to create a drawing. Start with very light pressure then gradually build pressure for the lightest highlights. If you’ve never tried drawing on black paper before, try drawing something simple, like a water droplet or glass. You could even draw something monochrome like a zebra or snowy tree. For more drawing ideas, check out our guide.
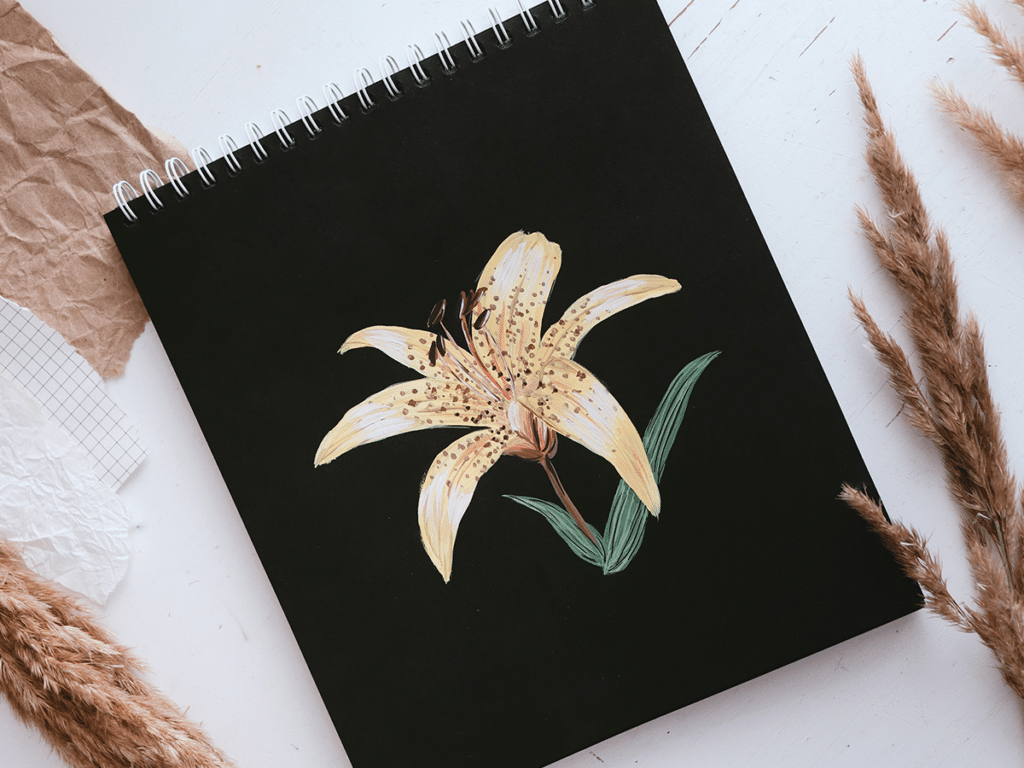
Alternatively, you could try a botanical drawing, or wildlife drawing with coloured pencils. The black background will provide the perfect base to make your subject stand out.
If you’ve found anything on this site especially useful, you can make a donation to me through PayPal. I take a lot of time to research and write each topic, making sure each tutorial is as detailed as possible and I make all my content freely available. Any small donation (even the price of a cup of coffee!) can help me to cover the running costs of the site. Any help from my readers is much appreciated :).
Follow the link in the button below to support this site.