
Stags are magnificent animals and make for beautiful drawing subjects. They can seem intricate and unapproachable to draw at first, but in this tutorial, I’ve broken down all the complex steps of the drawing process into manageable tasks. If you start with blocking in the basic shapes, understand a bit of the anatomy and proportions, and save the details until last, the drawing is much more accessible.
Step 1: Draw basic shapes to represent the face and neck
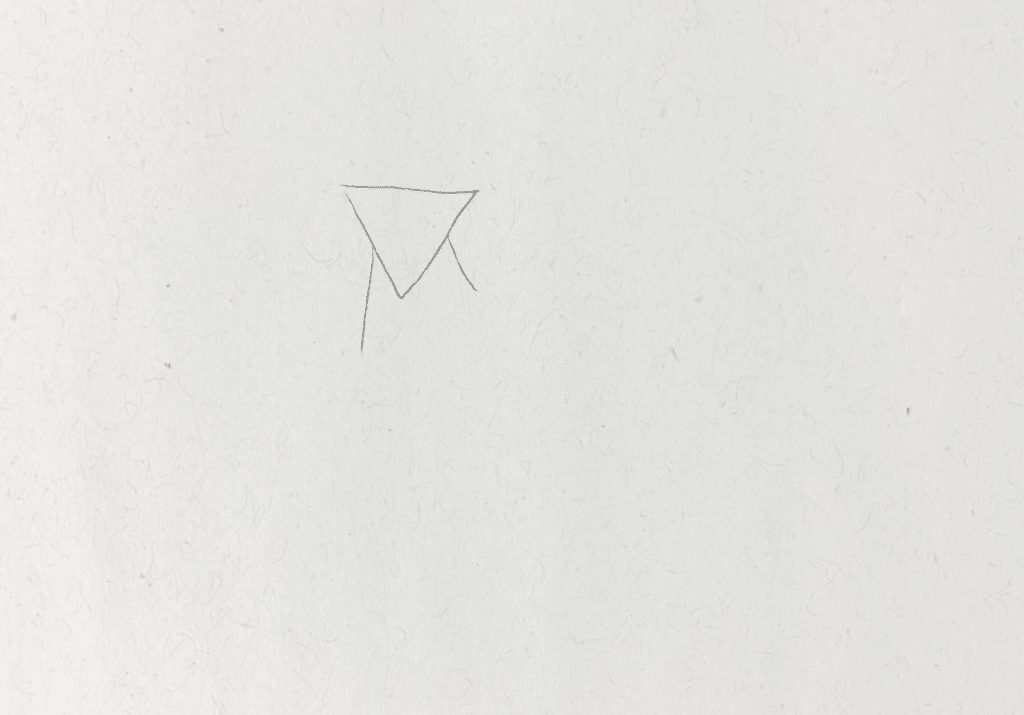
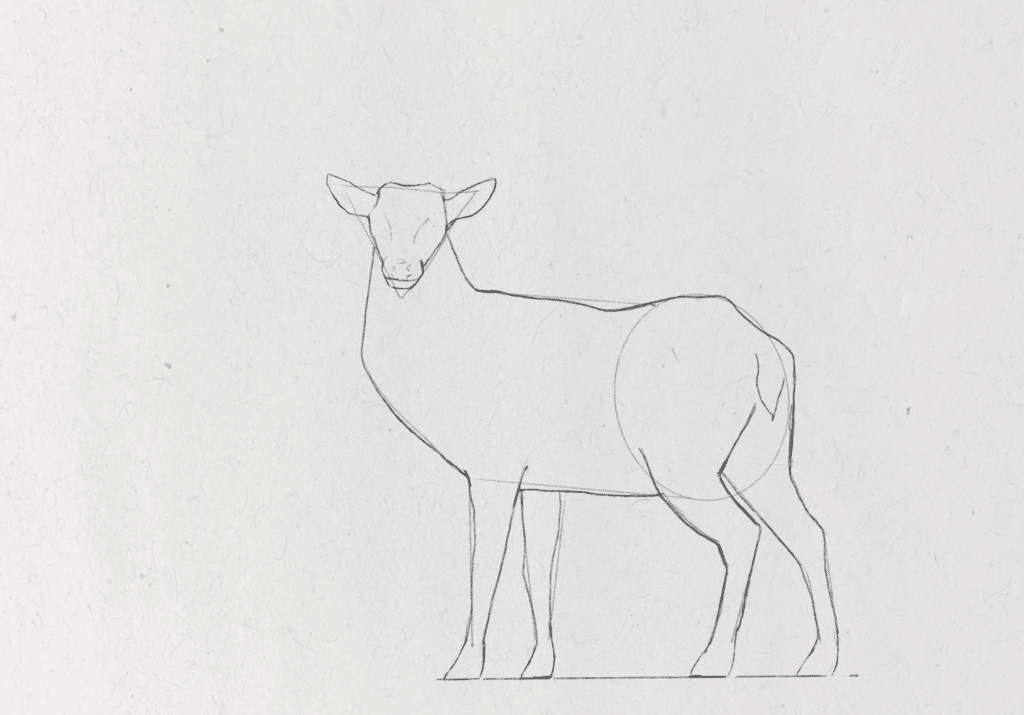
I start by drawing with light pencil marks, as the first shapes that I draw are to establish the basic proportions of the stag, so I’ll erase them later. I drew an inverted triangle to create a guide for the head of the stag. Then I drew the neck as two lines that extend from the side of the triangle. The neck is thick, but tapers in towards the head, so I represent this with an almost vertical line on one side, and a shorter more diagonal line on the other. The body of the stag is positioned sideways compared to the viewer and the head is facing towards the viewer. Although it can be difficult to picture the stag with just basic shapes, I’ll refine the lines later to make it look more realistic.
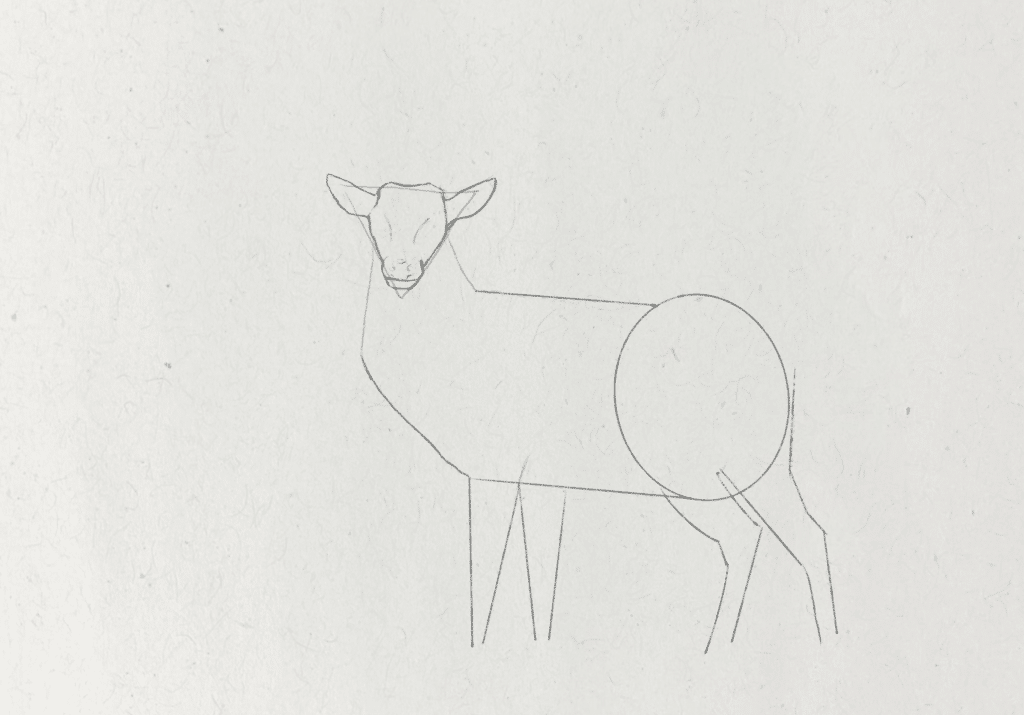
Step 2: Outline the basic shapes of the back and torso
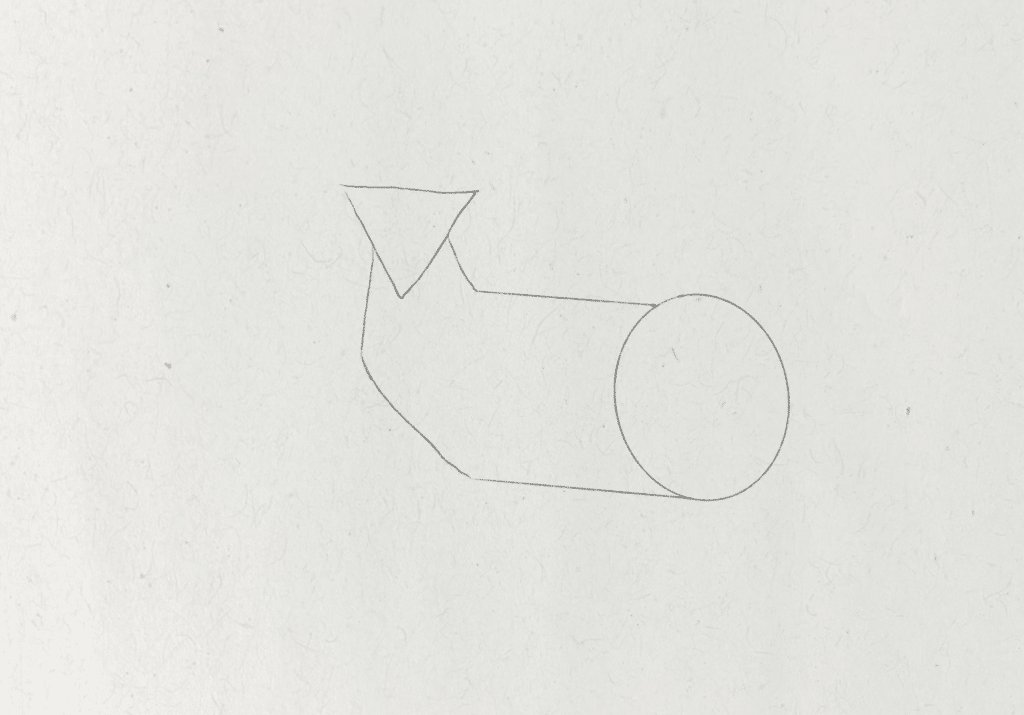
The back of the torso of the deer drawing can be broken into a long cylindrical shape. Draw a circle to represent the back, above where the hind legs will be and extend it with two lines slanting slightly upwards, from both the top and bottom of the circle. From the bottom line I drew, that extended from the circle, I then draw a diagonal line to join the underside of the torso to the bottom of the neck.
Step 3: Draw lines to show the legs
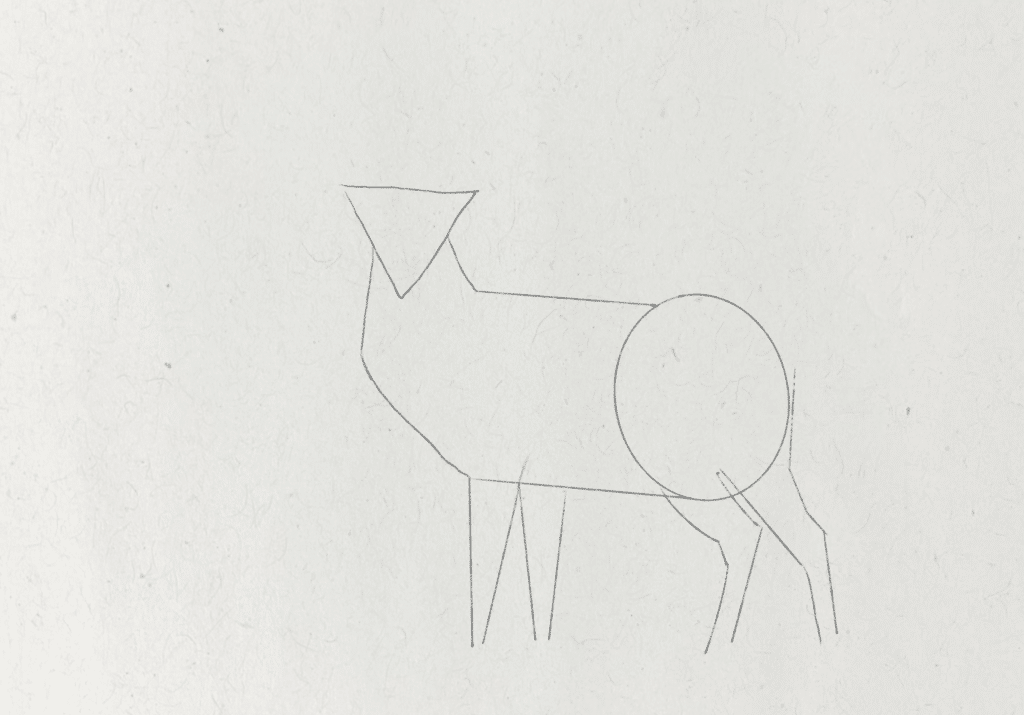
The front legs are a more simple in shape than the back legs. I drew these with two thin inverted triangles. The outline of the front leg, which is closest to the viewer, starts at where the torso and neck meet. The top of each back legs curves in an arch shape, transitioning to a diagonal line pointing downwards and inwards at the joint. I’ll refine these lines later, but right now I want to establish the proportions of the animal. The length of the legs are roughly the same measurement as the width of the body.
Step 4: Refine the head shape
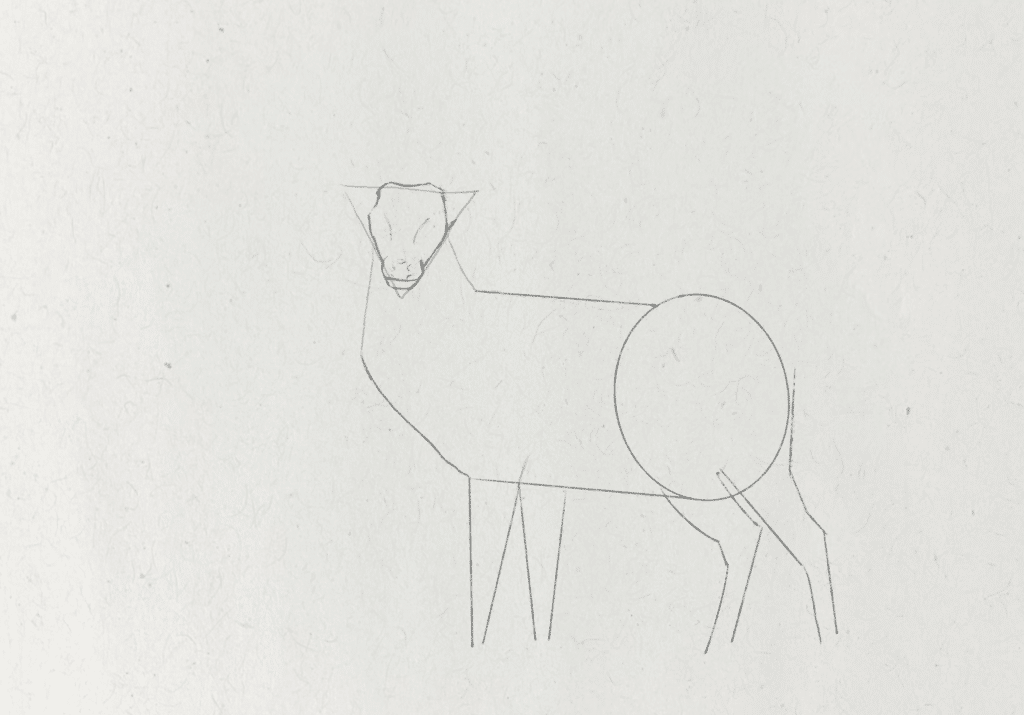
Use the triangle as a guide, as the sides of the face and top of the head broadly follow its shape. The snout rounds off the bottom of the triangle and the two top corners of the head cut off diagonally, where the ears will be at the top. The top of the head protrudes over the top of the triangle shape.
Step 5: Draw the ears
The ears are long, pointed at the end and larger in the middle. Sketch the shape of the ears, that should extend beyond the triangle guide. The corners of the triangle should roughly align with the middle of the ear.
Step 6: Refine the body shape
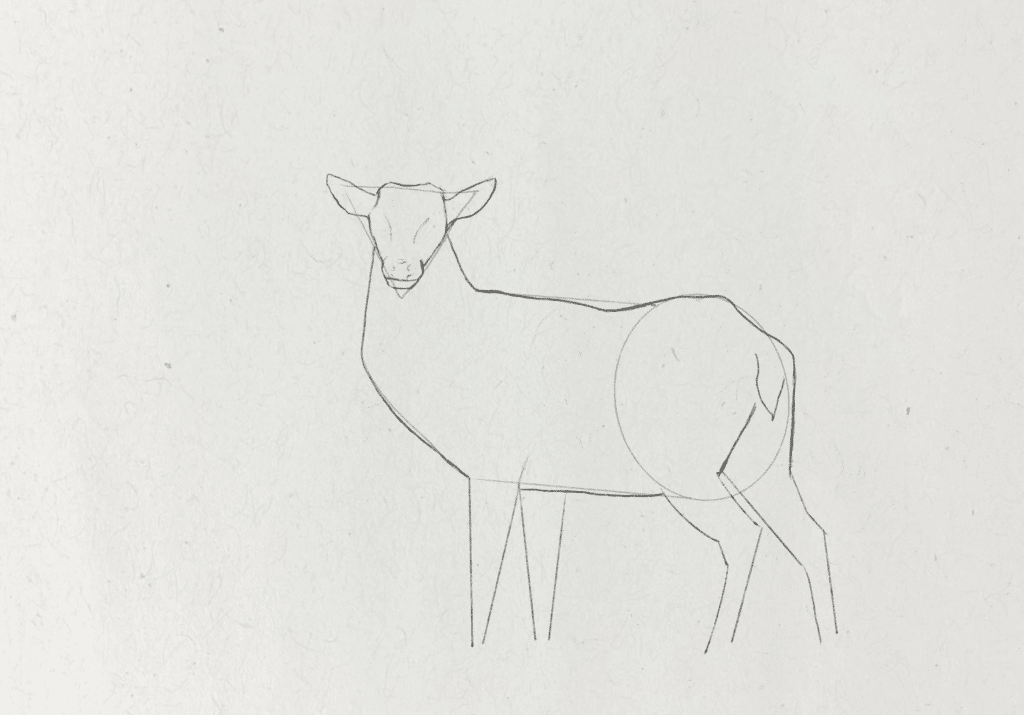
I drew some more organic contour lines to better represent the shape of the deer’s body. Notice how the back dips slightly before the hips, then where the pelvis joins to the femur on the hind leg furthest from the viewer, it dips again in towards the tail. Break each line into stages and cross reference from the image to see the relationship between each line and the cylinder shape. I drew in the tail in the middle of the pelvis area, which is a curved and sharp point. You can be more confident with the lines that you’re drawing, as you have the cylinder guide to help you with the positioning of the lines.
Step 7: Refine the lines on the legs
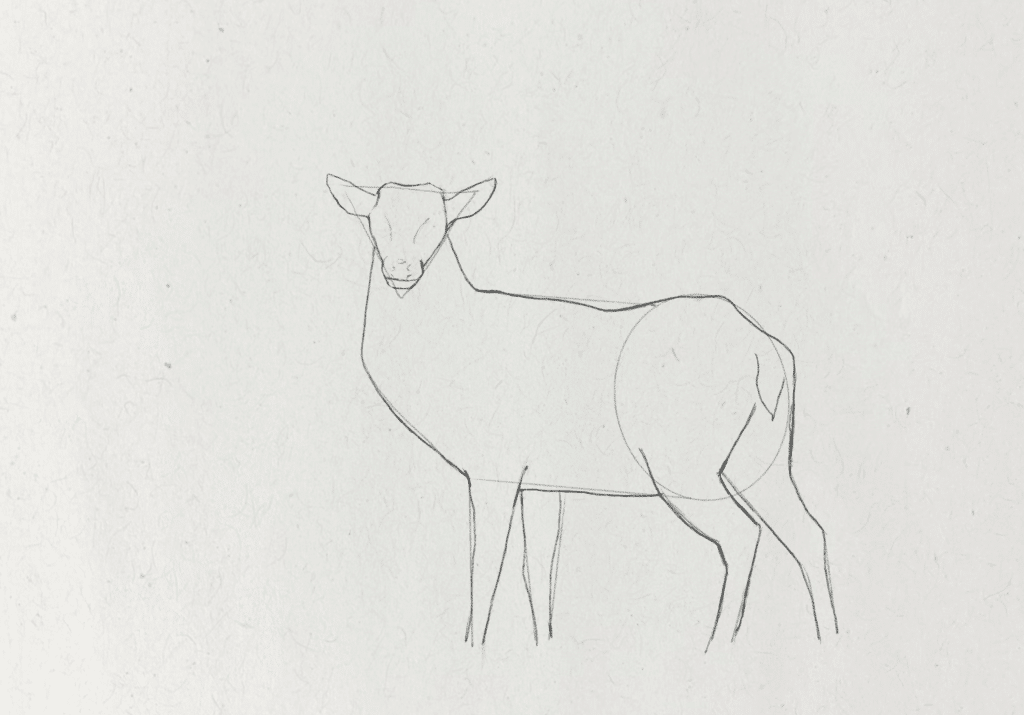
The legs curve organically, so refine the straight lines, outlining the small undulations on the skin and take note of where the knee joints sit, around halfway down the leg.
Step 8: Draw the hooves
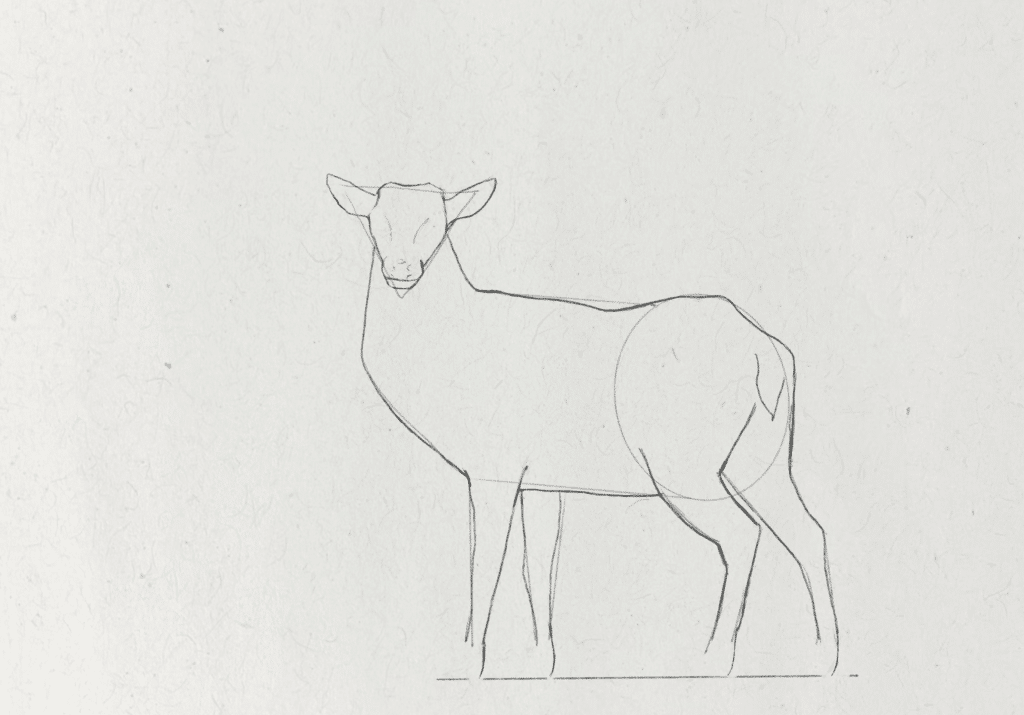
I draw a straight line to represent the ground, so the bottom of the hooves are aligned with one another. Then I draw the curve of the back of the foot; the top of the feet are around one fifth of the way between the top of the leg and the ground.
Draw the front of the hoof, which curves down slightly and meets the ground.
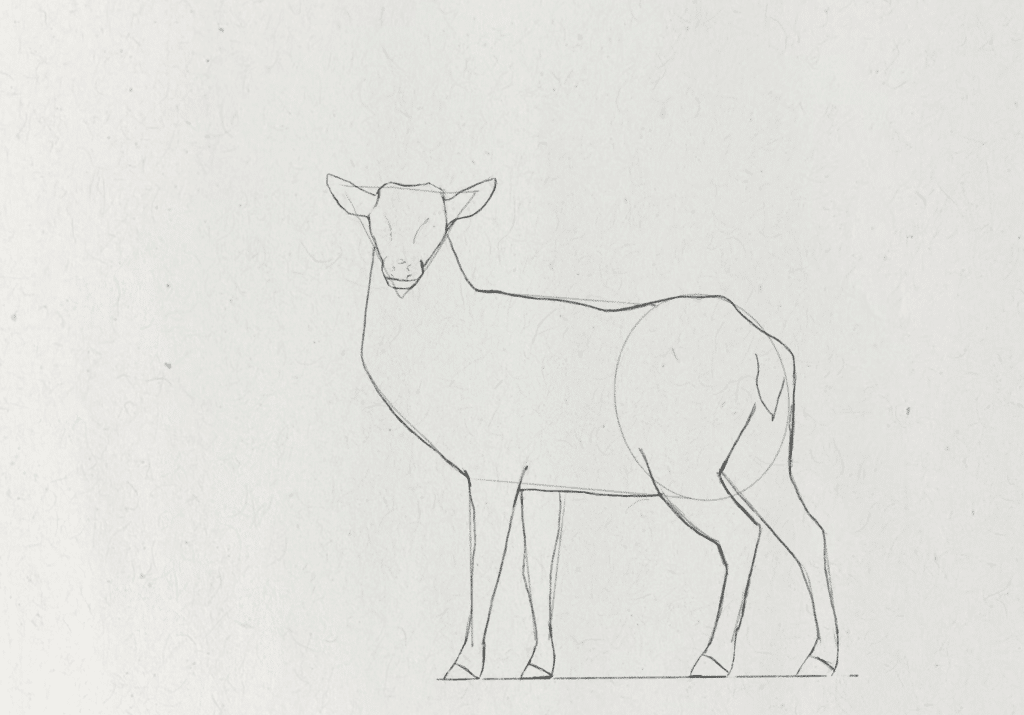
Then draw a line diagonally downwards to the right to represent the separation between the hoof and foot.
Step 9: Draw antler guides

To draw the antlers, I need to make sure that they are symmetrical, so I’m going to start by drawing guides that I will later erase. Whenever there is a more complex element of the drawing, I always start with guides to simplify, to establish the proportions, so I can think about the line quality and details later on.
The antlers are large, and curve to make a semi circle above the deer’s head, like a sideways C shape. This is my starting point. This curve represents the main beam of the antlers. The size of the antlers are relatively large, around the size of the head and neck of the deer combined.
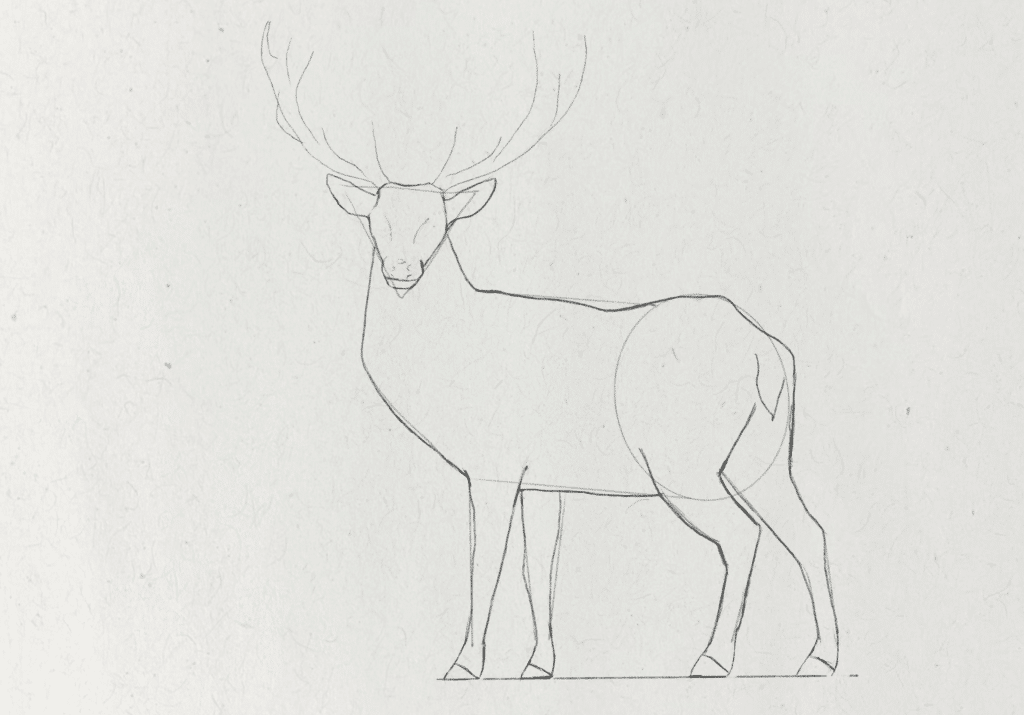
On top of this initial basic shape, I’m going to add some lines to represent the points. I’ll go over these lines later to make them three dimensional, but for now I want to establish the shape of the antler.
Step 10: Refine the antler shape
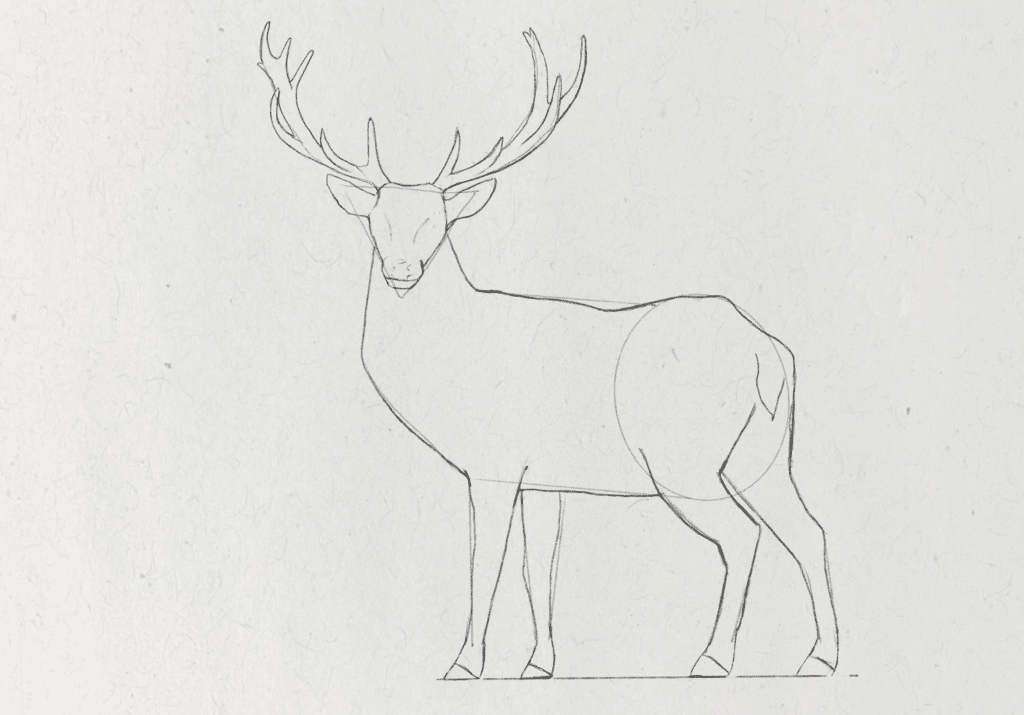
I used the lines I drew to guide the basic shape of the antler, taking care to carefully draw the curving contours and rounded points. The main beam of the antler is thicker and splits into points that curve upwards and round off at the top. You can either use straight lines to find the angle of the curve, then go over them with a smooth contour drawing, or create sketchy searching lines to find the general shape, then go over these lines with smoother curves. I use a precision eraser to clean up imperfections in the lines to clean them up.
You can keep working on the lines in the drawing, until they look smoother and cleaner, iterating with the precision eraser or a kneaded eraser and by going over them with a pencil.
Line quality is a big part of what I teach in the Drawing Fundamentals course. I teach students how to intuitively draw with better proportions and lines, to create more accurate and striking drawings.
Once I’m happy with my antler contour drawing, I erase all the guides I drew for the antlers, head and body.
Step 11: Draw the facial proportions of the stag
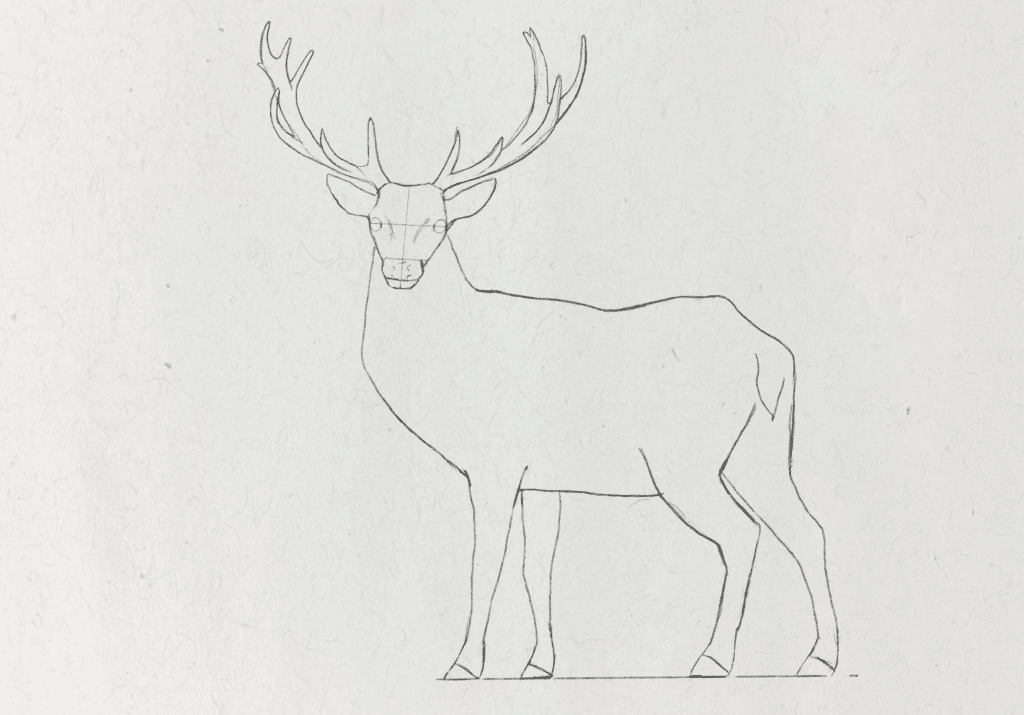
In this stage of the stag drawing, I want to establish the placement of the different facial features.
I drew a vertical line to split the face, so that I can symmetrically place the features either side. The deer’s head is tilted at an angle slightly, so I accounted for this and drew the line so it was slightly diagonal. Then I drew a horizontal line to mark where the eyes should be placed. They sit just above the halfway point between the top of the head and the snout. Following this, I drew circles to roughly encompass where the eyes will be, they sit on either side of the head and this section of the head is around 6 eye widths wide. From these proportional measurements you can find the size, shape and placement of the eyes. I also drew a horizontal line above the snout to show where the top of the nose will be.
Step 12: Draw the facial features
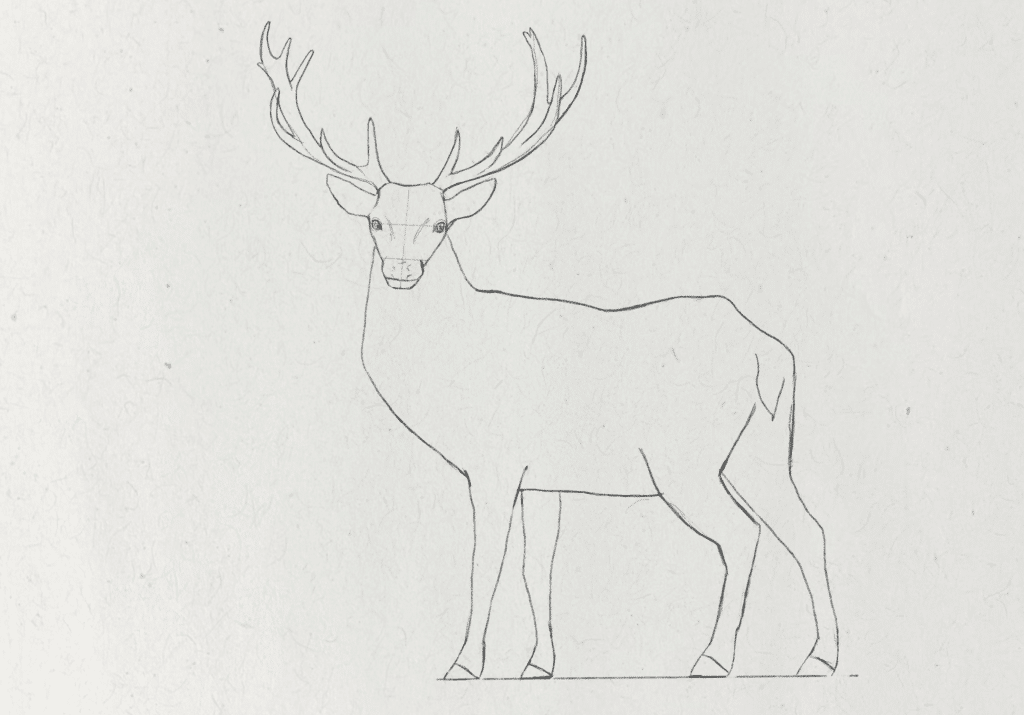
With the guides established, I start to draw the eyes. They fit within the circles I drew earlier, but are a slightly different shape. They look like tilted egg shapes with a pointy corner in the upper outermost part of the eye, where the lid cuts off the eyeball. The eyes round off at the bottom and taper inwards near the tear duct. The top lid is thicker than the bottom and is creating a cast shadow. It also has a thick lash line, so I created a darker thicker line for this top lid. I repeat this shape for the other side of the head, taking care to mirror the shape and details.
I start by drawing a broad outline of the nose, then filling this with the shape that curves inwards for the nostrils on either side. The top of the nose has a slight dent on it, which is creating a soft shadow on the top.
Step 13: Mane details
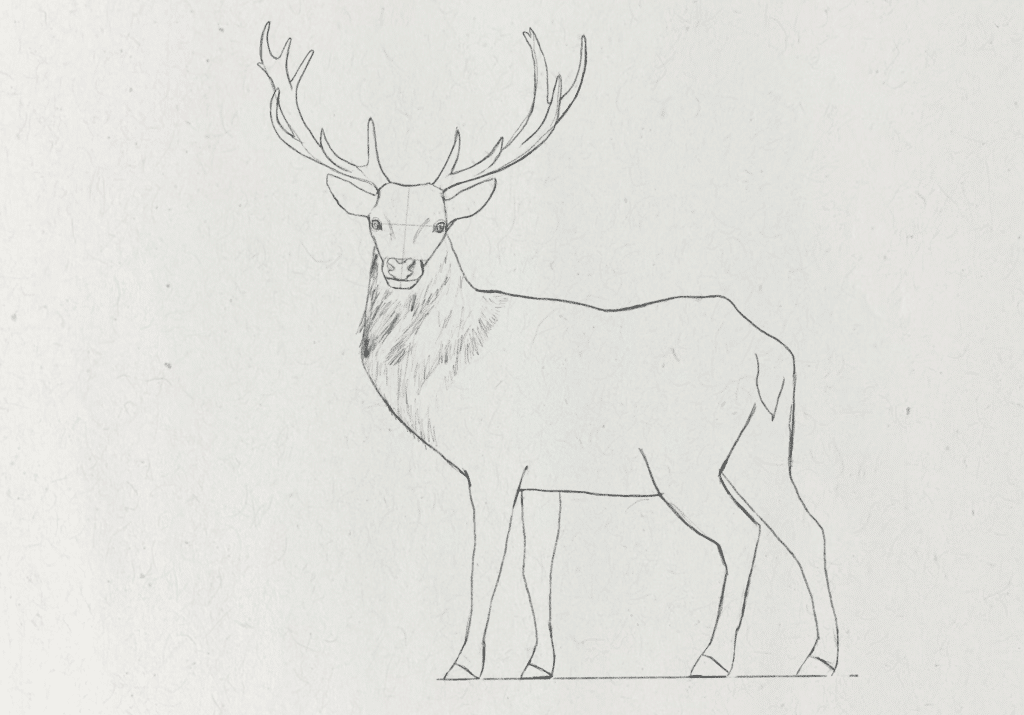
I sketch some fur details on the deer, lightly with a pencil, to create texture and to establish the direction of the fur before shading. The mane of the deer is longer than the rest of the fur. Because the deer’s head is turned to face the viewer and the body is pointed away, the fur twists around the neck, creating this impression of movement. To create fur texture, use short, light strokes with the pencil and imagine the fur in clumps around the neck. The hatching technique is a useful one to know for drawing fur, which means quickly creating lots of tapered lines. I teach students how to create tapered lines in my drawing course. Hatching is a great way to lightly lay down where the shadows in the fur will be, before committing to darkening the shadows.
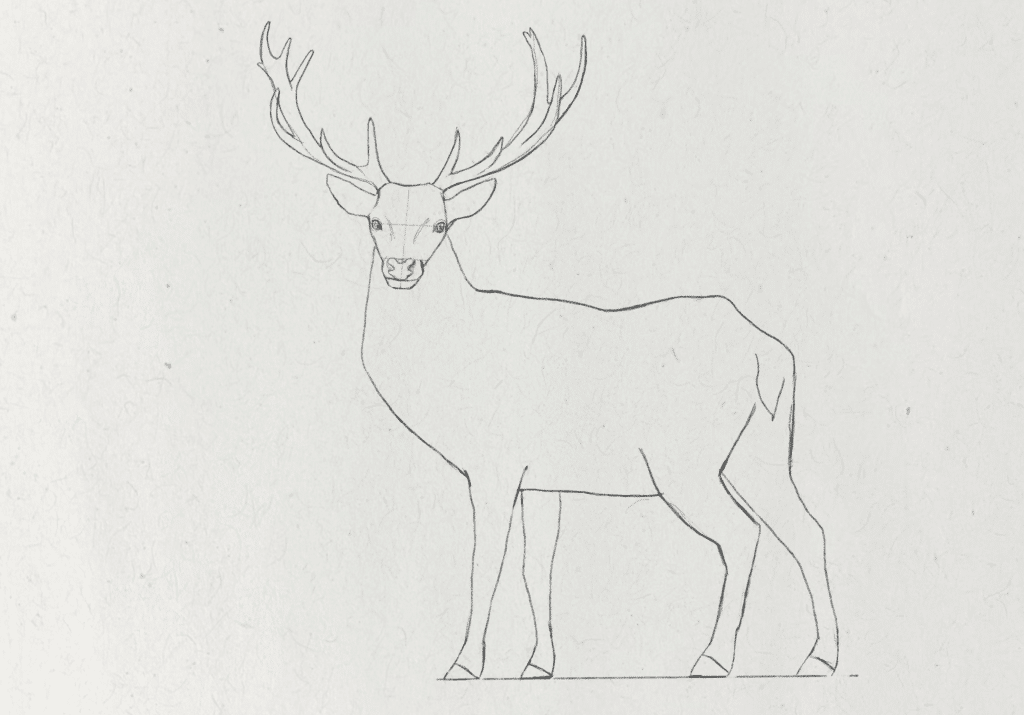
Step 14: Use the hatching technique for the face details
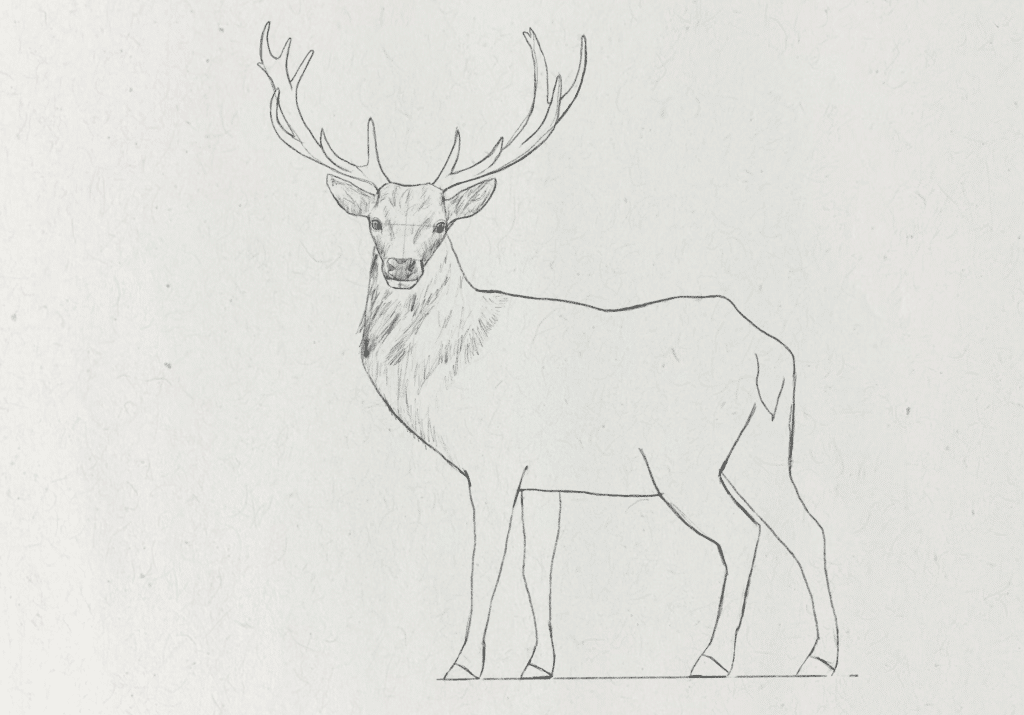
I continue lightly hatching to place the darker fur shadow tones on the face. I concentrate the short tapered pencil marks around the side of the face, eyes, nose, the sides of the snout, under the nose, top of the head and ears. The light source is above and in front of the deer, but it disperses evenly over the fur. Cast shadows appear on the underside of the torso, nose and under the points of the antlers. It’s important to describe the light source before you start shading.
Step 15: Shade the stag
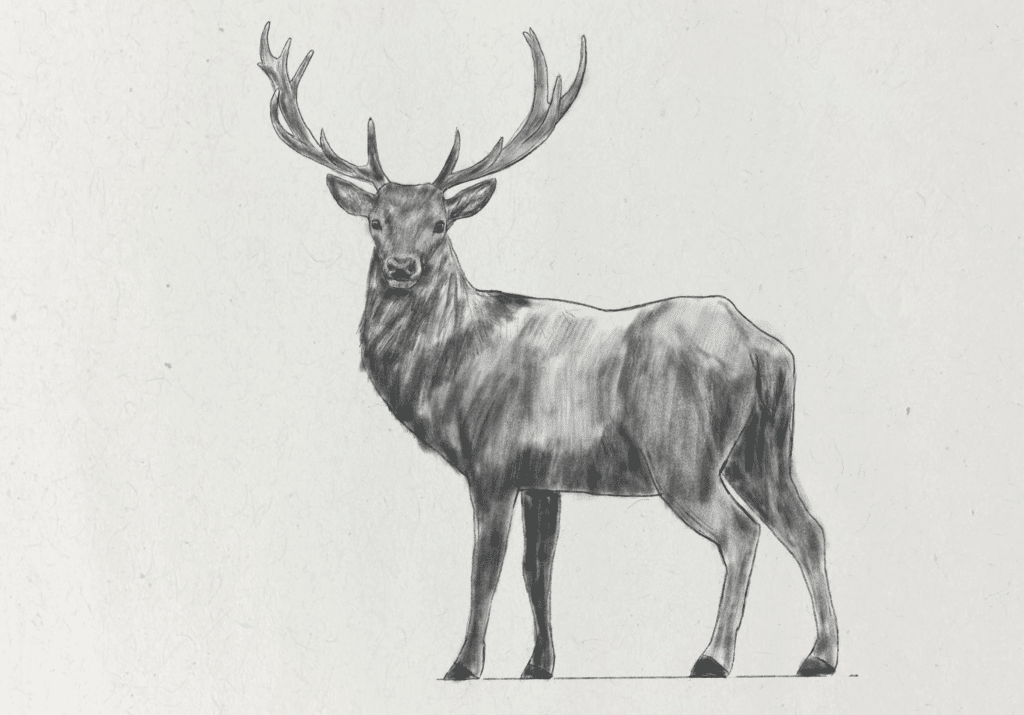
For the purpose of this drawing, I’m going to loosely shade the stage, concentrating the pencil marks around the darkest areas. I use the side of the pencil to create loose, broad marks, applying more pressure where I sketched out the fur texture earlier in the process.
If you want to learn how to construct drawings like this yourself, without following tutorials, the Drawing Fundamentals course is designed to set you up with the foundations, so you understand how to start a drawing, draw proportions, perspective, create beautiful line work and realistic shading.