
The underpainting technique can be used to establish composition, structure and values before applying colour in an artwork.
Artists use an underpainting to create opacity in areas they know will have darker colour values.
Once the underpainting is complete, glazes (application of transparent colour) can be applied to subsequent layers to alter hue and saturation.
Rendering values in oil serves to define where there will be areas of contrast between light and dark.
The underpainting will enhance the depth of the shadows in the upper layers of the painting.
In areas of an underpainting you plan to be lighter, simply avoid painting over the canvas, or wipe paint away, letting the lightness of the ground shine through. Alternatively, you could fill in the lighter areas with a white pigment.
There are several different ways of doing an underpainting. Monochromatic underpaintings use only a single pigment with the optional addition of white and black (or burnt umber). I will go through these different underpainting methods later in the post.
Disclaimer: Fine Art Tutorials is a reader supported site. When you make purchases through links on this site, we may earn a small commission at no extra cost to you.
Which colours are suitable for underpainting?
Any pigment that can display a good range in value will be suitable for underpainting. Earth pigments are especially good for the technique, as they are generally dark, have some level of transparency and dry very quickly.
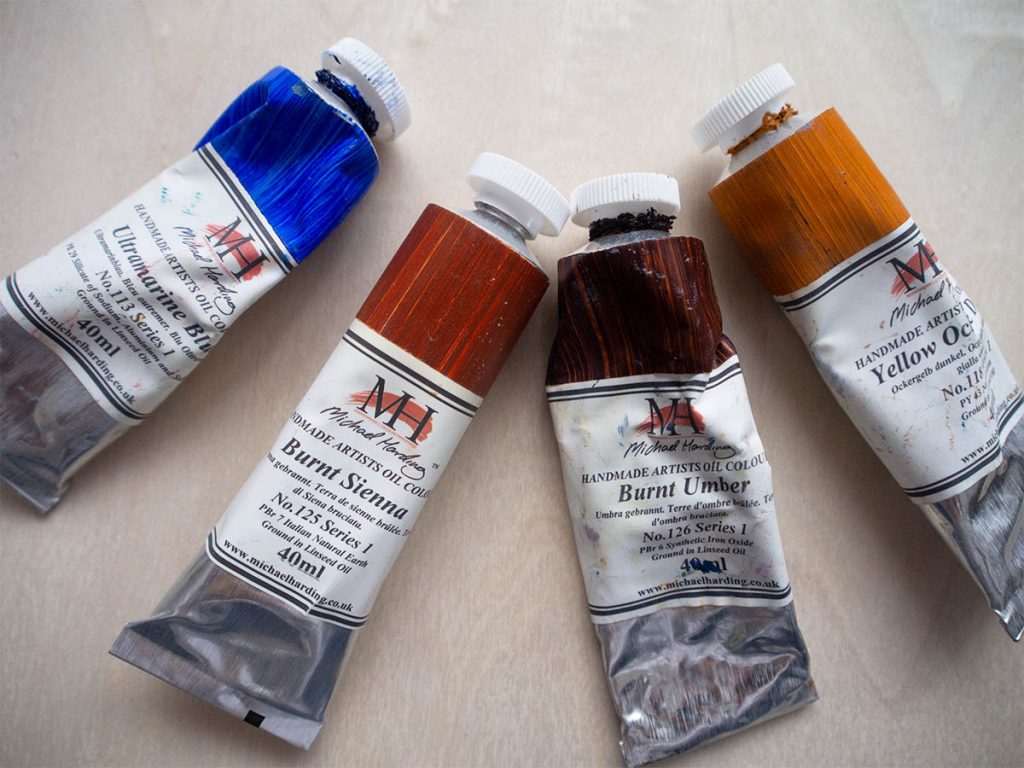
The most commonly used earth pigments for this task are: Burnt Sienna, Mars Brown, Burnt Umber and Raw Umber. Ultramarine Blue would also be suitable to create an underpainting with.
Colours that are very light, such as yellow, wouldn’t work for this technique, unless used in combination with white and black. You can choose the colour for your underpainting to work in contrast, or in harmony with the colours you know you will be using throughout the painting.
You can add white and optionally black to create tonal contrast in your underpainting, although this will make the paint layer opaque. For this reason, the underpainting stage is sometimes called the dead layer, as it can lack translucency and liveliness.
Traditionally lead white, or flake white would have been used for highlights. If you want to avoid using lead in your painting, then you can use a mix of titanium and zinc whites for the light areas.
I avoid the use of black in under paintings and instead opt to use an earth pigment, working it in to establish deep shadows where I want the dark areas to be and adding white for the light passages.
The benefit of this is that the shadows remain translucent. The addition of white is optional, you could instead wipe away paint to reveal the ground beneath for your highlights.
What materials do you need to create an underpainting in oil?
Supply list
- Paint: this is your chosen pigment and white if you choose to include it.
- Solvent: either turpentine or oil of spike lavender. You’ll need this to thin the paint. Remember when painting in layers, you should adhere to the fat over lean rule.
- A bristle brush: the brush needs to be a little stiff at this stage of the process.
- Kitchen roll, or a lint-free cloth. This is to wipe excess paint away in areas where you want to show light.
Methods of underpainting
Method 1: Toned ground

A toned ground or imprimatura is a layer of transparent colour spread across the canvas.
Thin your chosen colour with solvent, until it’s runny. Then spread it across your canvas or panel until it’s all covered.
You don’t need to be too neat about this. Gestural brush strokes can work to create dynamism from the first layer. If you want your toned ground to be lighter, you can wipe away the colour from the surface with a lint-free cloth, so that it leaves a stain as one block colour. Don’t leave oil soaked rags lying around though, put it in soapy water straight after use, as it can pose a fire hazard.
There are a few benefits to creating a toned ground like this. Working on a mid-tone value is easier on the eyes, it also helps you to establish value relations between colours better.
Method 2: Monochromatic
By responding to the impression of colour and light that you see in your reference, choose a pigment for your underpainting. You can choose one that either harmonises with the colours in your reference, or contrasts with them. It’s completely up to you.
Neutral colours like burnt and raw umber work brilliantly for monochromatic portrait underpaintings.
There are names for different types of monochromatic underpaintings, depending on the colour that it has been completed.
Grisaille is the name given for when the painting is completed in shades of grey (using black and white). Underpaintings completed in shades of brown are called brunaille (brown and white) and a green underpainting is called a verdaille.
After the monochromatic layer dries, the artist might choose to add layers of glaze to add colour to the face and hair. A coloured glaze on top of a monochromatic underpainting works to create the appearance of luminosity.
Method 3: Underpainting & blocking in

You can use multiple colours to complete an underpainting. You could start by drawing out the structure of your piece and wiping away lighter areas using one pigment. Then in sections where the canvas is blank, adding variations in tone.
Another option is to use two complementary colours to create an underpainting. After laying down two contrasting colours, which will often be a warm and cool mix, corresponding to light and shadow, you will have a better idea of the direction your painting is taking.
As the complementary colours blend and mix together, you will create neutrals—greys and blacks.
In the example above, I’ve used warm and cool contrasting colours to create an underpainting. Although I only used two pigments, I could still achieve a large tonal range.
Two-toned paintings like this can often look like a finished piece in their own right.
Underpainting tutorial: Pin it!
If you’ve found anything on this site especially useful, you can make a donation to me through PayPal. I take a lot of time to research and write each topic, making sure each tutorial is as detailed as possible and I make all my content freely available. Any small donation (even the price of a cup of coffee!) can help me to cover the running costs of the site. Any help from my readers is much appreciated :).
Follow the link in the button below to support this site.