In this tutorial, I’ll show you the method I used to create a fir tree with graphite pencil. I demonstrate how to use line work to create the illusion of lots of individual branches and shading to cast shadows around the needles to quickly build up texture. I’ll also show you how to draw the general shape and form of the tree.
Step 1: Draw the basic shape of the tree

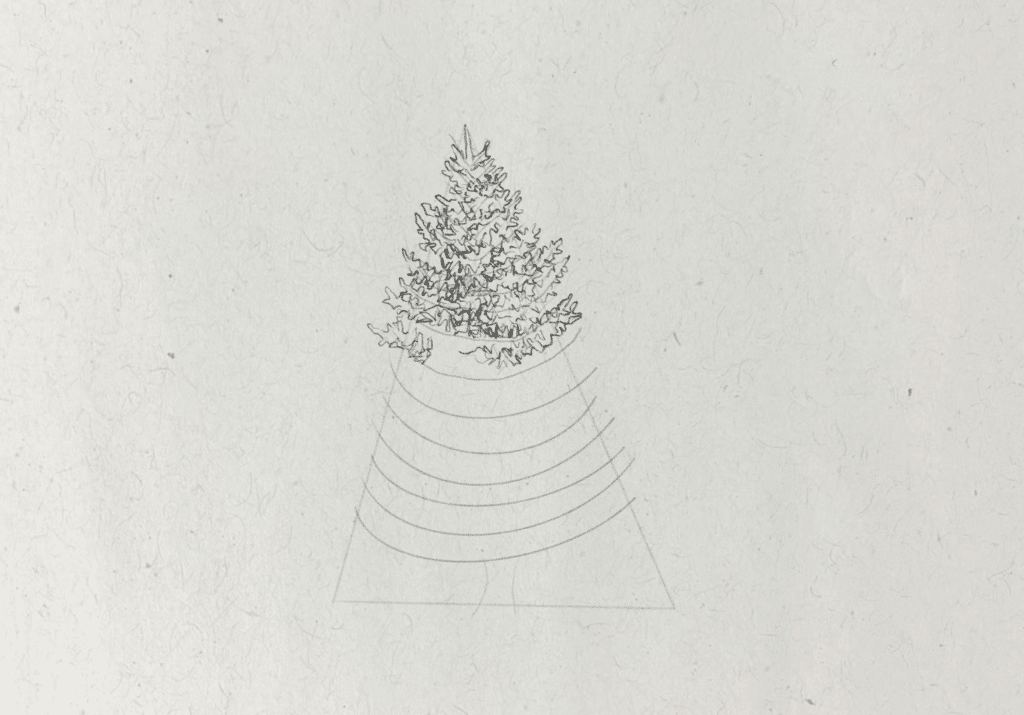
To start, I want to find the most basic shape that will represent the form of the tree. I draw a tall triangle shape, which isn’t perfectly symmetrical. The shape of the tree will broadly fit within this guide. Then I also draw two small curved lines at the bottom of this shape to represent the trunk.
Step 2: Sketch guides for the branches
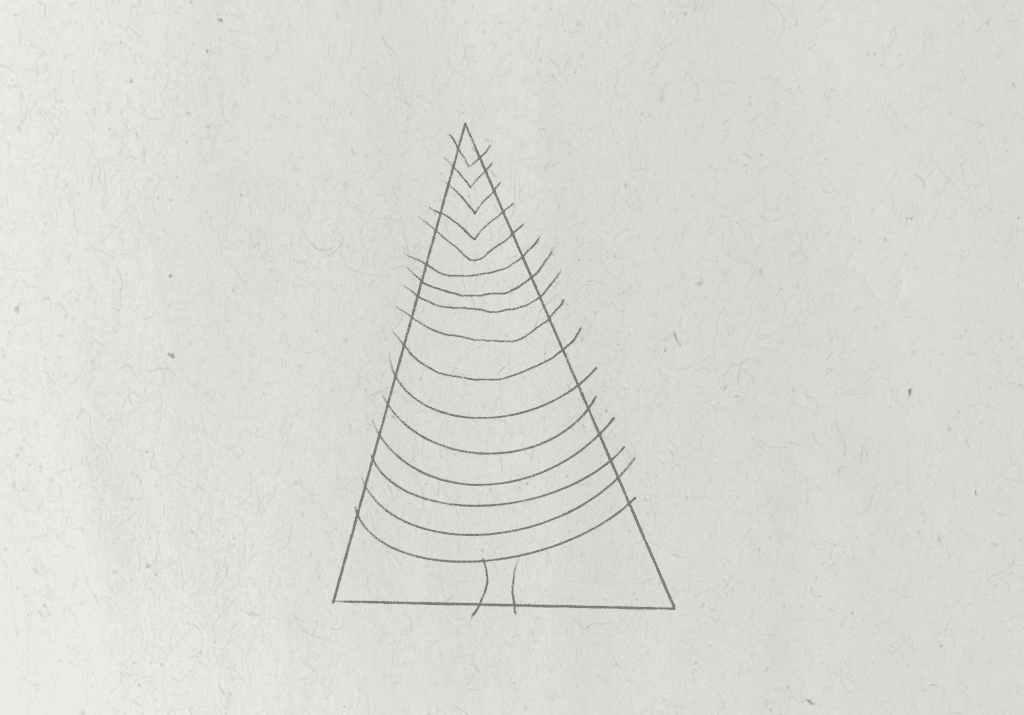
Creating guides helps me to draw realistically, as I can focus more on drawing details later in the process, because I layer the details upon the proportions that I establish early on. For this fir tree, the branches follow a regular pattern. They are larger towards the ground and smaller at the top. The branches nearer the bottom of the tree curve smoothly and shallowly upwards, whilst the curve of the branches at the top form more of an acute angled V shape. Then, the trunk splits the tree branches so they roughly mirror each other.
Step 3: Draw the tree branch contour
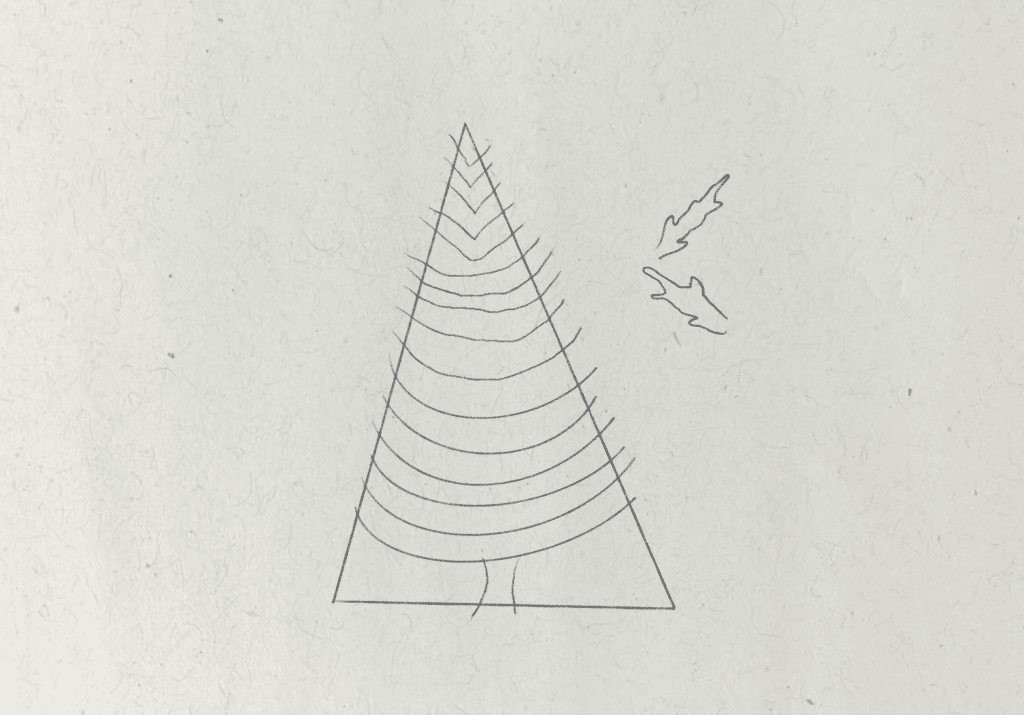
The contour drawing can be established using the shapes and lines I drew already. This will guide me on the placement of the branches. I drew an enlarged outline next to the main drawing of the tree, of what the shape of the individual branches and leaves will look like in the contour drawing. Use this as a reference for how the branches should look. They are fairly organic in shape, to represent the muddle of leaves and needles, so I’m able to draw them quickly.
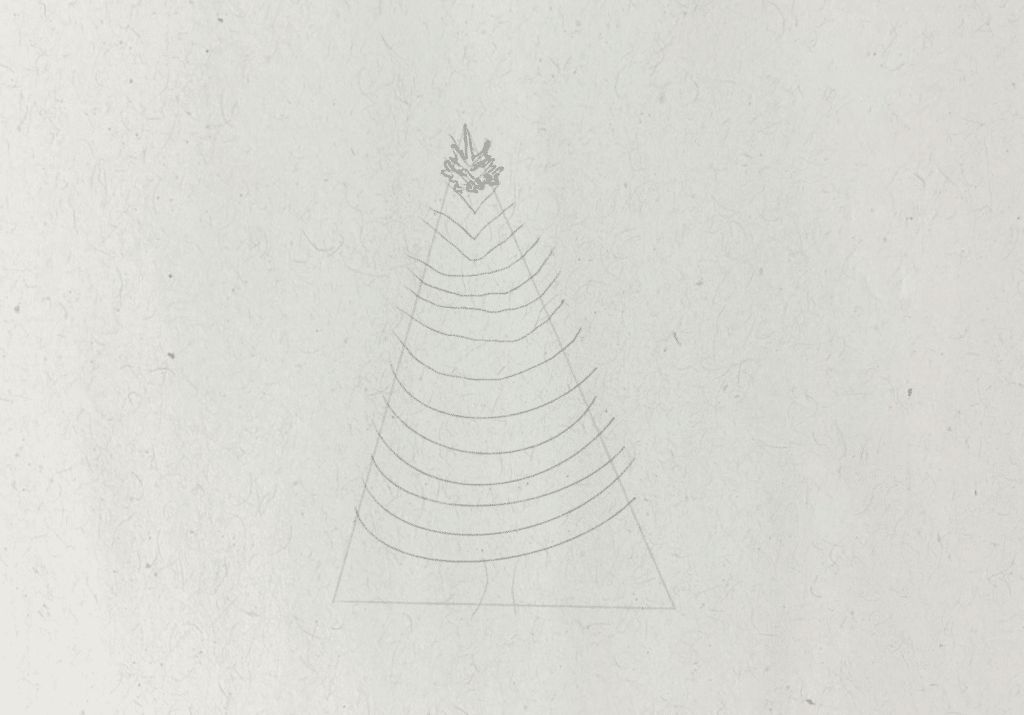
I also gently lightened the drawing of the guides with a kneaded eraser, so the lines don’t obscure the final contour drawing. Then I started drawing the organic branch shape, from the top of the tree.
The needles spiral around the branches, giving them a full look. So I round off the tips of the branches, and draw smaller branches coming off of the main branches.
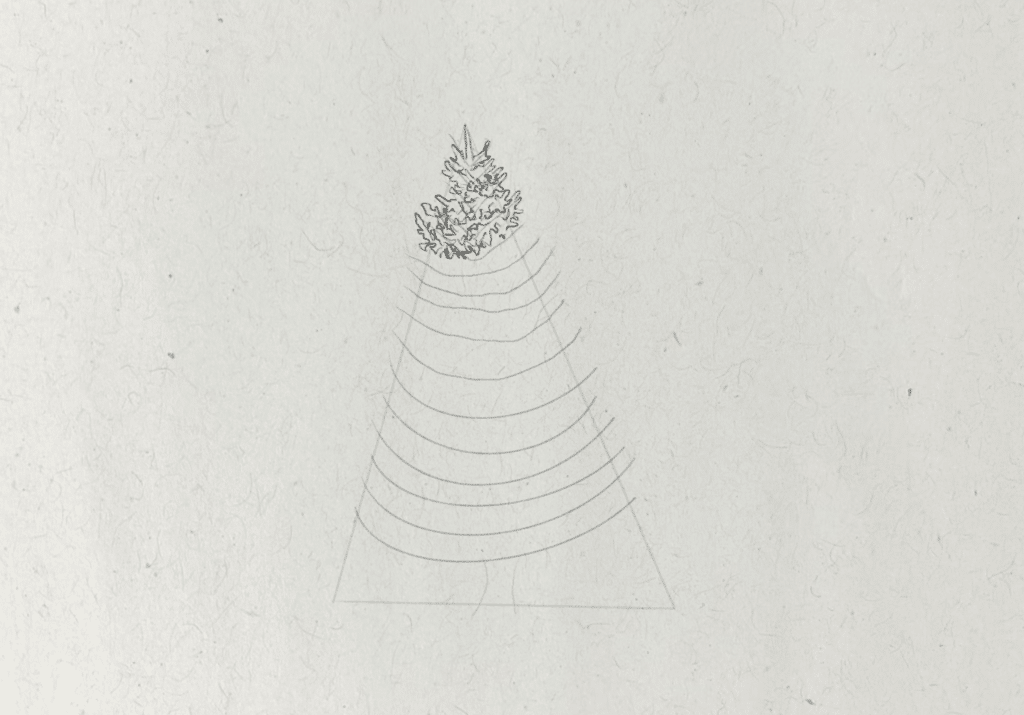
I continue this pattern as I move down to the middle and then the base of the tree.
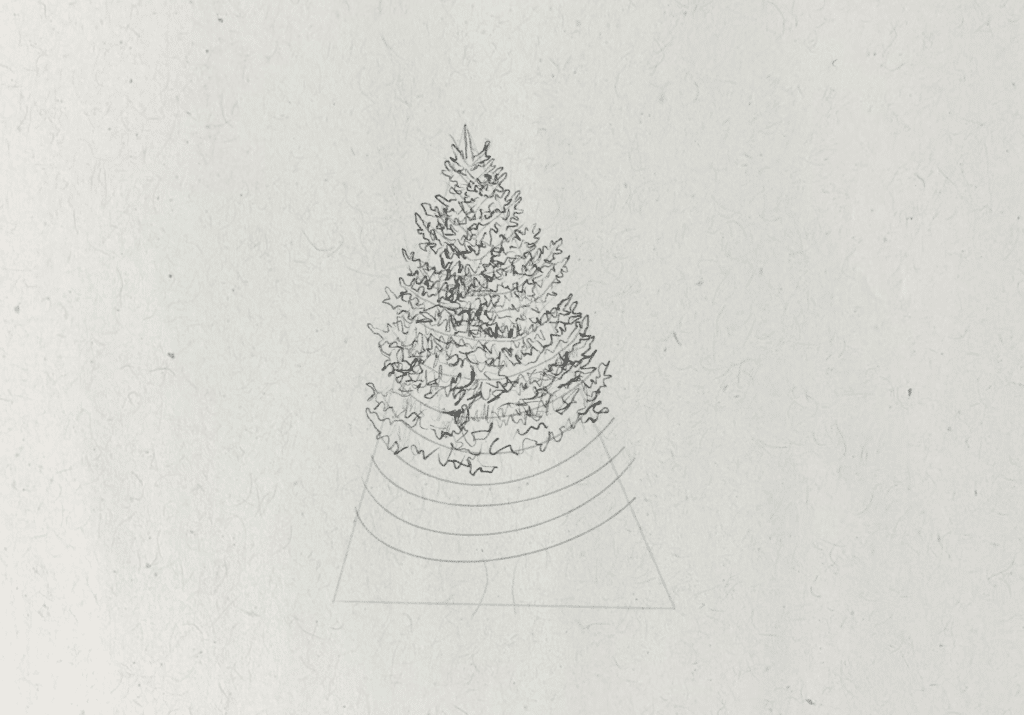
The branches are organised in tiers, getting wider towards the base.

Step 4: Establish the shadow tones
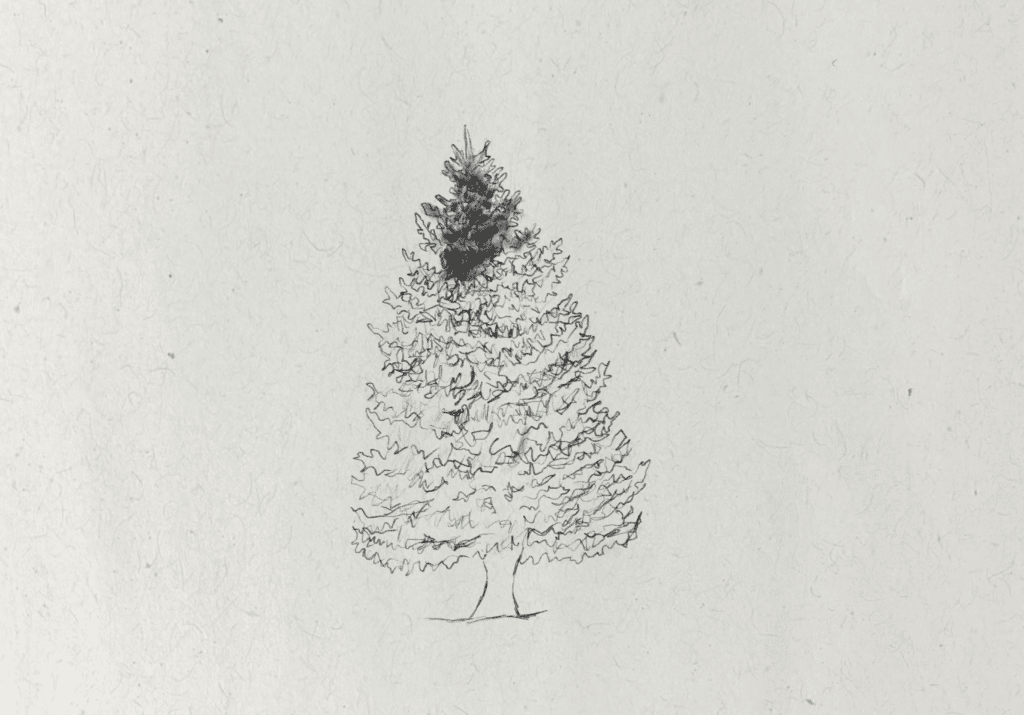
Once I’m happy with the basic contour of the drawing, I start to apply some of the shadow tones. The light source is coming from the top right corner of the composition, so the cast shadows from the branches will appear lower down the branches on the left.
I use the side of my pencil and apply pressure to create the soft, dark shadow marks. Then, I use the side of the pencil again to create this broad zig zag pattern. I will use this pattern as a base to build details on top of.
Step 5: Shade the darkest shadows
The darkest shadows are formed around the base of the tree, so I apply pressure to my pencil to create these darker marks. I lightly shade around the top of each branch to show where the light is hitting.
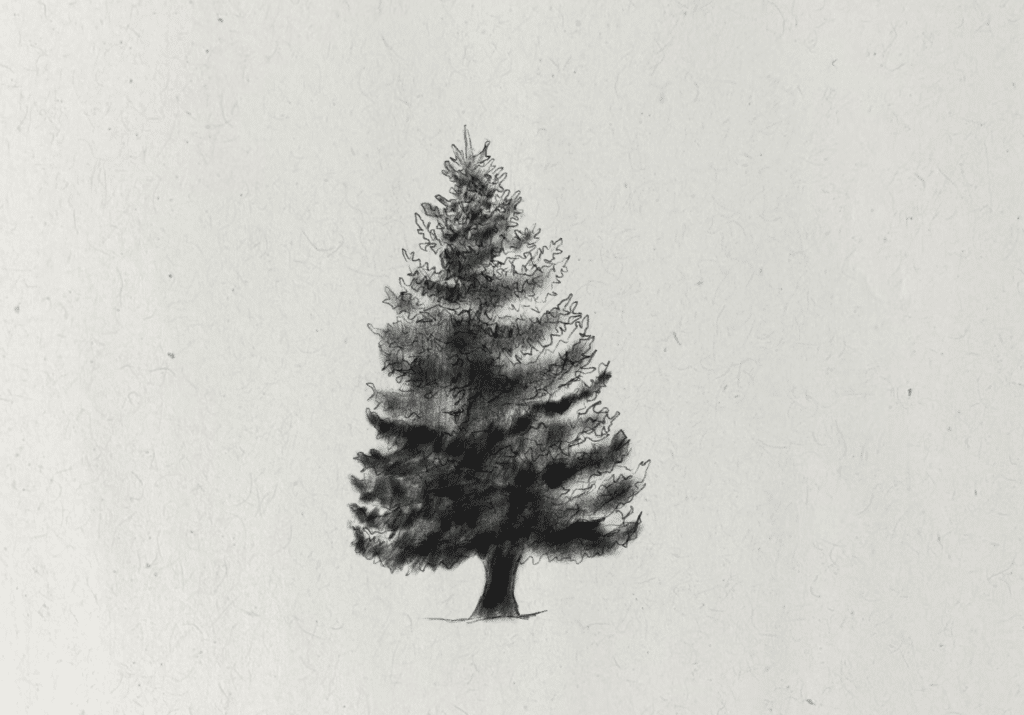
Step 6: Fill in the shadow details
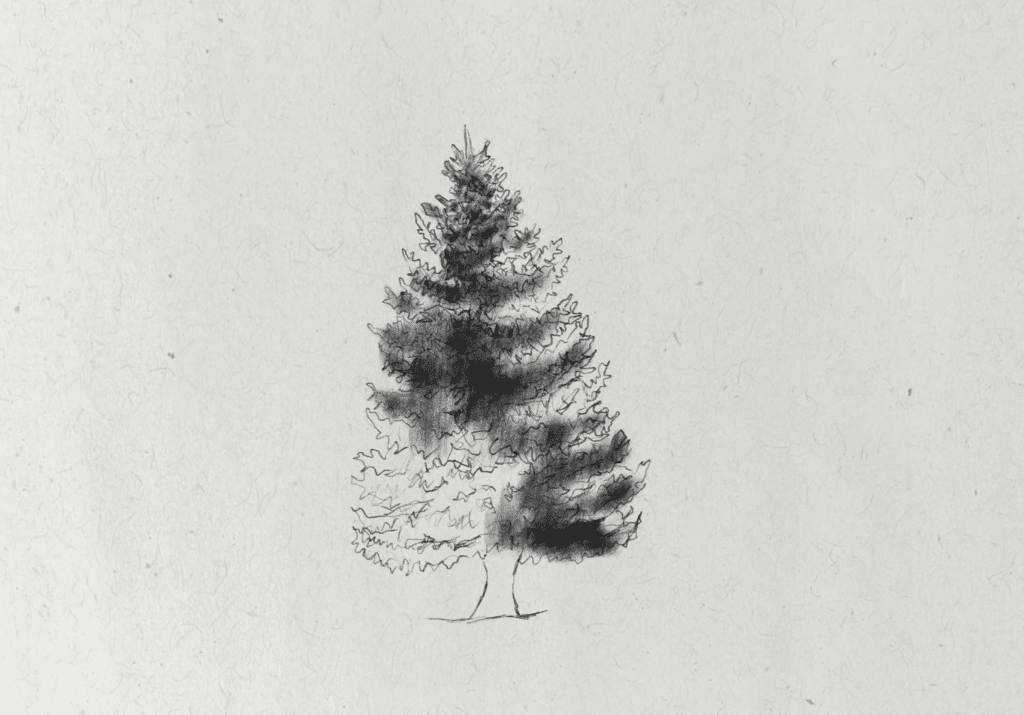
I continue using the side of the pencil in loose swirling patterns, applying darker shadows beneath the branches where shadows are being cast and creating lighter pressure for the mid shadow tones around the top of the branches. Some of the darkest shadows are concentrated around the middle of the fir tree, where branches overlap.
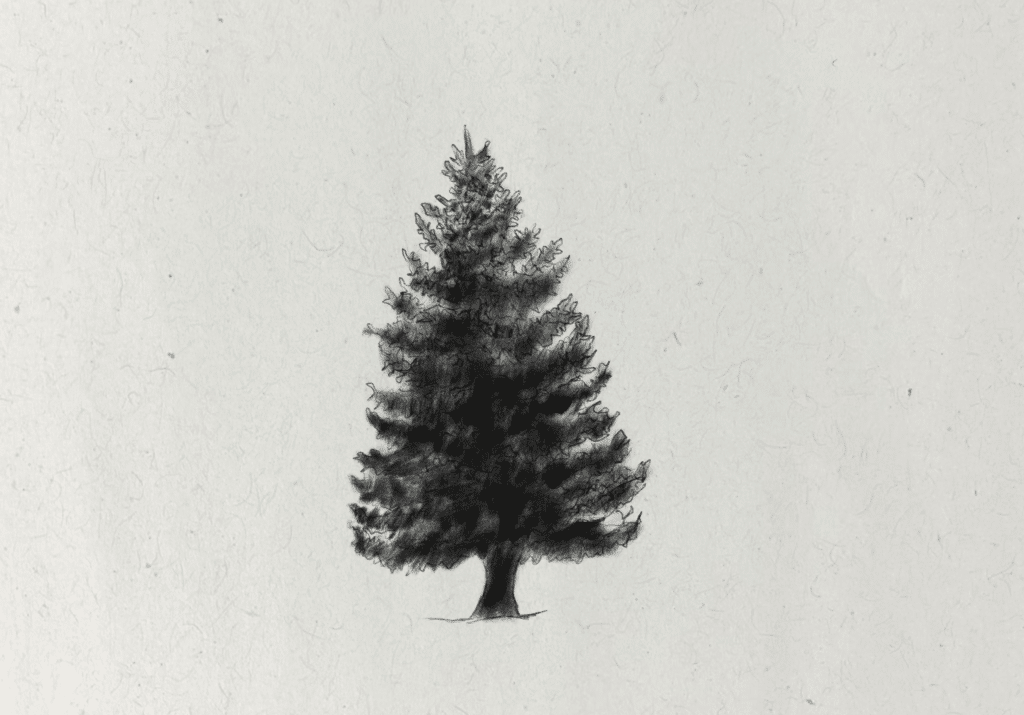
Step 7: Lift highlights with a kneaded eraser

The final step in this fir tree drawing process is to use a kneaded eraser to lift some of the areas of graphite to create the illusion of highlights reflecting off of the leaves on the tree. Use a dotting action around the right hand side and top of the tree.
If you want to master drawing and shading, join the Fine Art Tutorials Drawing Fundamentals course! Across 55 lessons, you’ll learn how to compose beautiful artworks, create accurate proportions, excellent line quality and shade to create realism.